I have had three failed necklines - two have been boat neck pieces (one was this dress I made for a Minerva Crafts review) one is a dress I'm currently making from a super stretchy burnout velour knit and I've made a real pig's ear of the binding - so much so that my seam ripper and I have been good friends over the last couple of days. As I carefully take it to bits in the hope I can do something to make it work.
The third disaster was a raglan sleeve top. The stupid thing is I have had some real successes in the past with neckline bindings. I have had some excellent results on my Gertie boat neck t shirt and a couple of knit dresses. I'm not sure quite where I've been going wrong lately and thought it would be a good ideas to find a selection of tutorials that are out there by great sewing bloggers who actually know what they are doing. I'm sharing this in the hope that I'm not the only one who struggles with this from time to time. If you have any brilliant insight into where I'm going wrong, or have a preferred method - please get in touch I'd love to get this nailed.
Craftsy Blog

Craftsy Blog has a brilliant post offering several different techniques written by Emily Thompson. I have tried both options 2 and 3 from this post. Some times they work perfectly and other times they don't. You can read this post here.
Megan Nielsen

This method encloses all the raw edges and gives a very neat finish. I've used this on a cotton jersey dress with good success, but it's when I use a boat neck that the issues seam to occur with this type of technique. Megan's instructions are really clear. This is a great post with lots of clear photographs to help you alone the ways.
Simple turned edge - Grainline Lark Boat neck

I have used this technique on my ruffle dress for Minerva crafts and it worked beautifully. Jen explains a really simple way to finish the neckline - and it's easy; Take a look! Do we sometimes make knit bindings more difficult that they need to be. I might do this on the dress I'm currently making. I have had a good bound finish on a boat neck, but it was a much more stable knit. What are your experiences here
Colette Blog
This post covers some of the key basics between bands and bindings. Again I've used some of these on round neck pieces and they've worked brilliantly. This is a great post for a beginner to knit sewing as the post is comprehensive. You can read it here.
Made By Rae - invisible finish binding.

This post is the closest to the one I tried for both boat neck pieces - with one significant difference, I cut a 90% neckline and Rae suggests that the binding should be the same size as the neckline as it's flipped to the inside. This might be where I've been going wrong. What's your experience of this technique? Do you think this could be where I've been going wrong? I might try this version.
Pattern Fantastique - Neckband techniques
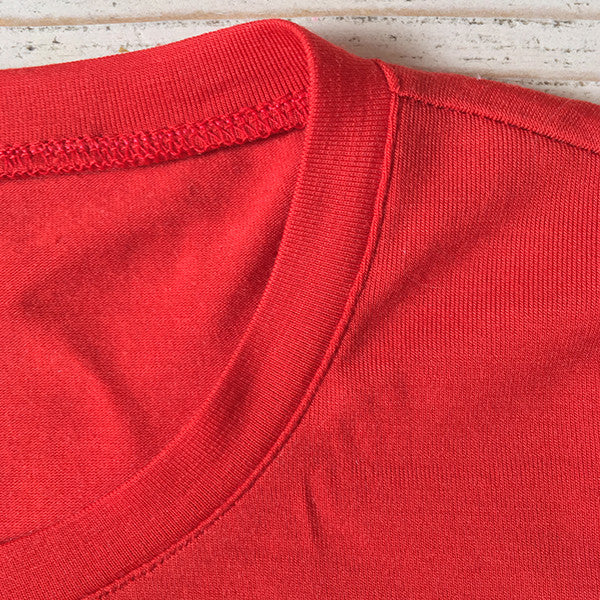
This post by Heather is a comprehensive post and covers how different types of fabric might behave in addition to techniques for a neckline band.
So what is your favourite technique for neckline binding? do you have a method that works without fail every time? if so I'd love to hear about it.