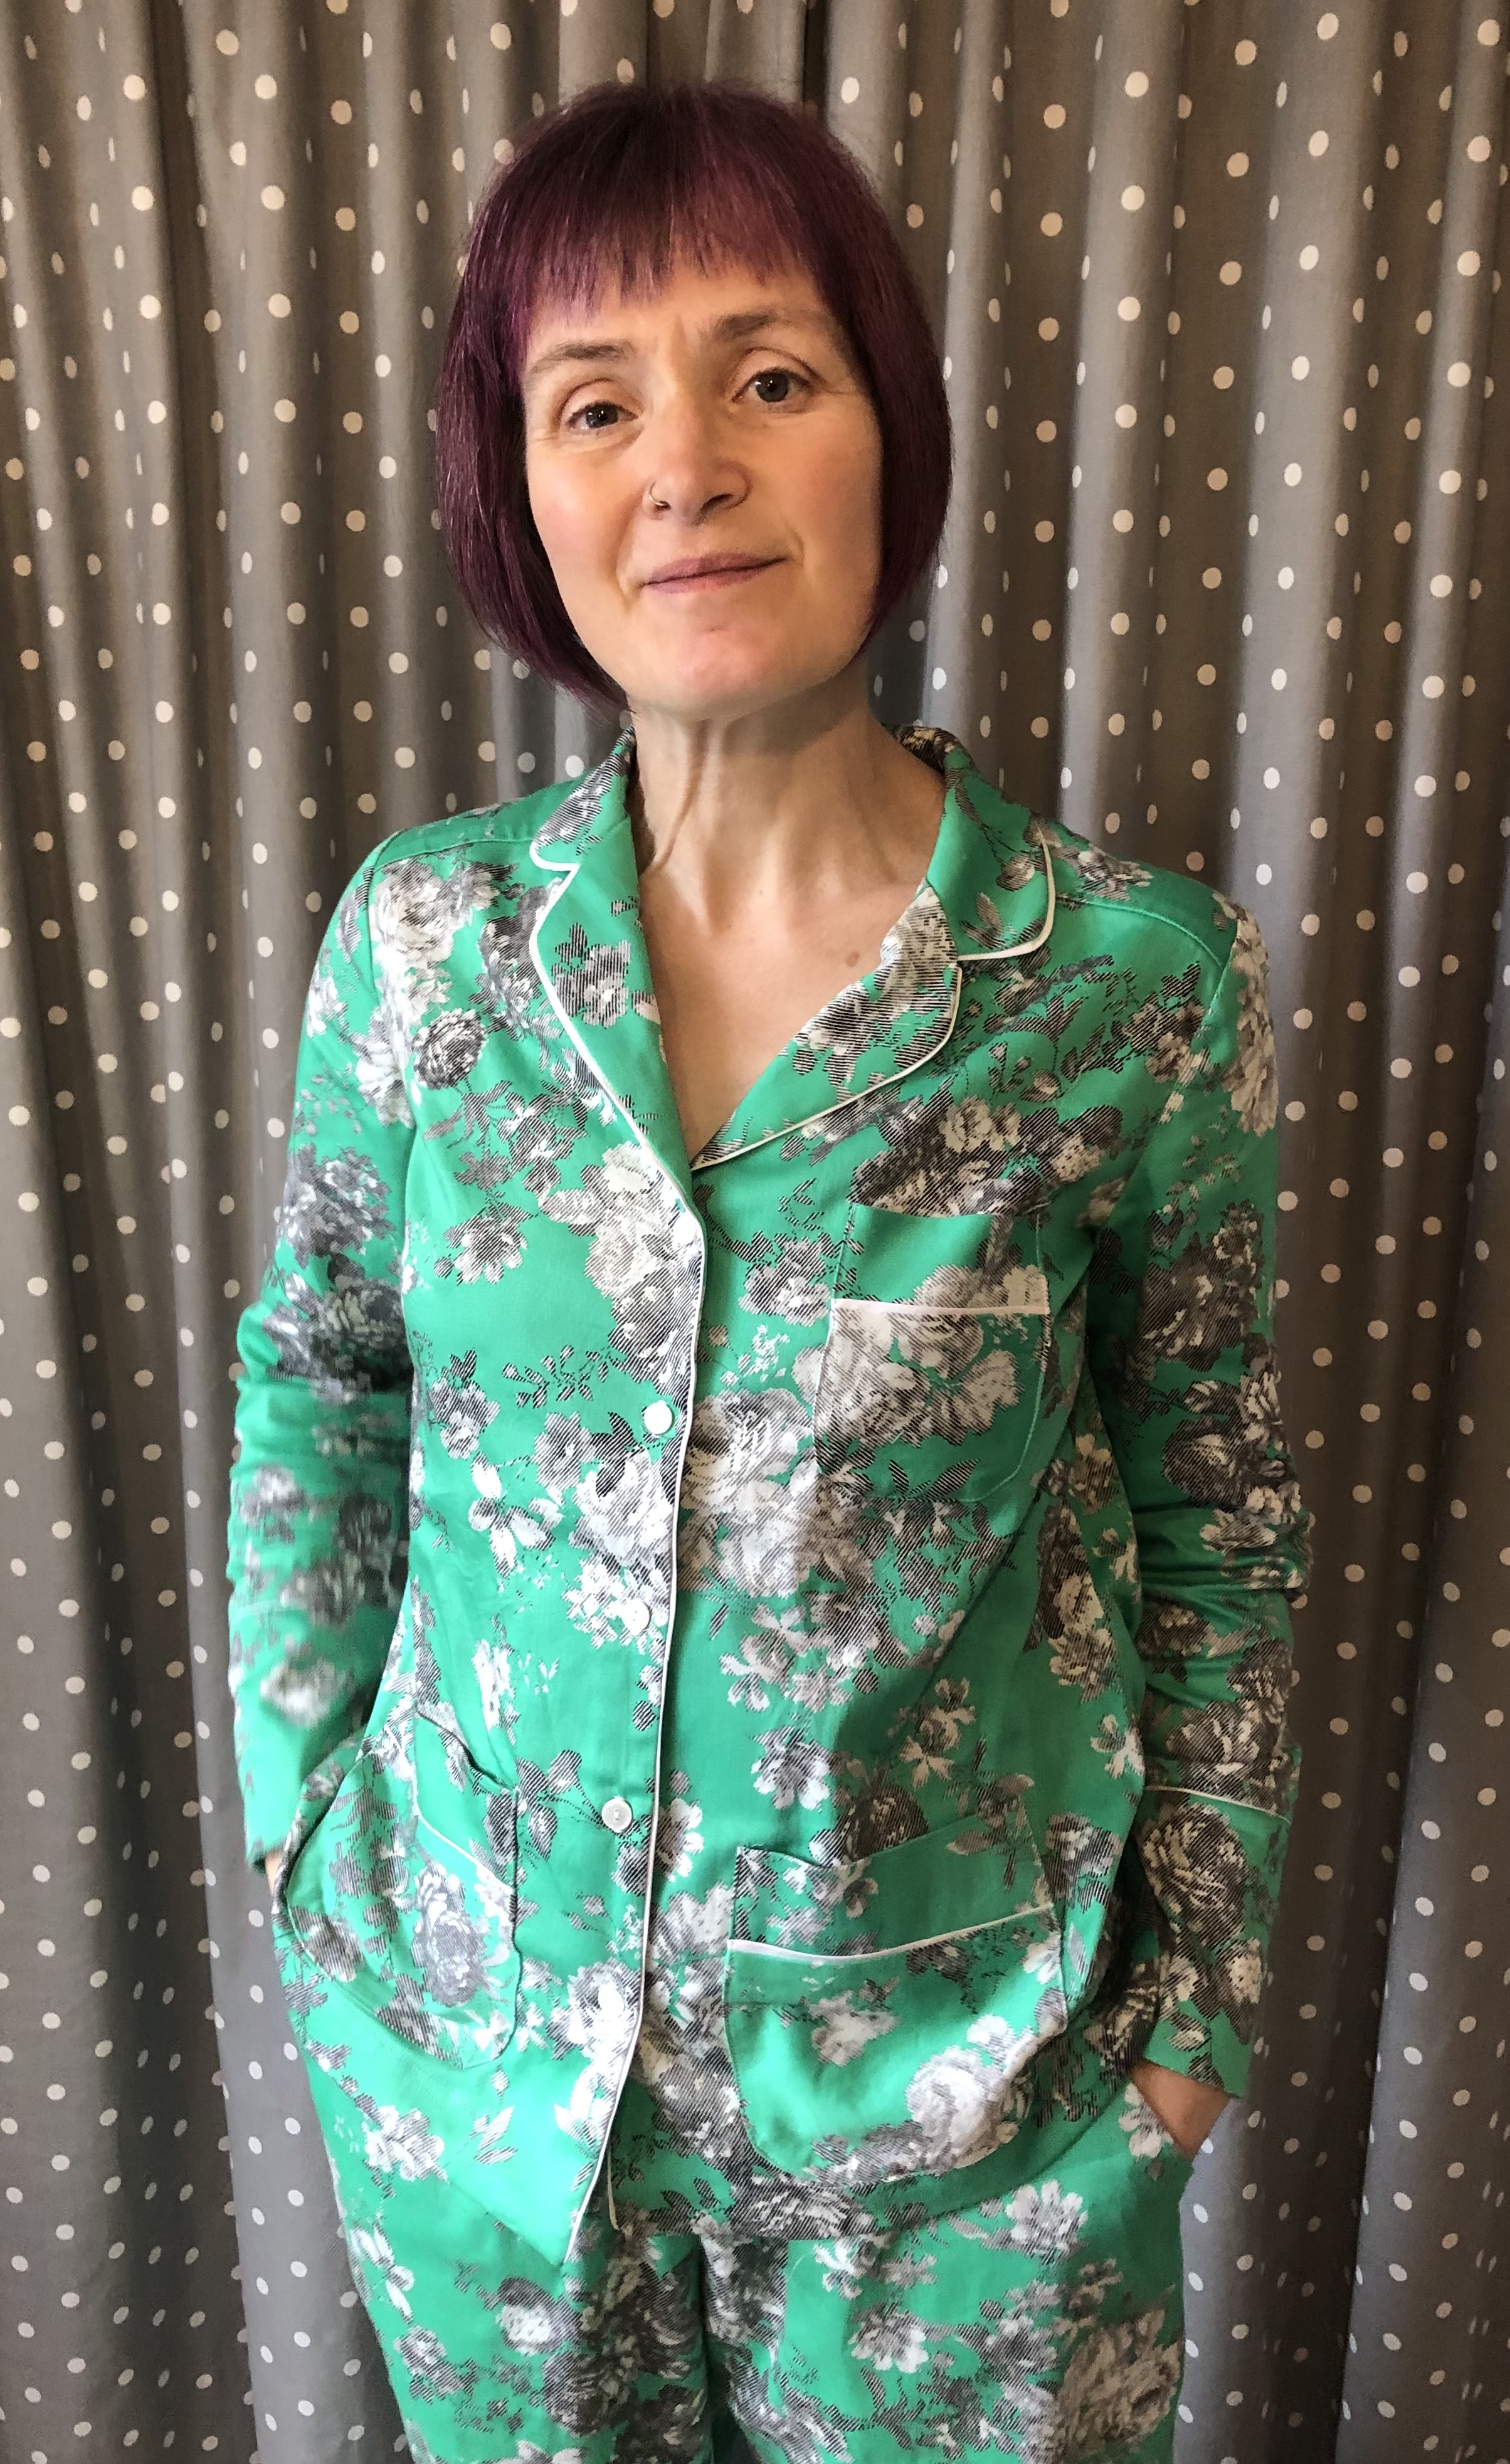
Sunday 7 January 2024

New Year New PJ's


When I originally saw this fabric I had thought that I would make the Solina Dress from Named Clothing’s Breaking the Pattern book. 

However when it arrived I was just not feeling it - I think the pattern was just a bit too busy for that dress and it would have been too much.  


As the fabric arrived just before Christmas and I had begun to notice the threadbare nature of some of my PJ’s I decided that this fabric 

would make a cool set of nightwear. The smooth cotton sateen with a touch of stretch is a perfect luxury fabric and feels amazing against 

the skin - almost like silk! What could be better for nightwear?


I scoured my stash of Burdastyle magazines for an appropriate top and found one in the January issue from 2017. 

This top required piping - I didn’t have any, and once I had time to sew it was the Christmas break and my local haberdashery 

was shut for the holidays. Being the impatient sort I am - I decided to use a flat ‘piping’. In other words - self made bias tape from some 

white cotton sateen in my stash, without any piping cord in it. This was a mistake as it is incredibly tricky to make sure you have an even, 

but tiny amount of the trim showing. Piping would have been easier.


The pattern itself is well drafted and I know that I can cut a size 38 in Burda and it will fit. This pattern came with more detailed instructions. 

I followed them and wished I hadn’t. Some of the finishing techniques left a lot to be desired and there were some clunky joins that 

I’m not that happy about! But Hey, apart from the slightly uneven trim - it’s only me that will see the bits I’m not happy with!


The PJ bottoms were self drafted and I used the same pattern as the green drill cargo trousers I made in the summer, 

but without the drawstring or the patch pockets. I did keep the hip pockets though. I make the elastic waist just a little looser for evening 

and sleep comfort.


I think these look classy and I can feel comfortable and stylish when lounging around at home in the evenings now. 

It’s just a shame I didn’t have them completed in time for the holiday period, when lounging around is the perfect thing to do!


This was my most successful PJ set made (i’ve only made one set before - for my daughter). It’s not something I think about making often, 

which is why most of my PJ’s are threadbare. It certainly won’t be the last pair I make. But it was quite involved and did need a lot of 

concentration and accuracy to get a good finish.


Here’s to chilling out in your PJ’s!


Friday 15 December 2023

Revisited Renfrew


Many years ago, when I first started sewing I bought the Renfrew top by Sewaholic Patterns. At the time it was one of the top Indie pattern companies and a great beginner pattern for knits. Perfect for a newbie, as I was at the time.


Drafted for pear-shaped figures I thought it would be perfect for me. Back then I made the pattern - it was easy to follow and the results were good. BUT it didn’t really fit me. I could sew, but I had no idea about fitting. It was a friend who was a pattern cutter who advised me on making improvements to the pattern.


My first attempt fit well everywhere apart from the shoulders. I may be pear-shaped, but I still have wide shoulders and it’s forever an issue when I buy RTW knit tops. My friend had advised me to widen the shoulders and showed me how to do this without altering the armscye. I added 1.5cm to the shoulder - which is quite a lot. I never made the pattern again until this last weekend.


When this knit arrived from Minerva I knew that it would make a perfect long-sleeve base layer. The fabric is smooth and feels amazing against the skin. It has a good amount of stretch, but behaves pretty well - although it does curl at the edges quite a bit. I prewashed it and set to work.


I had forgotten that I’d already altered the pattern to lengthen the sleeves and sort out the shoulder issue. I checked the pattern pieces against my go-to long-sleeve knit pattern and it was close, so I got straight on with it.


I omitted the bottom band and added a slight curve to the hem. I also shortened the neckband by an inch or so as this fabric was much stretchier than the one I used in the past and I did not want a gaping neckline. I did the neckline straight after sewing the front and back together. I thought it would be simple, but I rushed it and ended up with a lot of puckers. Carefully unpicking the neckband took some time, but it was worth it as the finish is pretty good. I just used a zigzag stitch to top stitch it down.


The rest of the top came together very smoothly and I am so glad of a nice long-sleeved base layer to wear during the cooler months. I know the stripes don't always show up well in photographs but this is a navy and pale blue narrow stripe. I think it will be perfect with my dungarees and pinafore dresses.

One word on fabric requirements. I had about 2m of this fabric, which is just about what the pattern calls for. However, with some careful placement, you can make it out of less. I think I have enough for another t-shirt. I just need to dig out the pattern that I will use.


Apologies for the blurry photos - time for a new phone I think!


Friday 8 December 2023

Crash!


If you’ve followed my sewing journey for the last couple of years you will have seen me sew items suitable for rollerskating in. I started skating two years ago and love it. First I started on the flat and my local prom, but then I discovered park skating and have begun to enjoy throwing myself down ramps.

A year ago I had a nasty fall on the top of a ramp and landed with my coccyx on the coping (metal bar at the top of a half-pipe). It took a few weeks to heal and since then I have been skating with impact shorts on - also known as bum pads and crash pants. These are popular in board sports and ski/ snowboard sports. I got a pair from Facebook marketplace that was a little big, but they do fit well over leggings or skinny jeans. I wanted some that were more slimline to wear under my jeans, leggings and shorts.

I have done some reading into impact materials and discovered that a material called D30 is an impact-reducing material, that is often used in impact shorts for sportswear. It hardens on impact and then softens. However, the shorts with this in are very spenny! And you can’t just buy sheets of it, which is a shame.

I scored some junior impact shorts for £10 second-hand. I could get them on but they were tight!!!! I decided to try and make my own, using the padded sections from the ones I bought.

I started with a base leggings/ shorts pattern. For this I used the Ninja leggings from 5 out 4 patterns and cut the size small, grading to XS at the waist. I had made them before in S/M and there were a tiny bit too big. I used the Matt Activewear fabric as it has good stretch and recovery. I sewed the lot on my Pfaff, using a zigzag for the seam construction and creating a faux cover stitch effect by sewing the seam allowances down using an overlock stitch. The seams are external so that friction is reduced on the inside of the leggings.

Once I had the shorts made. I needed to get the protective pads in the correct place. I managed to pin in the hip pads and coccyx protection myself and then zigzagged them into place, using a zipper foot to get as close to the D30 Material as I could. The small pads that sit on the buttocks were harder to place and I had to get my hubby to help me position them and pin them before sewing them in.

I did consider adding an elastic waistband to them but I found that the high rise and fabric band is actually enough and they stay up very well. 

I have seen some very stylish crash shorts with lovely fabric on the outside and I considered making an outer layer to the shorts to hide the pads. However, keeping these as a single layer reduces the bulk and gives me way more options. I can wear under my jeans and skirts and also under leggings. I used the remaining fabric to make a full-length pair of Ninjas. I can wear these over the top as you can see in the photographs, but they are also great to wear for my yoga or Pilates sessions. The fabric has such a good recovery and coverage I love these. I think I might not ever buy leggings again.

The vest top is the Itch to Stitch Lago tank sewn up in the Minerva exclusive Dancing Lights french terry fabric. I also made full length leggings.


Friday 1 December 2023

Waste Not Want Not Jeans


I love an upcycled project. and wearables ones are the best. Back in late August my son decided that he was getting rid of a couple of pairs of jeans. Before he threw them in the bin, I rescued them and examined the quality of the denim. The button area on the waistbands had gone and the zips were damaged. but all in all the fabric was in decent condition.


I carefully unpicked and took them apart. I intended to reuse as much of the fabric as I could.  One of the waistbands was long enough for me to use of I cut away the damaged section. I reused the pockets and the belt loops.

The legs were disassembled from the inside, leaving the outer seams in tact. I used these leg sections to cut the front and back legs from.


I had to piece fabric to have enough for some of the smaller sections -such as the yoke and I added length to the legs in the same manner.

The denim was a stretch fabric and perfect quality for the Ginger Jeans from Closet Core Patterns. Having made these a few times before The construction was very quick and I did all the top stitching in regular thread, which meant no swapping of machines or thread on this one.


The pocket bags are made from some Superman fabric that my hubby had for a project earlier in the year. I know the photos aren't great. The light wasn't good when I was taking them and my phone is old!!!!


These have already been worn several times and I have made a small win in the zero waste fashion stakes. Everything used was from my stash or was off cuts. I needed new jeans and here we are.

Friday 17 November 2023

Second Hoodie

 Many, Many, Many years ago a friend passed on some clothes for my boys. The selection included a blue hoodie, which my elder son wore until he was about 14, and then grew out of it. My younger son wouldn’t wear it. So I did! It was a great fit and I didn’t have a zip-up hoodie. Over the years I have worn it a lot, to the point where it is stained and threadbare. And not much use other than gardening and DIY.

I decided it was time to make a replacement. I decided it should be lightweight and opted for French terry in a duck egg colour rather than heavier sweatshirting. I used my pinwheel to trace around the seams, which meant I could leave the original garment intact and continue to wear it until it actually falls to bits!

Once I had traced all the pieces I checked the measurements and trued up the seamlines before adding seam allowances. I weighted my pattern pieces to prevent the fabric from curling as I cut and cut all the pieces out. 

The French terry has slightly less stretch crosswise compared with lengthwise, which meant that the zip opening really needed to be interfaced to ensure the zip went in without any puckers.
I initially used a stretch interfacing, but it was too lightweight and I ended up adding another layer of lightweight stable iron on interfacing. I should also have added this to the edge of the pocket that would also be caught in the zip as this did pucker a little.

I used a jersey needle and sewed the garment together with a narrow zig-zag, the edges were then overlocked for a neat finish. I did not have any matching ribbing for the hem band and cuffs. I originally cut these on the cross-grain at 90% width, but there was not enough stretch in the fabric for them to fit without causing puckers. I re-cut these pieces lengthwise and they went in with no issues.

The hood is self-lined and buttonholes are used to provide the exit points for the drawstring for the hood. I also decided to bind the inside neck edge to give a clean and neat finish, unfortunately, I didn’t have any cream jersey, so it ended up being white - it does give a nice neat finish though.

I hope this lasts as long as the original. It was on my back as soon as I had finished it. I’m already loving it!!!!!


Friday 27 October 2023

Long Shirt


This is one of those patterns that I have had on my ‘to make’ list for quite some time.
Since 2012 in fact. It’s pattern 117 from the 04/2012 issue of Burdastyle Magazine.

It’s a tunic-length shirt with a gathered flounce at the back. So it’s business in the front and party in the back. I’ll put it out there that it needs a much thicker belt - I’m going to make an obi style one to go with it and I think it will look fab with my pinstriped waistcoat. I also think it would benefit from being worn with slim trousers or leggings and a high heel. The length does shorten my already short legs!!!!! And accentuating the waist more will help balance my long torso. However, styling issues aside this is an absolute winner, mainly down to the fabric.


The fabric is a stable cotton sateen, which I have heard referred to as the dressmaker’s shirting, and I can see why. The hand of the fabric is smooth and silky to the touch. It’s light but keeps its shape and is a perfect transitional fabric. Light enough for cooler summer days and perfect for spring and autumn. I think you all owe me a huge shoutout today. It was the first time I wore this to work. I’m an art teacher and today involved clay, 3D modelling, acrylic paint, lino printing, painting and ink drawing and I still came home with this shirt clean - not sure how!


I love the weave on this fabric, it adds to the feel of luxury. It sews and presses beautifully, but I do recommend using a microtex needle to avoid any unwanted puckers.


As with most Burdastyle magazine patterns the instructions are minimal; for most patterns, I don’t use them. I normally cut a size 38, but for this shirt, I went down to the size 36 and I’m glad I did - the 38 would have been too big. The collar and cuffs and the top part of the back ‘skirt’ section are interfaced with iron-on interfacing. This is to support the weight of the ruffles, and it does pull back a little here, so it’s definitely needed. The collar is a flat collar designed to be worn open at the neck. I’m not a huge fan of this collar style and prefer a proper shirt collar, but I quite like it here.


I didn’t make any alterations for the main body, but I did flatten the sleeve cap and widen the sleeve a little as the original was very slim and I have wider biceps. The hem was sewn using a 3 step baby hem method, which I love to use on curved hems or fine fabric as it gives a nice flat finish.


I think this would make a good shirt to wear over the top of a slip dress or beach wear as it’s so light and airy.  Here’s waiting for my holiday to arrive!


Friday 6 October 2023

Traveller Trousers


After my last make, which I love, I decided to try similar shape trousers, but with some unusual features. These are made from a pattern from the Burdastyle Magazine from a few years ago and are named the traveller trousers. I thought they'd be perfect in this purple linen. The sample in the magazine looked like it was made in a similar weight fabric to linen, so I went ahead with these.


Prior to making these, I prewashed the fabric as linen can sometimes shrink a little on its first wash and it always seems to have a nicer hand once it’s been laundered. I also carefully measured the pattern pieces to determine which size to make.
 

The illustration seems to imply these are a very loose fit, but the magazine photos looked quite snug. I did not want snug trousers! I usually cut a size 38 in Burdatyle, but I’m aware that my hips are at least a size 40 right now, mostly down to skating developing my thighs and butt!!!!

I ended up tracing the 42 leg, grading to 40 at the high hip and waist - I should have gone for the 38 at the waist!!!!!! There are lots of adjustment seams, but due to the construction methods, the back waistband is trickier to adjust once sewn.

The pattern features unusual seaming and pockets. There is a side insert that has two pockets, one at hip level and a deeper one at the thigh. The inserts then curve to a point at mid-calf where the front and back legs join. This pocket insert makes this at least an intermediate make and I wouldn’t advise it for beginners. The front has a fly and ties that are secured into the side seam of the waistband and run through the waistband as a channel, popping out through buttonholes.

It’s a very interesting design and was nice to sew in this fabric. I’m still in two minds about it and I think I should have graded to a smaller waist size. I ended up adding some elastic into the back waist, which is less than ideal to accommodate my sizing error. I do like the fit on the hip and legs though and this is a great one for travelling - It’d definitely going in my holiday suitcase. I just wish I’d taken a little more time to get the waistband fit right - hey but you live and learn and I made it work.


LinkWithin

Related Posts Plugin for WordPress, Blogger...