Showing posts with label #minervabrandambassador. Show all posts

Sunday, 7 January 2024

New Year New PJ's


When I originally saw this fabric I had thought that I would make the Solina Dress from Named Clothing’s Breaking the Pattern book. 

However when it arrived I was just not feeling it - I think the pattern was just a bit too busy for that dress and it would have been too much.  


As the fabric arrived just before Christmas and I had begun to notice the threadbare nature of some of my PJ’s I decided that this fabric 

would make a cool set of nightwear. The smooth cotton sateen with a touch of stretch is a perfect luxury fabric and feels amazing against 

the skin - almost like silk! What could be better for nightwear?


I scoured my stash of Burdastyle magazines for an appropriate top and found one in the January issue from 2017. 

This top required piping - I didn’t have any, and once I had time to sew it was the Christmas break and my local haberdashery 

was shut for the holidays. Being the impatient sort I am - I decided to use a flat ‘piping’. In other words - self made bias tape from some 

white cotton sateen in my stash, without any piping cord in it. This was a mistake as it is incredibly tricky to make sure you have an even, 

but tiny amount of the trim showing. Piping would have been easier.
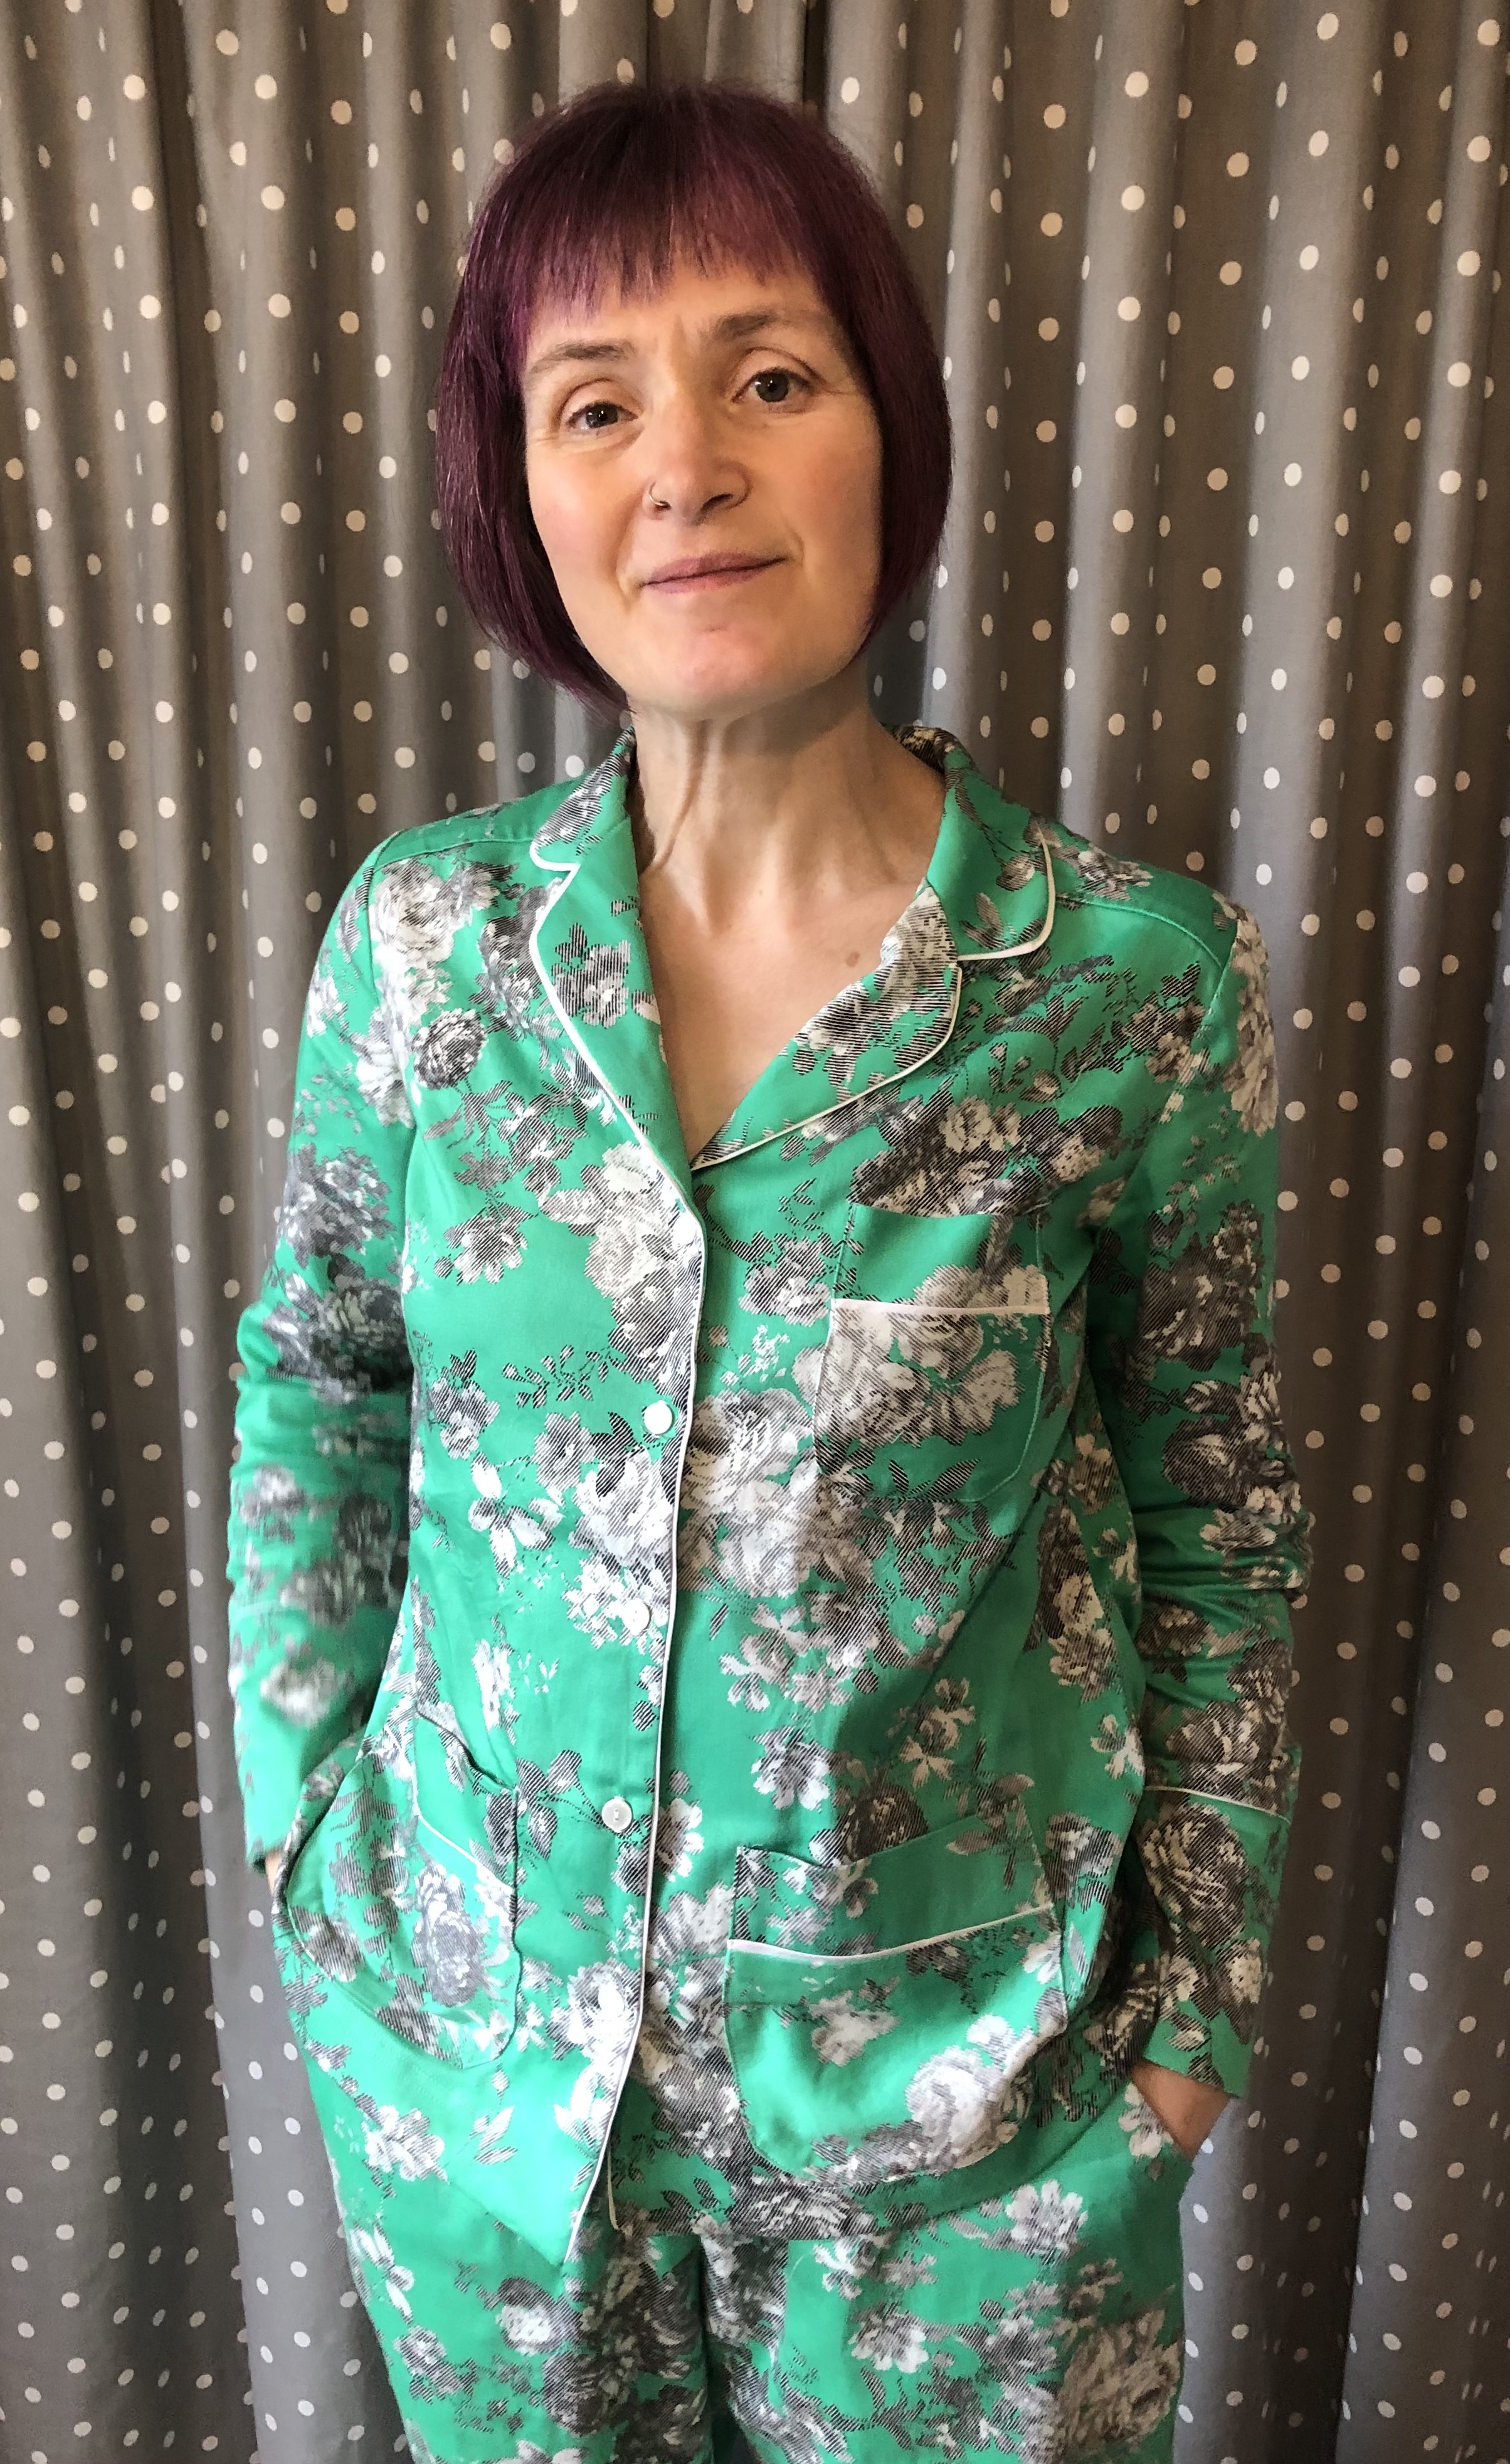


The pattern itself is well drafted and I know that I can cut a size 38 in Burda and it will fit. This pattern came with more detailed instructions. 

I followed them and wished I hadn’t. Some of the finishing techniques left a lot to be desired and there were some clunky joins that 

I’m not that happy about! But Hey, apart from the slightly uneven trim - it’s only me that will see the bits I’m not happy with!


The PJ bottoms were self drafted and I used the same pattern as the green drill cargo trousers I made in the summer, 

but without the drawstring or the patch pockets. I did keep the hip pockets though. I make the elastic waist just a little looser for evening 

and sleep comfort.


I think these look classy and I can feel comfortable and stylish when lounging around at home in the evenings now. 

It’s just a shame I didn’t have them completed in time for the holiday period, when lounging around is the perfect thing to do!


This was my most successful PJ set made (i’ve only made one set before - for my daughter). It’s not something I think about making often, 

which is why most of my PJ’s are threadbare. It certainly won’t be the last pair I make. But it was quite involved and did need a lot of 

concentration and accuracy to get a good finish.


Here’s to chilling out in your PJ’s!


Sunday, 26 March 2023

Heyday Dungas - a review

This is one of those makes that has been on my radar to make forever. I have loved seeing the Lucy and Yak style dungarees that my friends have worn and fancied having a go at making some in a simialr style.

The pattern is the Heyday Dungarees by Waves and Wild (formally Made by Jack's Mum). The pattern is is simple and there are no zips or buttons to install, making this a super easy make for beginners. You do need to be confident sewing through multiple layers of fabric though.

The fabric is an 8 wale cotton corduroy from Minerva and I bought just over two metres for the size medium. I think this ois the perfect weight for this type of make and not too thick.

The sizing is easy to understand and clear guidance is given for the height this is drafted for and how to adjust for differeing heights. I was in two minds about choosing between the small and medium sizes, so I printed the pattern with both lines, but ended up going for the medium. The fit is good on a stable woven, but if I had chosen a fabric with stretch the small would have been a better option.

The instructions are very clear and easy to follow on this pattern and there are two different options for fastenings - loops or buttons. I opted for the loops.

The construction means that all the edges are concealed on the hems and facings and seams are neatened by overlocker and then top stitched. I took my time with this, but it was still a quick make. It would have been even quicker if I hadn't have made a mistake with the pockets and cut a pair upside down, resulting in the nap being the wrong way and the colour looking odd - moral of this story is don't cut out in poor light! I removed them and cut a replacement pair, which was well worth it as now they look fab.

I can't wait to wear these and I hope they might be a summer staple - not to mention perfect skatewear!


Wednesday, 10 August 2022

Animal Glow Peppermint Playsuit hack

I don't know if you are aware but Minerva have created their own range of exclusive fabrics and I was lucky enough to be given the chance to sew one of them up. This is the Minerva Exclusive Viscose Challis in Animal Glow print.


I excitedly waited weeks for this to arrive and was away when it finally came through the letterbox. I had much excitement as I opened the bag to discover this beautiful drapey fabric.
The fabric is a white substrate with the design printed on top. It is a fine challis with a lovely handle and drapes beautifully and doesn’t crease too much either. Perfect for the very hot weather we are having right now.


I decided weeks and weeks ago what I would make with this. In fact I had the idea last year and have just been waiting for the ideal fabric to do this in. I’m not really an animal print sort of girl, but when I saw this and in this colourway I knew it was a perfect match.


The pattern is a hacked version of the free Peppermint/ In the folds playsuit pattern. The pattern can be downloaded free from the Peppermint magazine website, but you can pay as you wish if you are able to support them.


I have made the playsuit before - in recycled jeans for my daughter. We are the same size so I knew it would be a good base. I cut a straight size C (could have actually gone with the B in this fabric). I lengthened and widened the legs so they were more like a palazzo pant leg and omitted the patch pockets. I figured that they wouldn’t work so well in such a light fabric. Instead, I added one inseam pocket on the opposite side to the zip.


Otherwise I kept the construction the same. I added interfacing to the straps and the facing and should really have added a strip to the top edge of the bodice as it did roll a bit, despite understitching it. This was easily solved by stitching the facing to the shell along the seam lines - essentially stitching in the ditch. I can’t even tell where the stitching is and I’m wearing it right
now.


I used the overlocker to neaten and finish all the seams and the hems are a 3 step baby hem, which is perfect on this fabric.


Viscose challis is notoriously shifty to cut and sew, but I found this really stable. It didn’t stretch out of shape at all during construction, but it is well worth stay stitching this type of fabric.


My top tips for working with viscose challis:
Overlock the edge of the fabric before pre-washing to prevent any shredding.
Don’t trim seam allowances too closely to avoid holes developing later.
Use a new microtex needle for sewing.
Use a light interfacing with some stretch on light fabrics such as this - it helps prevent bubbling of the fabric over time and still keeps the characteristics of the fabric while providing support.
I think I might just be wearing this a lot this week - without the t-shirt as it is so cool against the skin.


Friday, 29 April 2022

Cropped Hoodie

As my latest obession is skating. I have been considering clothing that is suitable for skating in. During the Spring and Autumn. It can be quite cold, but once you get warmed up, you don't really need a coat, but a hoodie is perfect. I have a fab hoodie that I wear a lot in the winter, but it is long and doesn't really go with my high waist trousers and wide legged jeans. I also wanted something that would serve as a cover up if I wanted to wear a longer dress or skirt, that wouldn't make me look like a sack.

I decided to use the Assembly Line hoodie dress as a basis for this make. It's drafted for a woven, but it is loose enough to work with this stretch fabric. I've used this pattern multiple times and the bodice makes a great woven t shirt.


I didn't have to make very many changes. I did lengthen the bodice by about 3 cm and then added on the hem band, which I cut slightly shorter than the circumference of the top. I considered leaving it unfinished on the bottom hem and that would have worked too.

The only other change I made was to make a hood lining in the same fabric rather than just adding a facing and I think this works perfectly.


The fabric is a dream to work with for a stretch fabric it is nice and stable and doesn't roll too much. It presses well, although I do recommend a press cloth.


This was a super quick make and only took one afternoon to finish it, and I've already worn it out for skating on numerous occasions. Perfect for cool spring days when I would be too warm in a coat, but it's still too cool to wear just shirt sleeves.


I think this will be super versatile - it is great for skating due to the length, I think it could also work over the top of a dress as an extra layer and this colour is just fantastic.


Friday, 22 April 2022

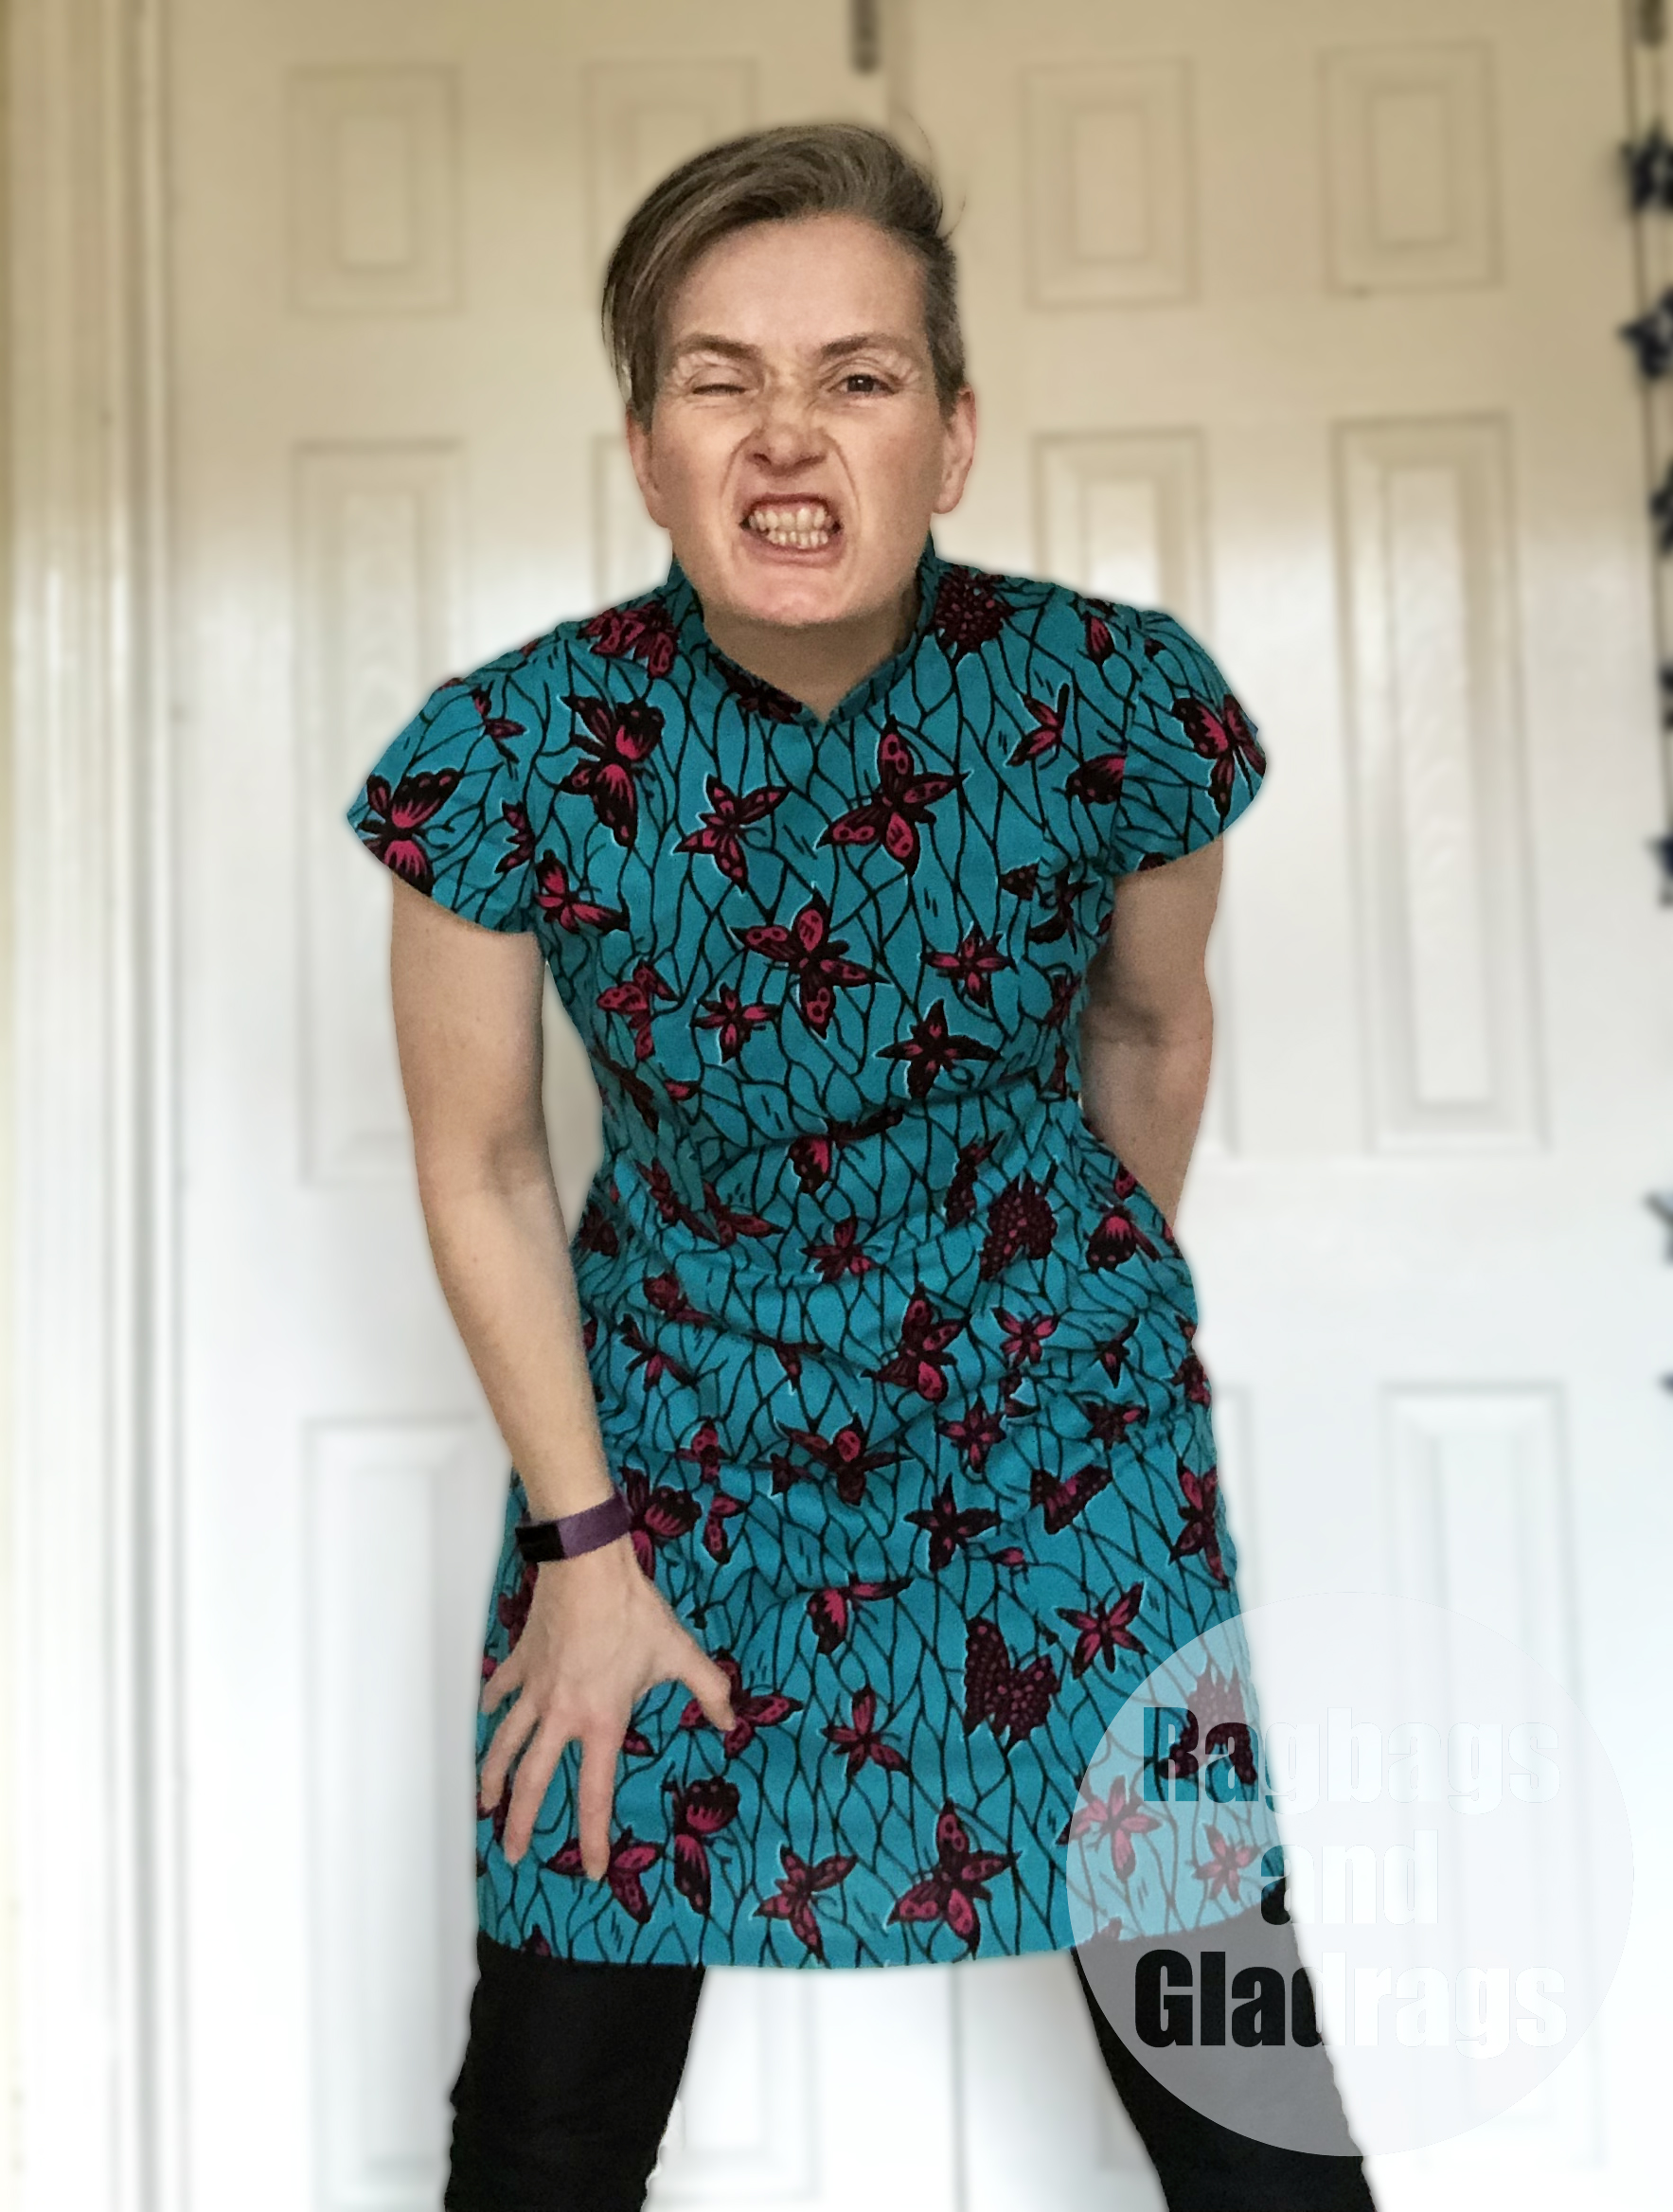
Pattern Review: New Look 6299


I love a fit and flare dress. So when Minerva offered me the chance to review New Look 6299, I jumped at it!
The pattern has princess seams and the option of cap sleeve or ¾ sleeves. There is a boat neckline or a shirt collar - or plain jewel neck if you prefer. There are optional godets that will add more swing to the skirt. The skirt length is just above knee length but could easily be shortened to tunic length or lengthened to suit your preferences.


Originally I planned to sew this in a range of different plaid fabrics I had in my stash - but they were mainly polyester and of different weights and very different colour and patterns combinations. Once I had cut them out I realised I hated the combination. I raided my stash and found some more of the waxed cotton that I used for this Kalle dress.


It was a bit of pattern Tetris and I did have to piece one of the side back panels to get everything out of the fabric I had.


I decided to make view A - which is the cap sleeve version with the collar and no godets. I decided that a full-on collar would be a bit much so I used the collar pattern piece to draft a mandarin style collar instead.
There is about 9cm ease on top of body measurements for this pattern. Which is common for the big 4 pattern companies. My measurements put me in a size 12/14, after looking at the finished garment measurements I cut a straight size 10. 


I sewed it up without any adjustments but realised I could have actually made the size 8 and it would have been perfect. The 10 is a little loose in some areas, but not horrifically so. Once sewn I took a smidge off the front princess seams above the bust and a little just below for shaping. I also took in the side seams at the waist. I could have gone further with this, but due to the structure of the fabric I didn’t need to - it holds the shape well.


The sleeves had a lot of ease in the sleeve cap, more than was really necessary, and again due to the nature of the waxed fabric, this was quite tricky to ease in without any puckers. 


I considered shortening the skirt on this to be tunic length but decided to leave it at the full length. I’m  171cm tall, so this will be just above knee length with a small hem. I kept the hem at 2.5cm. 


The dress is constructed with a facing rather than a lining, I think a lining would be a better option. As this is a summer weight fabric I can get away without it. I think this pattern is a good basic dress pattern with lots of options. I think it could be stunning in a brocade, or cotton velvet. I may just make this up as a party dress for next Christmas in velvet, with a detachable collar so I can wear my bling jewellery with it. But for now, this was a stash buster of a project. I’m trying to reduce fabric waste, and I’ve certainly done that with this one.


Sunday, 12 December 2021

My Heart Will Go On Dress


I love a quirky fabric and when I saw this one by Little Johnny on Minerva I knew I needed to make a dress in it. The pattern is the Saraste dress from the book, Breaking the pattern by Named Clothing. I have made the sleeveless version of this dress a couple of times so I knew it fit pretty well.


However, after making the shirt version I noticed some strange pulling on the shoulders. I did a bit of investigating and made some alterations. I made a square shoulder adjustment, which meant raising the armhole by 2cm and adjusting the slope of the shoulder to match and a 1.5cm broad shoulder adjustment. I used a straight sleeve from the Solina dress from the same book. I also drafted my own inseam pockets - I mean a dress with pockets is defo the way forward and I miss having them in my other Saraste dresses.


I knew that matching the pattern would be important with this fabric, so that meant some careful cutting out. The repeat isn’t too big so 3m was ample to match the key areas. I worked hard to match the centre front on the button placket and the yoke on the back - I think I’ve done a pretty good job with those. It’s harder to match the princess seams, but I tried to keep the pattern flowing as much as possible here. I did not try to match the pattern on the skirt sections - as they are gathered It’s pretty impossible to see any mismatch and it would have taken yards and yards of fabric and I hate fabric waste!


I’ve dubbed this dress ’my heart will go on’ dress. The pattern is lots of lovely heart shapes and as someone who doesn’t often do florals, It fits well with my likes. It’s a beautiful smooth fabric, presses well, It doesn’t crease particularly. The photos were taken after a full day at work and it’s still fairly crease-free. I have already worn it a few times to work. I am a natural fabrics person and don’t enjoy sewing or wearing synthetics on the whole, so having a long sleeve cotton dress to wear during the cooler months is a bonus. It saves me shivering in my classroom when the heating isn’t on.


I had hoped to get some photos outside, but what with storm Arwen and then torrential rain the next weekend. It’s had to be in the evening when I got in from work - Hate the dark nights - bring on the long days and sunshine!


Saturday, 21 August 2021

Summer Sewing


During the lovely warm spell we had a few weeks ago, I decided to make a simple summer slip dress. Typically, as soon as it was completed the weather cooled and it was sat in the draw waiting for a warm day.
Last Thursday was that day (which turned out to be more eventful). I popped on the dress and headed into town for a wee shopping trip with my daughter (fabric shop vouchers right).
This is a Burdastyle dress from the magazine. I can’t find exactly which one. All I remember is that it was a lining for another dress. The dress is cut on the bias and is super simple to sew up. It’s just two pattern pieces and some bias binding.


I have made this before and found that the front gaped a little as it was too wide, so I narrowed it just a little. I also ended up taking in the side seams just under the arms a bit. I’ve now made these changes to the pattern pieces.
Despite this being bias cut, it still has back waist darts to give shaping and bust darts. I sewed this up in this tiny skull print Dashwood Studio cotton poplin. The fabric is smooth and handles well. It has enough body that I didn’t need to consider a lining. Making bias binding with this fabric was a breeze. It presses well and holds its shape, but equally while wearing it didn’t crease much, making it perfect for holiday or travel wear.


I was originally going to make a longer dress but thought knee-length was better for this fabric. I had 3m and this dress took about 2m. The rest was made into shorts.

The day was certainly interesting. My daughter, hubby and I headed into Newcastle. First up my daughter and I headed to Pure Ink for new piercings. I got my nose done and my daughter had her nose and conch done. We celebrated her results and acceptance at Salford Uni with a cheeky Nandos and then headed to John Lewis for fabric. I bought rigid denim for some Dawn jeans. I was going to buy some needle cord, but it was badly faded and the shop assistant didnt seem to want to offer a discount, so I left it.

We had tea at home and my hubby and I set out for our regular session at the local indoor skatepark. I had big plans for dropping in on the big ramp, but while I was still warming up I slipped and landed awkwardly on my wrist. I knew it wasn't right and after 5 mins with an ice pack on, it was quite obviously broken, so we headed to A&E. Hence the following photos are of me sporting an attractive pink cast.

I digress, as I mentioned before, I also made shorts from this lovely Dashwood Studio skull print cotton poplin. I thought these would make cute skate shorts, but broken arm and I suspect once this cast is off it will be back to longer trousers!


The pattern I used is a bit of a mystery. I found it free online last year but now can’t find the source. I did make it up last year, but didn’t love the fabric and passed on the shorts to a friend. You can read about the pattern details here.


I altered the pockets so that they are anchored in the fly front and made them a little deeper. Shallow pockets are such a waste of space.


The zip and button were from my stash. The orange zip fits perfectly with the orange in the print. I’ve already worn these way more than the ones I made last year. Hoping that the rest of August brings some nice warm weather before I’m back to work in September.


LinkWithin

Related Posts Plugin for WordPress, Blogger...