*** Photo heavy post***
I've been trying out a couple of 'zero waste' patterns recently. I'm a great fan of reducing waste. We've been actively trying to reduce our plastic consumption at home and reduce the amount of waste we create. It's been much harder during Covid times as our options have been somewhat limited.
We've almost got the bathroom sorted and since we started to make our own soap the amount of plastics and waste in the bathroom is minimal. We compost a lot of our food waste, which in turn helps us grow food - all good.
But what to do with those fabric scraps? I have always been pained to throw things away, which has meant an ever growing pile of small scraps of fabric. - that are really not much use!
I know that I can use this to stuff toys or the Closet Core patterns pouffe, or piece them together to make a Zero Waste Daniel style garment. (not managed this sucessfully as the pieces don't seem to go together) I've even made a quilt and have pieces cut for the next one, but this only really uses up my cotton scraps. I have even pieced fabric to enable me to cut out a garment from other waste materials - This I have had some success with and you can see the results here, here and here. I recently took part in the ZWDO community call and it was interesting to hear different designers take on creating zero waste designs.
However, the idea of setting out from the getgo to have not waste in my sewing really did appeal and when I saw the Zero Waste Hoodie on Zero Waste Wardrobe I knew I'd need to give it a go.I had ordered some beautiful fleece backed sweatshirt fabric from Minerva and this warm snuggly fabric arrived a few weeks ago. I pre washed it and got ready to get started.
I checked the body measurements to see if the pattern would fit me and the width of the hoodie corresponded almost exactly with the very well worn one I've been wearing so I decided to go for it.
The pattern calls for 80cm of 180cm wide fabric. I don't think I've ever found fabric that wide for dressmaking and mine was 155 cm wide, so I had to adjust the layout to fit all the pieces on.
I cut it all out and had enough left over for the t shirt from the same designer. I checked the shoulder width here and added a couple of cm's as I have wide shoulders and got it cut out. I was left with a rectangle of fabric measuring about 45cm wide and 60cm long - not bad.
I loved the design lines of the Hoodie. the construction of the pockets and the body is very well planned. The sleeve are raglan and quite narrow. At first try on I thought they were too narrow, but actually they're fine, but you can't really wear this as a second layer over a long sleeve top. Over a t-shirt is fine.
Once I had constructed the body and sleeves I tried it on and this is where things started going wrong! The shape at the shoulders was just wrong and unless you have a triangular body it's just not right. The neckline was very high and the fabric gaped horrifically. I decided that I would make the hood part and see how adding it on would affect the fit.
The hood is an interesting construction and uses pleats to shape the back of the hood. The hood edge has an eyelet for a cord to go through. I had issues with this as my eyelets would just not go in right. I've done eyelets lots of times and never had them end up bent and out of shape before - yes I did use interfacing. I had to cut a strip away from the edge to get rid of them! This left me with a much narrower hood band and not enough room to add a buttonhole. The hood then gaped and really did need the cord to give it some shape.
Anyway I basted it to the body of the sweatshirt and had a look. It was just not going to work. once the hood had been removed I set about rescuing this top, to make it wearable.
I took a large wedge out of the shoulder seams to make it lie as near as correctly as I could across the shoulders and then lowered and reshaped the neckline.
From the remaining fabric I cut two hem bands for the sleeves and a band for the neckline. I think It could have done with being a tiny bit tighter as it stands a bit too proud, but I'm not changing it.
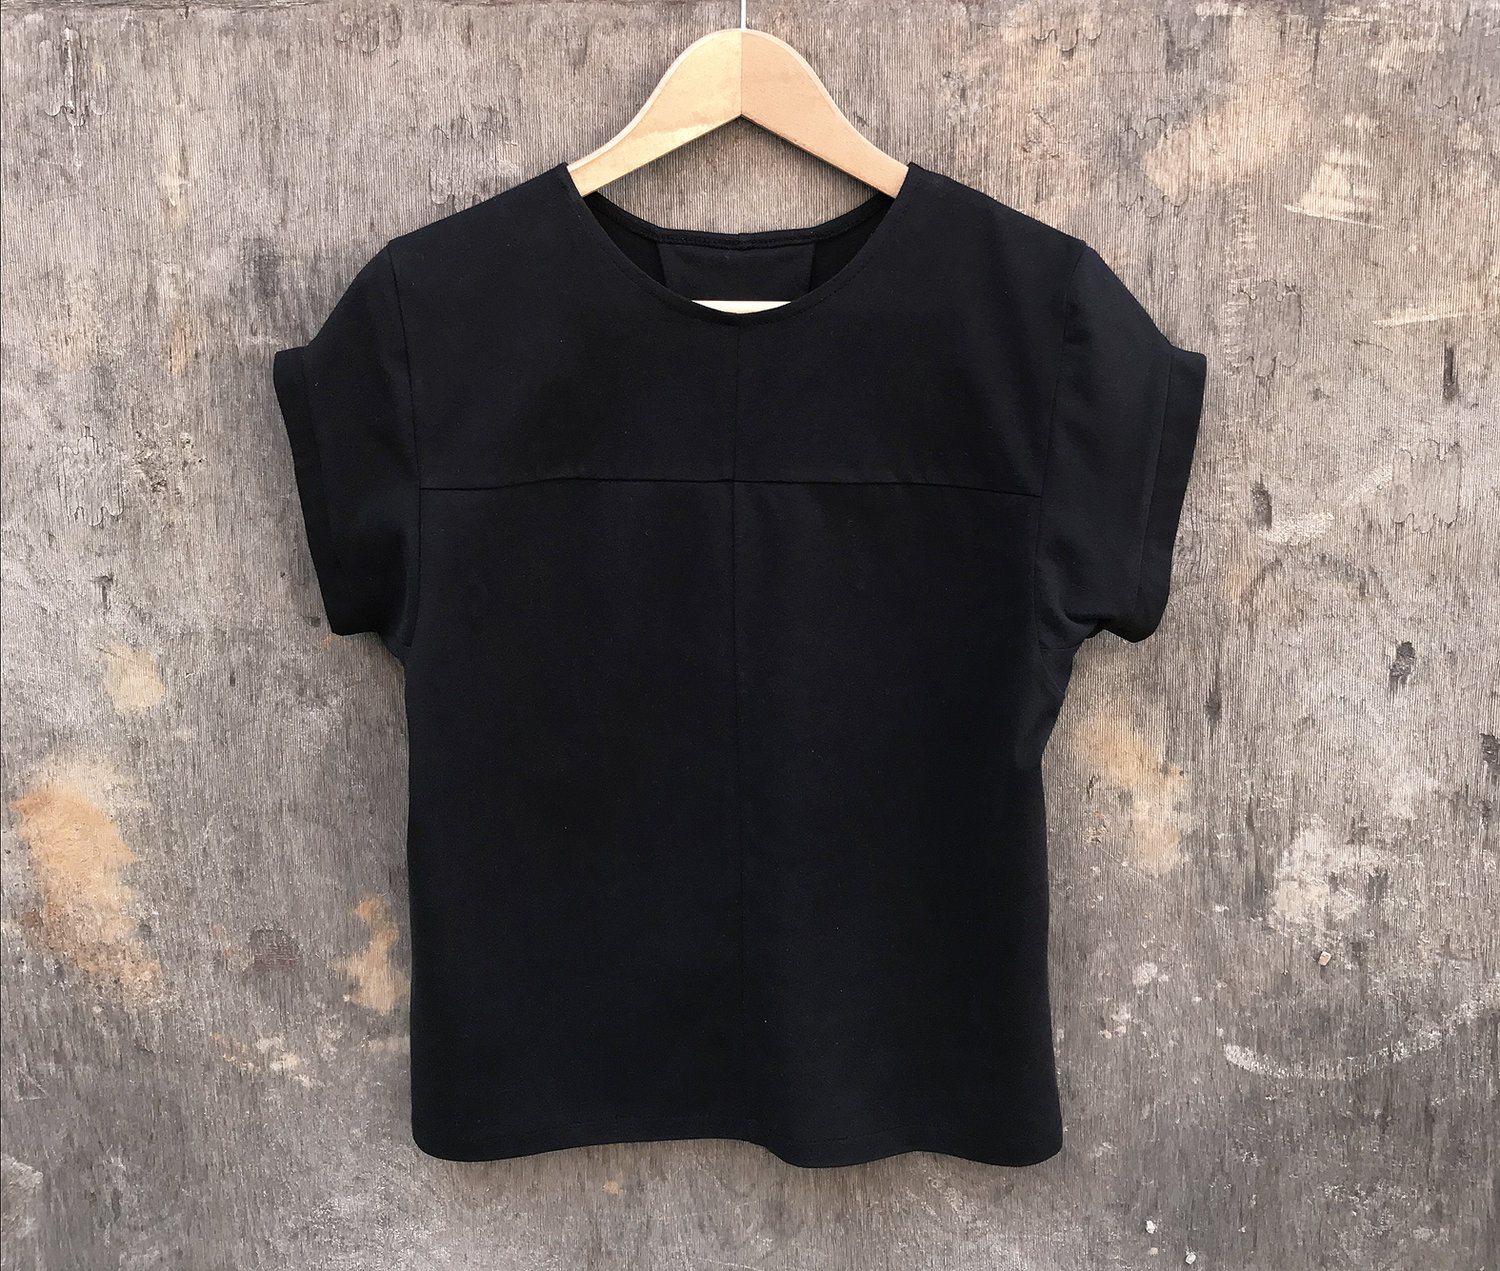
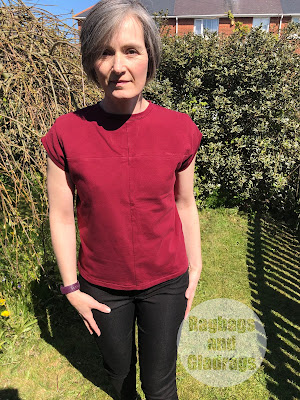
The T-shirt sewed up ok. The sleeves are a slightly odd construction, but they work. I also added a neck band to this garment. However I don't think I'd sew it again. The uses of some of the odd shaped pieces of fabric are rather clumsy and would benefit from more thought.
I had very high hopes for these garments and was left frustrated and disappointed that the hoodie was so far off the mark. The idea is great, but the drafting needs some work to make this usable. I was left with rather a lot of waste due to the issues with it. The T shirt is actually quite comfortable to wear.
It's a good few weeks since I finished these and I actually have found myself reaching for the sweatshirt quite a bit. It does have narrow sleeves so I think it will get more wear over the summer worn over verst tops and short sleeves.
For comparison I have just cut out the burnside bibs and a t-shirt based on a lengthened top from the TAL Hoodie dress from a piece of fabric and have less waste fabric left over than was left after this hoodie project. In the future I think I'll just be super economical with my pattern placement and continue piecing fabric to ensure I can cut out all the pieces with very little waste.
What's your thoughts on this? do you have a loved Zero Waste pattern or do you reduce your fabric waste in another way?


Because I'm so short, I always have to alter the length of skirts and trousers by a significant amount. And I've often been on a tight budget. Since my teens I have always bought the pattern first then spent ages working out my own cutting layout to buy the minimum amount of fabric. Leftover bits go into the Great Stash and usually end up being incorporated into play costumes for school, or children's craft projects at church. I like the idea of Daniels ZW outfits, but not sure I'd wear them. My best ZW fabric project has to be my heritage quilt http://angalmond.blogspot.com/2010/08/finally-finished.html. But this is one area where knitting beats sewing - you can always find a use for leftover yarns!
ReplyDelete