Showing posts with label creative. Show all posts

Wednesday, 16 January 2019

2019 Art Challenge


So here it is, something a little different...

A bit of background:
1. I am an art teacher. I love drawing and painting, but getting all my art kit out to make work can take up to an hour to set up and I don't have space for all my printmaking and painting stuff to stay out all the time. My sewing stuff sits on a small desk and is easily accessible. Hence I do way more sewing that art as my equipment is to hand and I can grab 5 minutes at a time if I want.


2. January is Manic! Once the schools have gone back we get into 3 rehearsals a week for Panto and the show week is next week You can book tickets here. Coupled with parent's evenings and CPD sessions I have very little time to prep and sew anything major (all I've done is mend my son's jeans).


3. My hubby bought me a new sketchbook for Christmas. Its an A4 spiral bound book made by Pink Pig sketchbooks.


So I decided that my challenge would be to try to draw every day, knowing that over these next few hectic weeks that I won't manage every day. I'm trying to follow a few Instagram prompts to keep me inspired. The idea is to draw something every day in any style, media, size and keep it in my book. I'm using the term 'drawing' as loosely as possible as I'm aiming to try a load of techniques I haven't done before or are not part of my normal art repertoire.

So 2 weeks into January and here are some of the things I've been up to.
You can follow more of my progress with this over on Instagram

Sunday, 31 July 2016

Summer Activity Day 2: Wet Felted Bowls


As I mentioned in my last post I ran 2 days of workshops for children at my school. Its an end of your activity and we had loads of fun. On the first day we did tie dye and I included a tutorial about how to do the tie dye.


On day two we used wet felting to create pod shaped vessels. It's rather involved to explain here.  There are many workshops and courses where you can learn how to do this. I learnt in a workshop with Wendy Stanger at the end of last year and thought it might be something the kids at school would enjoy. They did.


Felt making does require a degree of patience and some of the children were in a hurry to complete their work and the felt could have done with being 'fulled' for a little longer to make sturdier vessels. but they all created at least one strong bowl and the designs were great.


Most of the equipment needed is simple to find and if you can find a good supplier of wool tops they it can be inexpensive. Yorkshire Trading sell packs of felting wool for about £6. I ordered mine from George Weil. Excellent service and they arrived the next day.


Felting happens when woll fibres are placed at right angles to one another in thin even layers and water, soap, heat and friction are applied. the process is simple, but it does require practise to create sturdy pieces.


I first made felt in my art college days when I hand dyed raw fleece. I had to clean it, card it, dye it and felt it. I lost patience and ended up felting my work in the washing machine - which gave some interesting textures. The process used for this work was much easier.


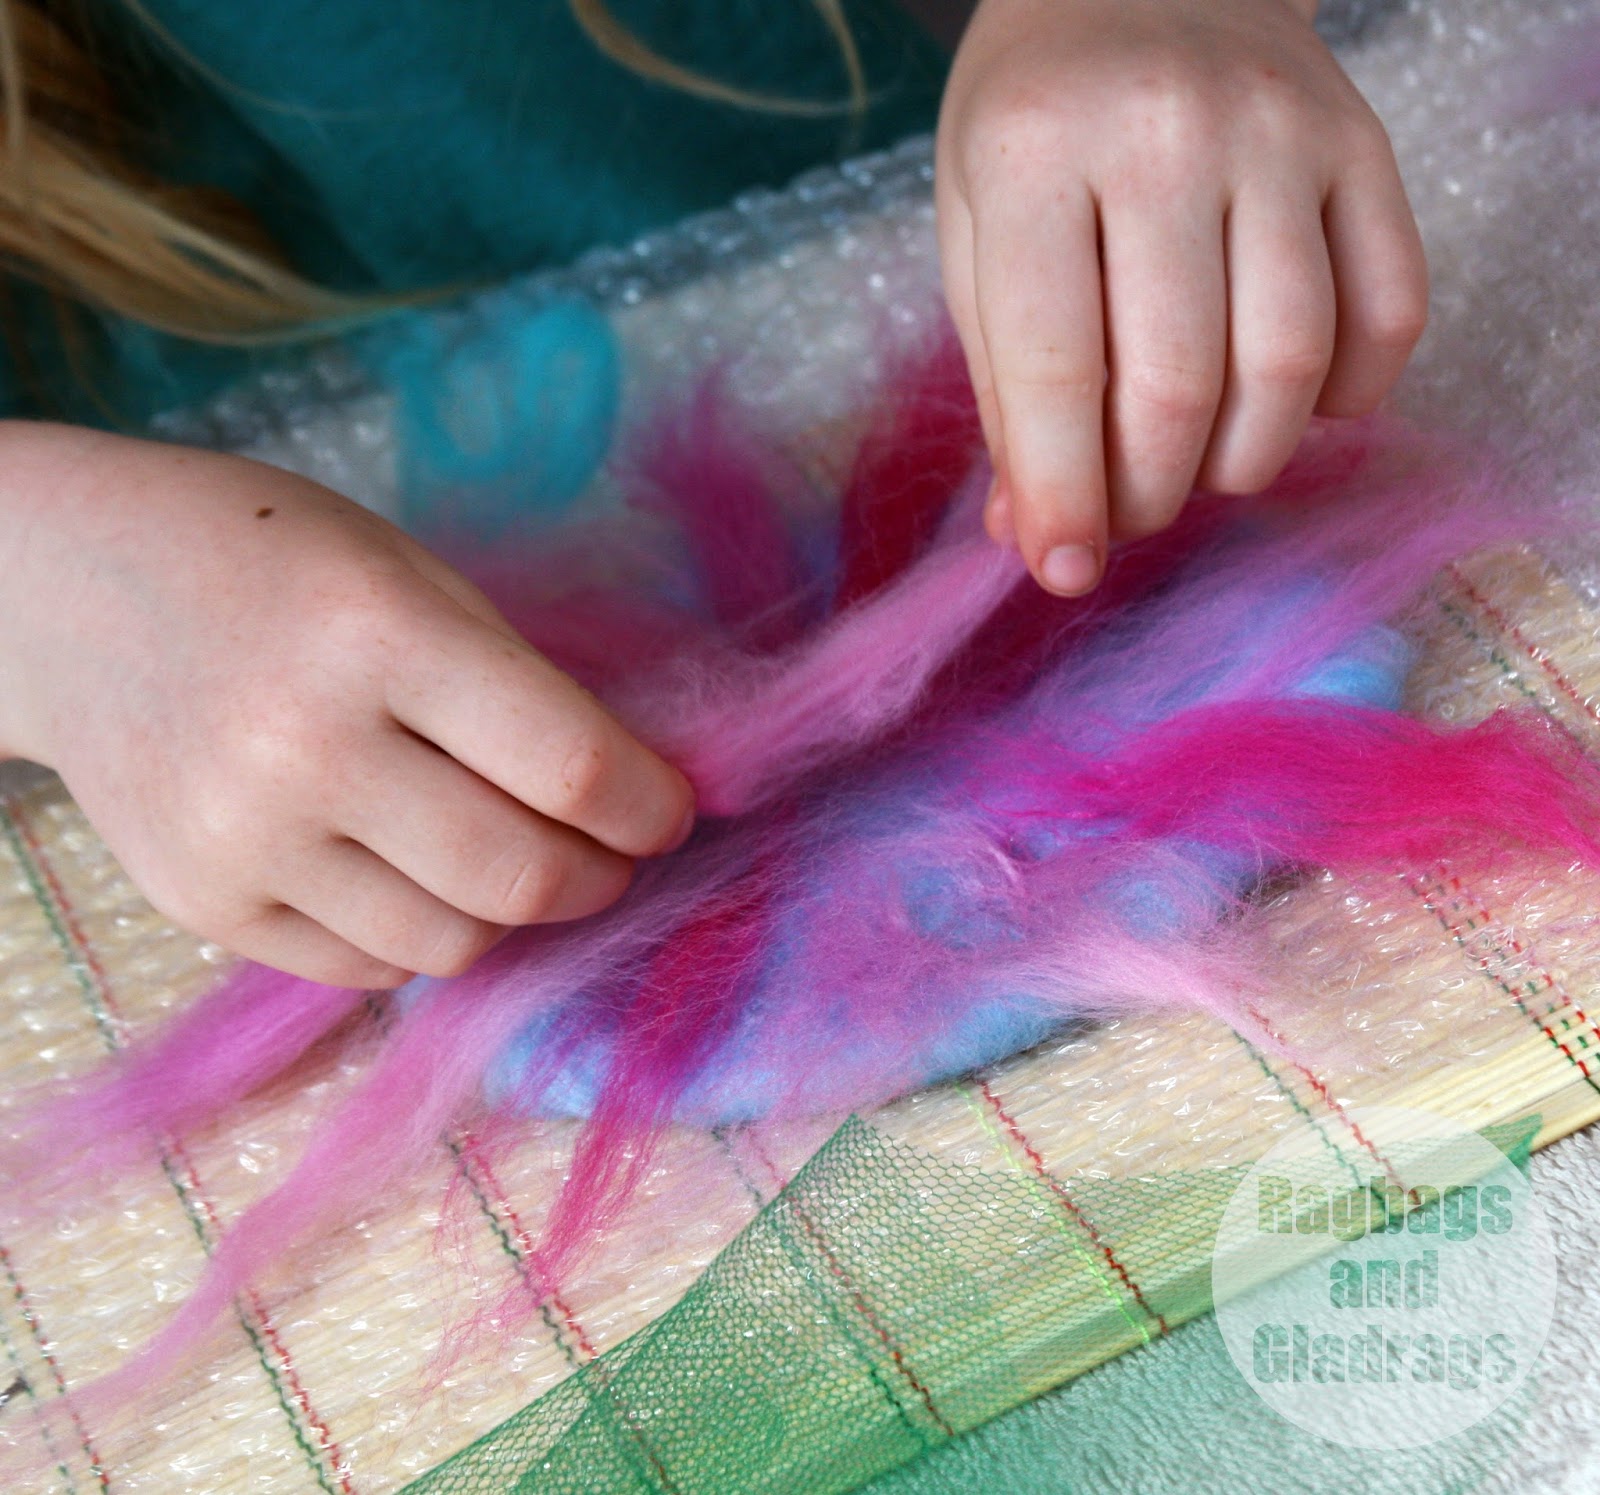
Layers of fibre are placed around a template, wetted with hot water and soaped then turned over to create a design. I used about 4 layers of fibres. Net keeps the fibres in place as you create the design.


Then more soap, hot water and bubble wrap are used to felt the layers together.


The felt is then rolled in a bamboo mat and bubble wrap to "full" the fabric. Hot water aids this and as it felts together the fibres shrink around the template. A hole is cut and then bubble wrap is used to shape and felt the bowl until it's the desired shape.


Basic equipment required:
Soap
Hot soapy water in a spray bottle
Bubble Wrap
Neoprene for templates
Dress net
Bamboo mat (a large sushi mat is ideal)


Saturday, 23 July 2016

Summer Activity Day 1: Tie dye tutorial and workshop.


So it's the summer holidays here in the UK. Most schools have now broken up for the summer and parents are seeking activities that will entertain and engage their children without costing the earth.
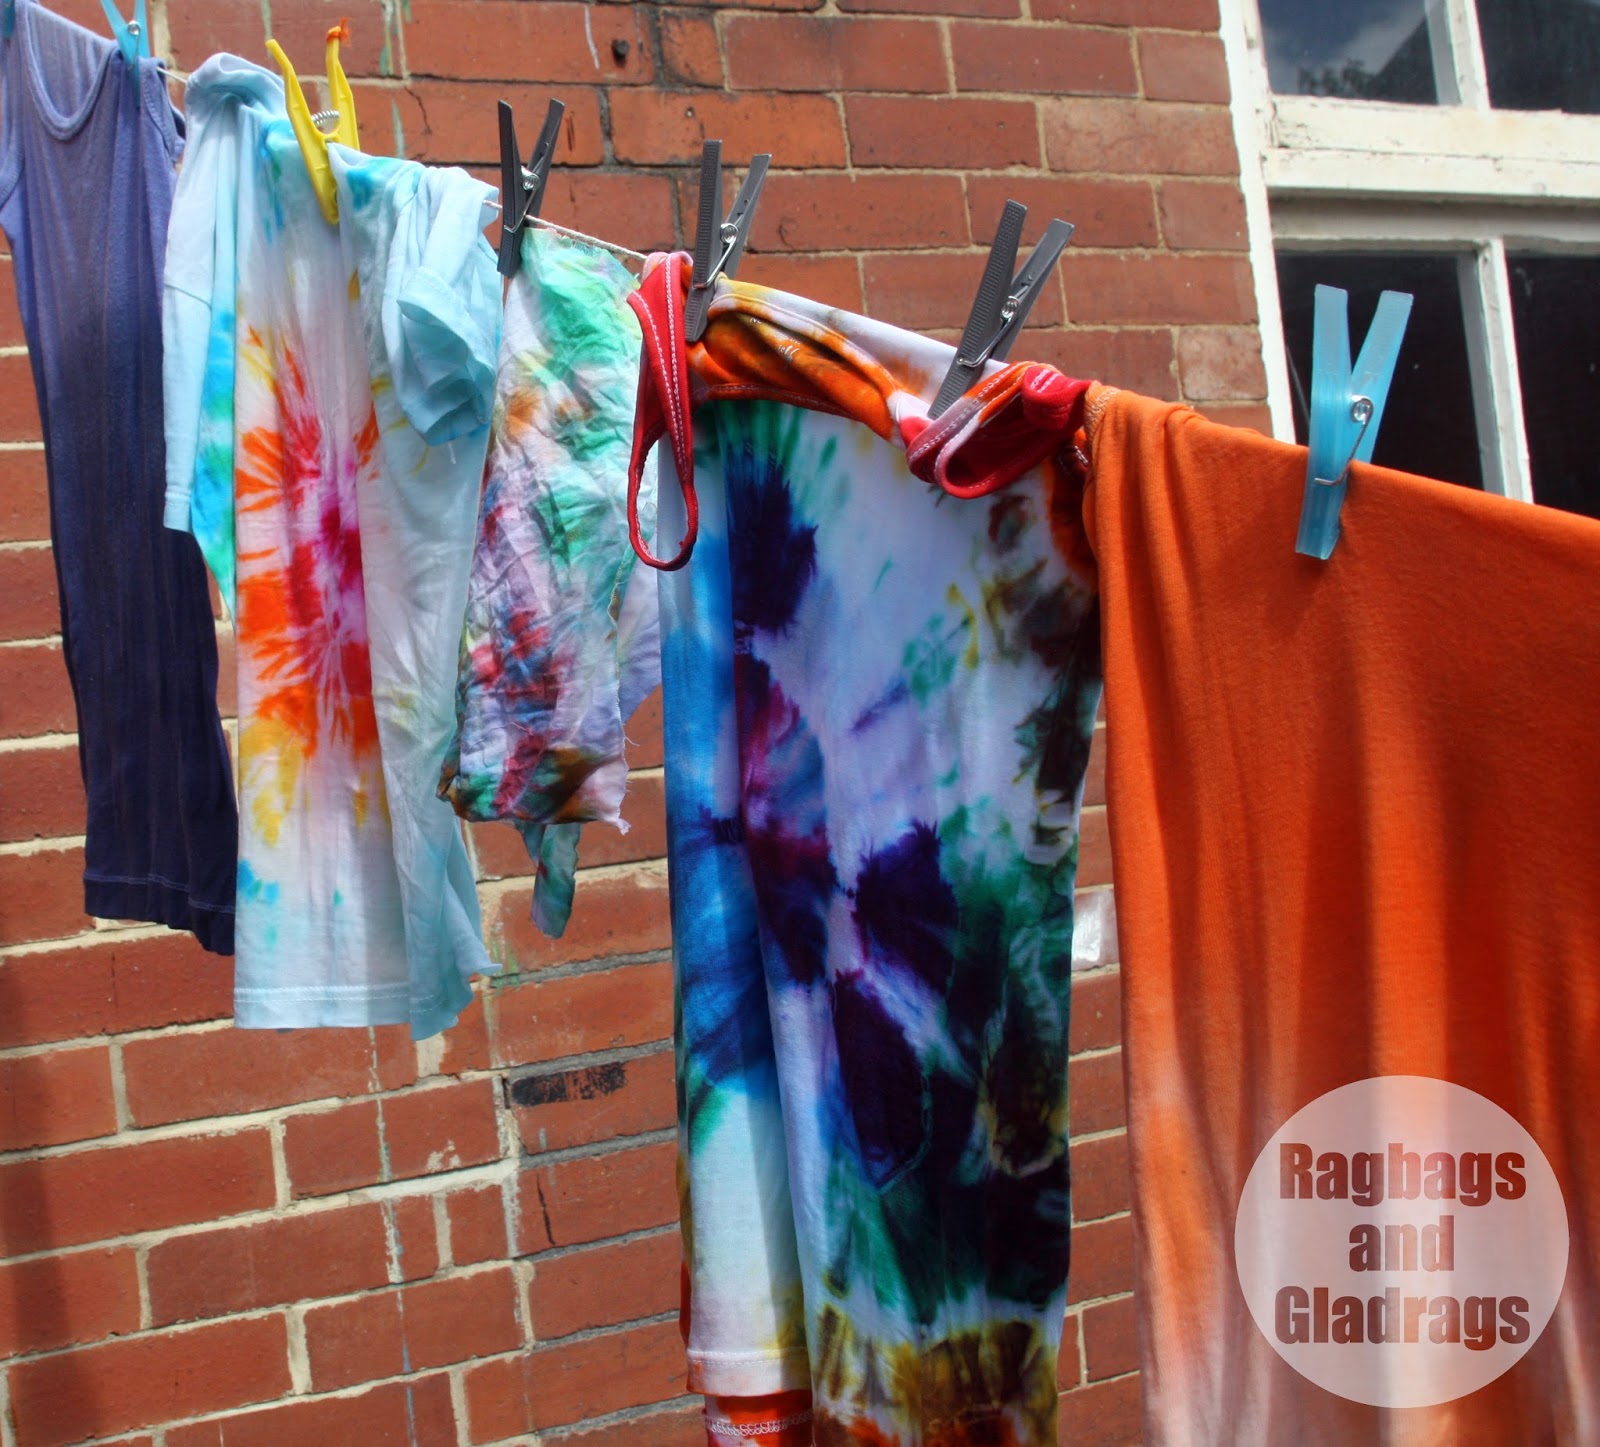
Tie dye is fun messy and yields brilliant results for minimal cost. You might want to try some of the techniques shown here. I've included instructions so you can have a go. It's all about experimenting - so have fun.


I ran a workshop for 20 Children at my school as part of our activity days towards the end of term. Photos are from this workshop. As well as tie dye we also experimented with batik and fabric painting.

There are primarily two methods for tie dye. Traditional dip dye and space or galaxy dying.

Traditional method:


You will need:
Dye: such as Rit or Dylon - at least one colour.
Salt/ dye fixer
white or light coloured cotton cloth or clothing items - natural fibres work best, mixed fibres will result in a paler result.
Elastic bands or string.
Beads/ pebbles etc.
Rubber gloves

1. Pre-wash your cloth, especially if it is a new item and dry.
2. Prepare the dye according to the packet instructions. I used cold water dye but you can use this technique with machine dye or the type that you boil on the hob. Wear gloves when dealing with dye.
3. Tie up the fabric -here's where you can experiment. tie the fabric around beads or pebbles to create small circles; concertina fold the fabric and tie in bands to create a stripy effect; pinch the fabric in the centre and tie bands along it to create concentric circles or just scrunch it all up and tie string or bands around the bundle for a more random effect. You do need to make sure that the bands or string are really tight as this forms the resist. if they are loose the dye will seep under them and the effect will not be as striking.
4. Wet the fabric.
5. Place in the dye and stir occasionally. leave in for at least the recommended time.


6. Take out and rinse in cold water until the water runs clear. Remove the string/ bands and rinse again. The design should be evident.
7. Leave to dry.


Space dye method:


You will need:
Salt/ dye fixer
Dye: You can use the same sort of dye but will need several colours. I used Procion MX dyes and a dye fix.
Rubber gloves
White or light coloured cotton clothing
String/ rubber bands
Beads/ pebbles
Clean jam jars or small bottles with nozzles (clean hair dye bottles work well here).
Pipettes/ droppers/ syringe
Plastic bag

1. After pre-washing your fabric tie the fabric as for the traditional method.
2. Make up a fix bath. I used the fixer that came with my dye. If using Dylon you can use a salt solution.
3. Soak the pre tied fabric in the fix solution until thoroughly soaked.
4. Make up concentrated dye. Mix the dye powder in a small amount of hot water so that all the power is dissolved. Store in jars or small bottles - this will keep for a few days and can be used again.


5. Place the soaked fabric on a protective surface, plastic bags are perfect. Wear gloves as this gets messy. Use droppers or nozzles to drop small amounts of different coloured dye onto the fabric. Colour mixing rules apply here - so if you put red next to yellow you will get orange etc.


Make sure all the fabric is covered by dye and then place the item in the plastic bag so it doesn't dry out and leave so the dye can develop fully. At least 4 hours or overnight if possible.


6. Take out and rinse in cold water until the water runs clear. Remove the string/ bands and rinse again. The design should be evident.
7. Leave to dry.


Thursday, 26 May 2011

Claire & Alli Make Art


My good friend Alli is one of the most creative people I know. She writes amazingly and her photos are stunning. However, she has always been afraid of putting paint on canvas. Not so long ago she attended some of my workshops and caught the art bug. Having bought canvas and paint Alli and I set aside some time today to make art.


The aim of today - to enjoy painting, not worry about the outcome and get messy (which I still am - having paint all over my hands as I type). Alli is just getting used to handling paint and mixing colour. I didn't really have a clue as to what I'd do. Often I start from a representational image and go abstract. Today I found myself doing the complete opposite. I don't often paint landscapes, but that is what I've achieved today. Its a far cry from my usual work.


So plenty of coffee, chatter, music, tomato and basil soup and the odd pause to assist with the mending of the washing machine constituted a great creative day.


Alli and her finished painting

My completed painting

LinkWithin

Related Posts Plugin for WordPress, Blogger...