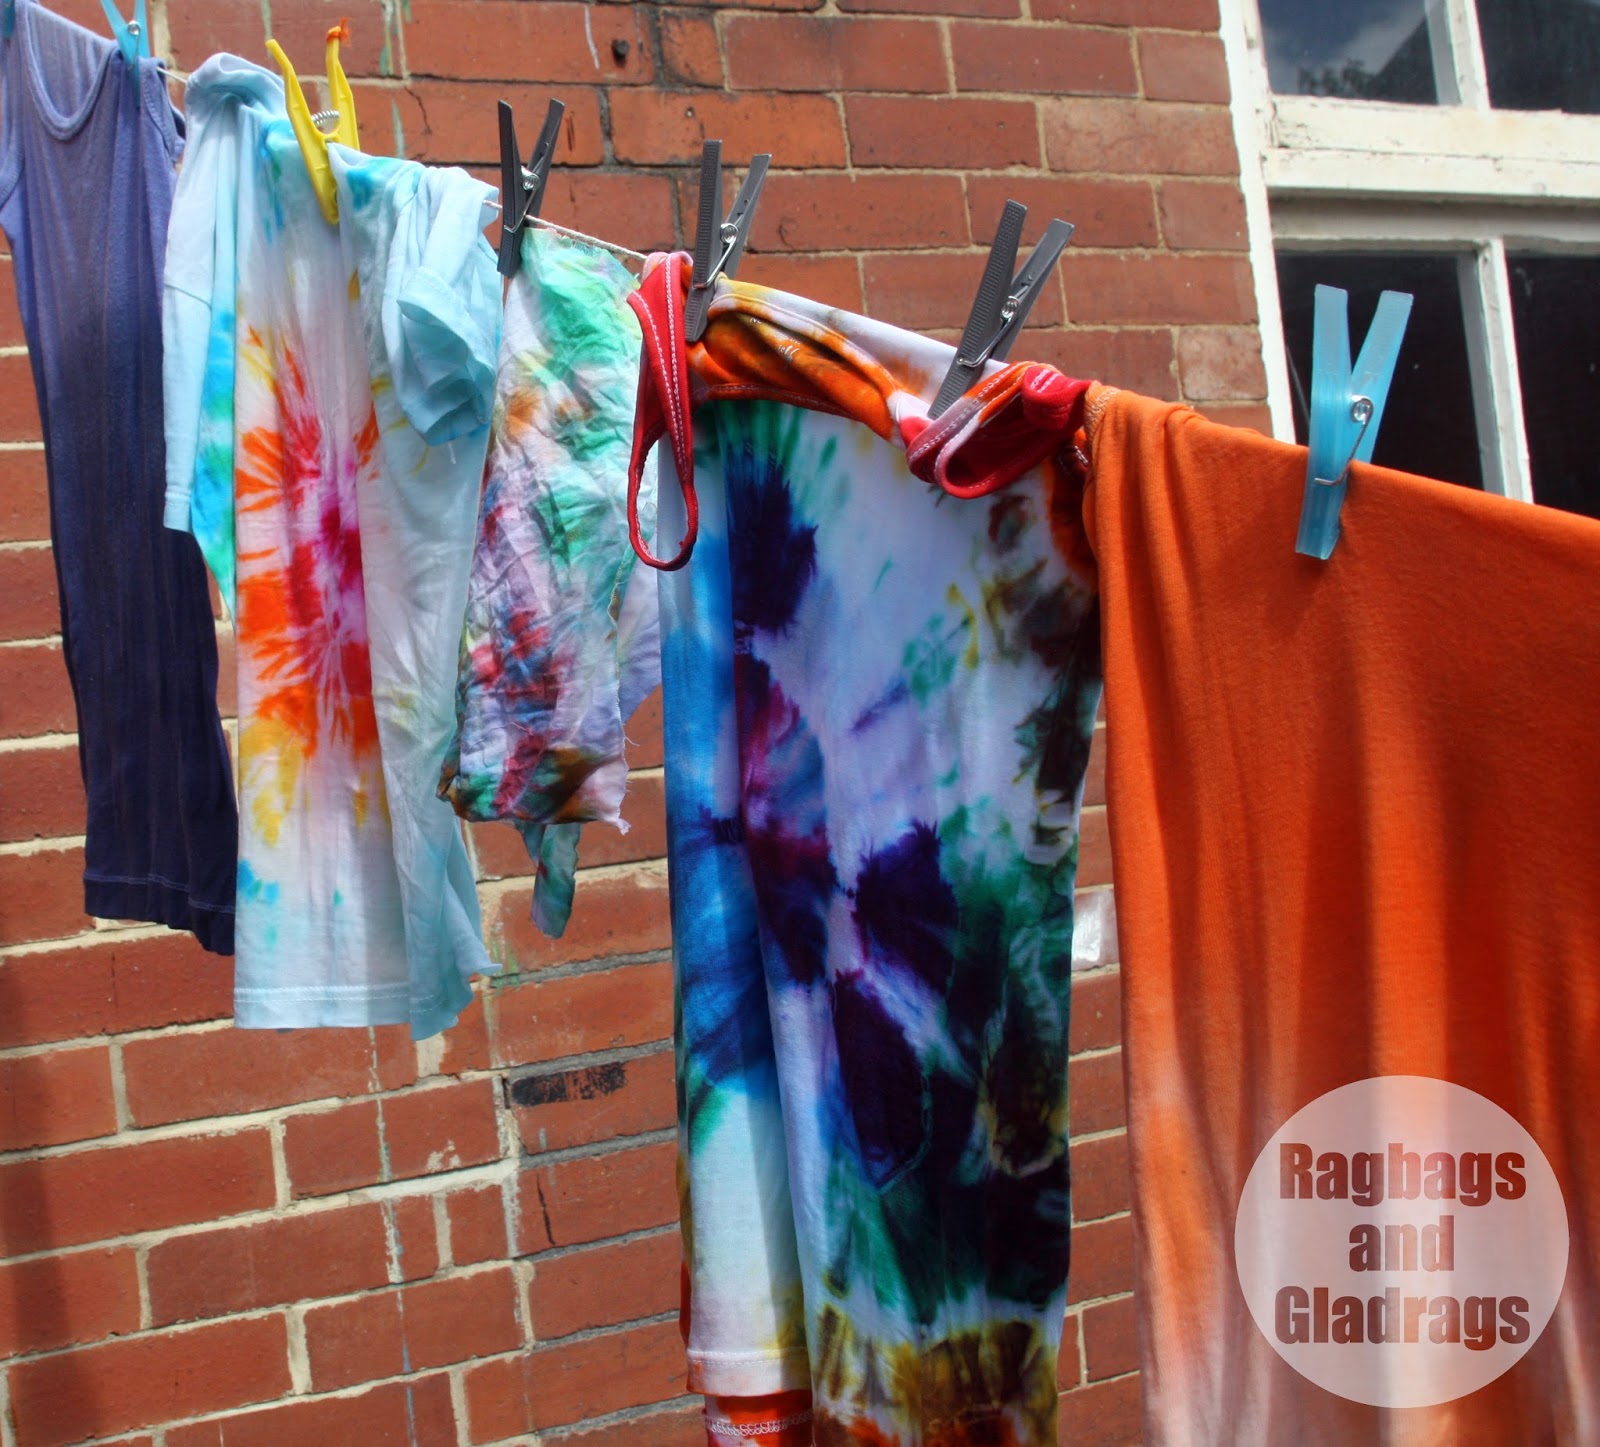
So it's the summer holidays here in the UK. Most schools have now broken up for the summer and parents are seeking activities that will entertain and engage their children without costing the earth.
Tie dye is fun messy and yields brilliant results for minimal cost. You might want to try some of the techniques shown here. I've included instructions so you can have a go. It's all about experimenting - so have fun.

I ran a workshop for 20 Children at my school as part of our activity days towards the end of term. Photos are from this workshop. As well as tie dye we also experimented with batik and fabric painting.
There are primarily two methods for tie dye. Traditional dip dye and space or galaxy dying.
Traditional method:

You will need:
Dye: such as Rit or Dylon - at least one colour.
Salt/ dye fixer
white or light coloured cotton cloth or clothing items - natural fibres work best, mixed fibres will result in a paler result.
Elastic bands or string.
Beads/ pebbles etc.
Rubber gloves
1. Pre-wash your cloth, especially if it is a new item and dry.
2. Prepare the dye according to the packet instructions. I used cold water dye but you can use this technique with machine dye or the type that you boil on the hob. Wear gloves when dealing with dye.
3. Tie up the fabric -here's where you can experiment. tie the fabric around beads or pebbles to create small circles; concertina fold the fabric and tie in bands to create a stripy effect; pinch the fabric in the centre and tie bands along it to create concentric circles or just scrunch it all up and tie string or bands around the bundle for a more random effect. You do need to make sure that the bands or string are really tight as this forms the resist. if they are loose the dye will seep under them and the effect will not be as striking.
4. Wet the fabric.
5. Place in the dye and stir occasionally. leave in for at least the recommended time.

6. Take out and rinse in cold water until the water runs clear. Remove the string/ bands and rinse again. The design should be evident.
7. Leave to dry.

Space dye method:

You will need:
Salt/ dye fixer
Dye: You can use the same sort of dye but will need several colours. I used Procion MX dyes and a dye fix.
Rubber gloves
White or light coloured cotton clothing
String/ rubber bands
Beads/ pebbles
Clean jam jars or small bottles with nozzles (clean hair dye bottles work well here).
Pipettes/ droppers/ syringe
Plastic bag
1. After pre-washing your fabric tie the fabric as for the traditional method.
2. Make up a fix bath. I used the fixer that came with my dye. If using Dylon you can use a salt solution.
3. Soak the pre tied fabric in the fix solution until thoroughly soaked.
4. Make up concentrated dye. Mix the dye powder in a small amount of hot water so that all the power is dissolved. Store in jars or small bottles - this will keep for a few days and can be used again.

5. Place the soaked fabric on a protective surface, plastic bags are perfect. Wear gloves as this gets messy. Use droppers or nozzles to drop small amounts of different coloured dye onto the fabric. Colour mixing rules apply here - so if you put red next to yellow you will get orange etc.

Make sure all the fabric is covered by dye and then place the item in the plastic bag so it doesn't dry out and leave so the dye can develop fully. At least 4 hours or overnight if possible.

6. Take out and rinse in cold water until the water runs clear. Remove the string/ bands and rinse again. The design should be evident.
7. Leave to dry.