Showing posts with label textiles. Show all posts

Sunday, 31 July 2016

Summer Activity Day 2: Wet Felted Bowls


As I mentioned in my last post I ran 2 days of workshops for children at my school. Its an end of your activity and we had loads of fun. On the first day we did tie dye and I included a tutorial about how to do the tie dye.
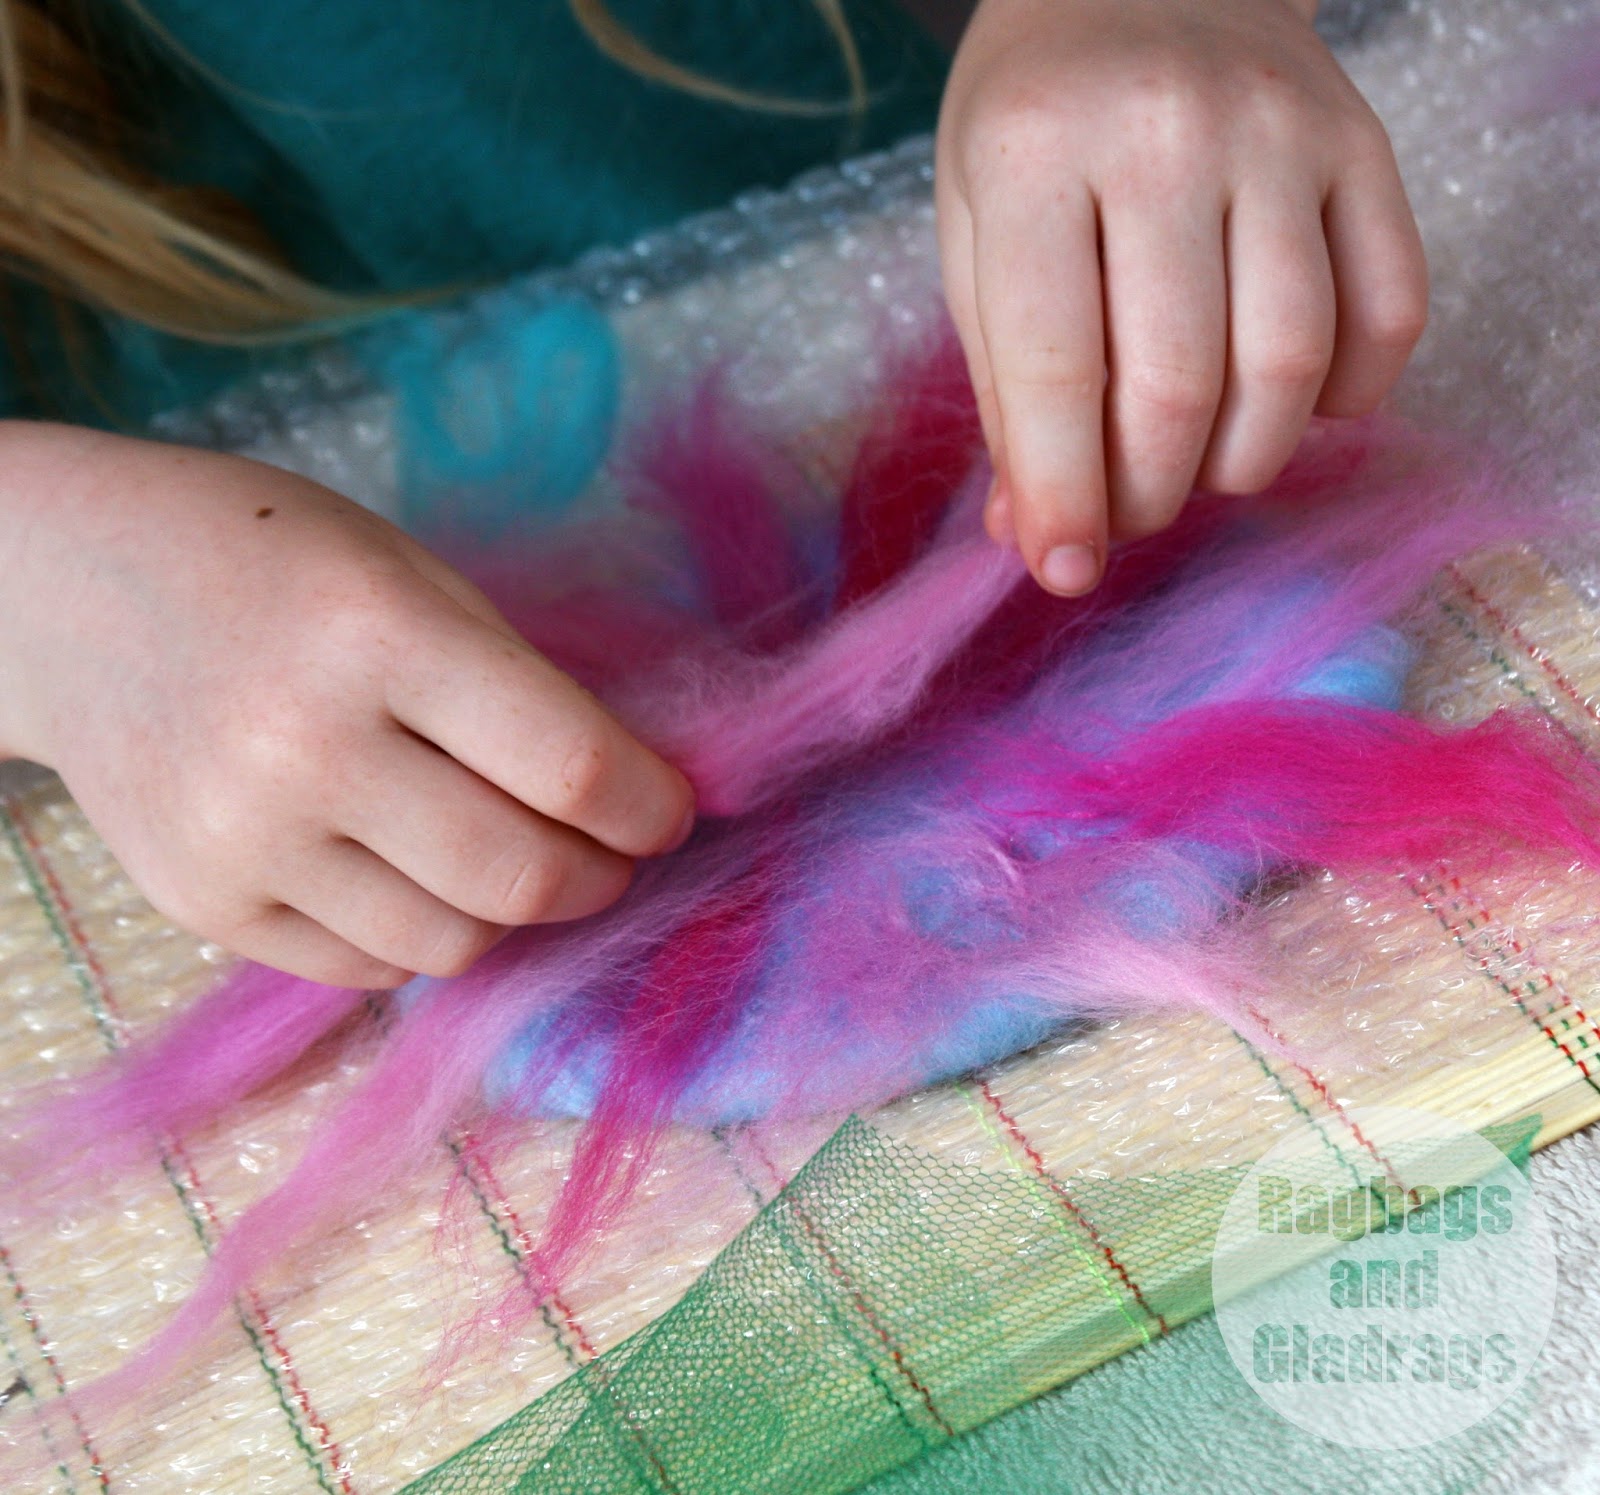

On day two we used wet felting to create pod shaped vessels. It's rather involved to explain here.  There are many workshops and courses where you can learn how to do this. I learnt in a workshop with Wendy Stanger at the end of last year and thought it might be something the kids at school would enjoy. They did.


Felt making does require a degree of patience and some of the children were in a hurry to complete their work and the felt could have done with being 'fulled' for a little longer to make sturdier vessels. but they all created at least one strong bowl and the designs were great.


Most of the equipment needed is simple to find and if you can find a good supplier of wool tops they it can be inexpensive. Yorkshire Trading sell packs of felting wool for about £6. I ordered mine from George Weil. Excellent service and they arrived the next day.


Felting happens when woll fibres are placed at right angles to one another in thin even layers and water, soap, heat and friction are applied. the process is simple, but it does require practise to create sturdy pieces.


I first made felt in my art college days when I hand dyed raw fleece. I had to clean it, card it, dye it and felt it. I lost patience and ended up felting my work in the washing machine - which gave some interesting textures. The process used for this work was much easier.


Layers of fibre are placed around a template, wetted with hot water and soaped then turned over to create a design. I used about 4 layers of fibres. Net keeps the fibres in place as you create the design.


Then more soap, hot water and bubble wrap are used to felt the layers together.


The felt is then rolled in a bamboo mat and bubble wrap to "full" the fabric. Hot water aids this and as it felts together the fibres shrink around the template. A hole is cut and then bubble wrap is used to shape and felt the bowl until it's the desired shape.


Basic equipment required:
Soap
Hot soapy water in a spray bottle
Bubble Wrap
Neoprene for templates
Dress net
Bamboo mat (a large sushi mat is ideal)


Sunday, 14 February 2016

Fabric Manipulation - creative ideas with fabric.


I'd like to share with you some ideas for manipulating fabric. I have been fortunate to be involved in South East Northumberland Creative Futures project over the last 7 months or so. Yesterday was our last workshop, led by Claudia Van lieshout Smit. Non of the techniques we experimented with yesterday were completely new to me, but the combination of techniques was. I'd like to show you some of the experiments and explain how they were created. Some of these technquies could be developed into garment construction, art textiles or even fine art pieces and there are several ideas that I know I will develop further to meet my artistic intentions. * image heavy post*

All of the following techniques can be done at home with the minimum of equipment.

Materials needed:
Sewing machine and thread.
Iron
Baking paper/ parchment
Bondaweb
Heat gun
Acrylic paint
Organza - synthetic
Cotton fabrics
Offcuts of thread and fabric

Key Processes:
layering
cutting
ripping
stitching
bonding
melting


The first and simplest techniques was to make a fabric sandwich. Choose a plain background fabric and over half of it place fabric offcuts/ threads. you can be as deliberate or as randome as you wish.
Fold the fabric in half to enclose the bits and stitch around the edge. You then stitch across your fabric sandwich. I tried stitching a grid and some curved lines, but you could do some freestyle machine embroidery if you wish.


Then taking a sharp pair of scissors or stitch ripper, cut into the top layer - making sure not to cut the fabric below. The edges can be left raw; washed to make them fray or folded and stitched down.


I think I'll further embellish my designs with paint and some beading.


The second technique creates a "new" fabric that can be used in other techniques or embellished.
Start with a base fabric. I used some fine silk, but a medium cotton would have been better. Remove the paper backing from some Bondaweb and dot it over the fabric, ensuring the edges have good coverage. Then again layer off cuts of thread and fabric. you could be quite random here or create a very distinct pattern/ design. Over the top add another layer of bondaweb, this can be torn into small pieces. Make sure you remove the backing paper. Top with a layer of synthetic organza. Place beetween two sheets of baking parchment and iron without steam on a medium heat. The fabric should bond together creating something new that still has some flexibility.


You can also paint bondaweb. Use a water based paint, acrylic is perfect. It should be watered down. Once dry the bondaweb can be applied to a light coloured piece of fabric and the backing removed. This can then be stitched into or other fabrics added on top. just remeber to use Baking paper to stop it sticking to your iron.


The final technique we used was again a layering activity. Similar to the first one. Start with a plain backing, add scraps of fabric/ thread and cover with a layer of synthetic organza. Other synthetic fabrics could work too. Stitch all the layers together. This is a great opportunity to try some machine embroidery. Once stitched, gently apply heat using a heat gun. A hair dryer is not hot enough, and a wall paper stripper too strong. Craft heat tools are quite inexpensive and provide the right amount of heat. As the heat reacts with the synthetic fibres they contract and start to melt away, revealing the layer below.


I also tried just heating some organza, applying the heat carefully allowed me to control the distortion and create a textural piece of fabric.


I enjoyed this process and created several samples. One I particularly liked was sandwiching organza betweek two layers of cotton, which I slahed open and then heated to allow the organza to melt away, leaving a lacy delicate surface. More development needed I think. The white fabric looks a bit too stark, black might have been better.


Look out for more experiments!
What are your favourite techniques with fabric.


Sunday, 17 January 2016

Drawing with Stitch


I'm trying to re-engage with the textiles techniques I used to love so much, but marry them with the sewing and art that I make. I don't want each of my practices to be a separate entity, but part of the same creative process and hopefully produce some mixed media pieces over the coming months.


With this in mind I have been attending some textiles workshops and experimenting at home. I'm progressing with my Batik fabric. I added a second layer of wax over the top of the pale blue dye and dip dyed in a violet dye. However the colour was rather weak and the over-all effect wishy washy. Idecided at the last minute to use the machine dye that John had bought me at Christmas. I took the fabric out this morning and I'm really happy with the results. I had used a mix of beeswax and paraffin wax. these melt at different temperatures and this has had an effect on the way the dye has penetrated the fabric. The blue under colour is not really visible, but there is a distinct layered effect. some of the lower temperature wax has washed out, leaving just a little to be ironed out later. I'm hoping to turn this fabric into some sort of garment. Your suggestions for suitable patterns would be appreciated.


Yesterday I attended a machine embroidery workshop at Weave in Lynemouth and run by Donna Cheshire. You can see some of Donna's work over on her website. I haven't done machine embroidery for years and years and the last thing I wanted to do was cut out neat shapes and applique them to a nice fabric and satin stitch around the edge. I wanted to create pieces that reflect my drawing style and use the machine as a new way to draw.

Pelment Vilene, watercolour and machine embroidery

Donna brought along her Bernina, which is a simlilar model to mine, so it was useful to work out how the techniques would work on my machine. I now have a darning foot, so more experiments will be forthcoming.

Emulsion image transfer, watercolour, angelina fibres, net and machine embroidery

We worked with several methods. Painting and stitching onti pelmet vilene. This is very thick and an embroidery hoop is not needed to support the emboidery. this is a poritive in my eyes as I find emboidery hoops a bit strange to use.
We also worked into water soluble fabric. this is useful for adding lacy or detailed pieces to work.
My favourite was applique and stitch, I kept this very loose. rather than attaching the fabrics with bondaweb, I applied them and manipulated them as I went along. using a range of coloured thread to embellish my design. which was based on a painting I completed some time ago.

Cotton dyed fabric, applique, silk fibre paper and machine embroidery

I'm hoping to incorporate these techniques into some 3D designs in the near future.

Sunday, 10 January 2016

Batik experiments in progress

Batik "cap" carved wooden block

This weekend I have been experimenting with some batik techniques. I used to love dying fabric but haven't done any for years. My husband bought me some beeswax and a cap (carved wooden block used for printing the wax onto fabric) for christmas.  I tried using the block, however the cold british climate has meant the even inside the wax was cooling too quickly to apply evenly to the fabric. I might give it a go later in the year when its a bit warmer.

Experiments using a Tjanting

I still wanted to experiment and decided to use the Tjantings I had already to apply the wax. This works very well on a small scale and can easily be controlled, but I wanted to dye a large 3m piece of fabric. 

Dye bath and wax pot with Tjanting

I decided to use an old paintbrush to apply the wax in a random swirl pattern, drawn freehand.
I had experimented with the dye and used Dylon Bahama Blue. 

Design applied with paintbrush

On my samples it worked very well. I'm not sure it's working quite so well on my large piece. I did double up the amount of dye used, but I suspect that the fabric is not 100% cotton and has some polyester in it - despite checking at the shop when I bought it.

First sample - pre painted fabric, you can see the uneven stamping, then dyed blue

The fabric is currently steeping in the bath while I type, but will have to come out soon as the kids need their baths! I will be applying some more wax and over dyeing with purple dye. I'll see what that turns out like and may add a third layer of dye.

Fabric in dye bath

I need to invest in some Procion dyes. I used to use the a lot when I was a student, but haven't kept any for a few years. They are incredibly versatile and provide vibrant and strong colours.
Maybe a spot of tritik or shibori next.


Sunday, 25 October 2015

Textile treats


My applique bird
I have been very fortunate to be able to attend two fantastic Textile workshops this week. Both organised by Creative Futures at Weave maker space. This is a fab resource just 5 mins up the road from where I live, but this week is the first time I've had opportunity to use it.

On wednesday evening I attended a workshop on silk paper making and bondable fibres. This was run by artist Wendy Ann Sranger. We experimented with making paper from a range of silk fibres and embedding different objects between them. The process was quite quick but it did take a while to dry. In fact my thicker piece took until Saturday morning to be completely dry.

Working with wet silk fibres
Angelina fibres, net and silk fibres


We also worked with angelina fibres - which i have used before. the process is quite simple. you just layer the fibres and other items and press with an iron, making sure the fibres are between non stick baking paper so they don't stick to the iron.


On Saturday I attended a full day workshop with textile artist Mandy Pattulo. I had seen some of mandy's work at local exhibitions and was intriqued by her processes. She gave a talk about how she approaches her work and what is important to her. Throughout her career as an artist she's been interested in tyhe use of quilts and the area of the UK we live in has a rich quilt history.

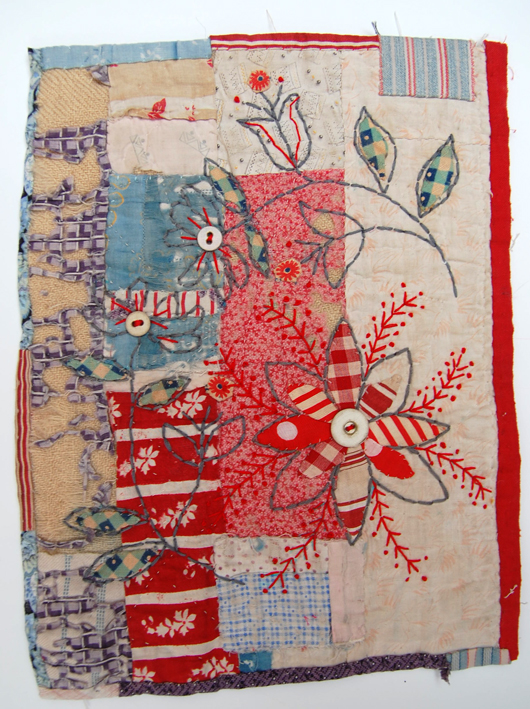
These are both examples of Mandy's work. 

She shared with us some of her work, you can see some more examples here.

We then learn about one of the techniques Mandy uses and used it to make out own applique on a piece of vintage quilt. We used a finger turned applique method. I was quite surprised how quickly I could do this. Our designs were then embellished with embroidery. I could certainly see myself using some of these techniques. especially when we do our school community quilt later in the academic year.
My applique bird

I'm looking forward to the next couple of workshops in about three weeks time.

Tuesday, 15 July 2014

Stuck in the frustration

Do you ever have so many ideas in your head that you find it difficult to settle with any of them? Well that's me at the moment. I'm finding it very difficult to develop my art practice, and get some practise in.

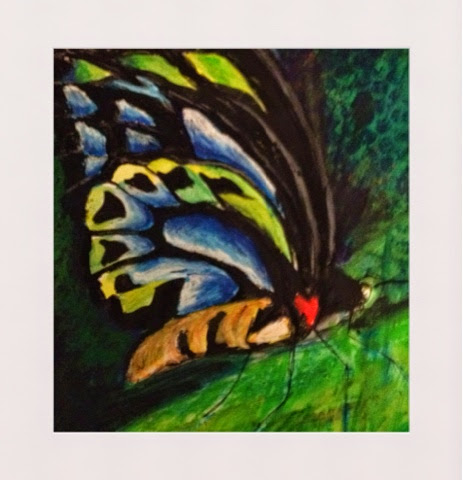
Let me define my dilemma. A few years ago I created some successful work, which I still love, based on the fragility of life, using butterflies as a motif. I'm not sure I've fully exhausted this yet, but don't really know where to go next. Last Summer I stepped out of my comfort zone and created 30 very different works, which were wide ranging in technique and style. I really enjoyed doing this, but I'm not sure I'm really a landscape/ portrait artist.
I know that I want to link the art and the sewn stuff I make together, so that my artistic practice ties in with the dressmaking and designing I do. I feel that I need some overarching theme that grounds my work and gives it meaning. I'm not sure how to develop what I've done to push it further and what media to focus on.


In short- I need a grounding point for my work. I need it to link all my creative interests. I need to keep drawing and painting as part if what I do. I love experimenting with surface, pattern and texture and love experimental texture. I need a sustainable form with plenty of scope for development. I'm not sure if I should keep the butterfly theme? Have I exhausted it? Do I need some other motif/ subject matter to help me develop ideas?


Do you have any experience in developing your own art practice or the practice of others?
Any ideas?

LinkWithin

Related Posts Plugin for WordPress, Blogger...