Saturday, 18 April 2020

Gelli printing - finally getting to grips with it


Earlier this week my daughter asked if we could have an art day. She took Art at GCSE last year but hasn't really done much since. Initially, she wanted to join me in printing. Then she decided that she wanted to overpaint a portrait she did last year. However, when she saw I had some big paper she decided to draw a simple outline portrait of her favourite member of the group 'Road Trip'. (It's a teenager thing!)


So off she went with her drawing, asking for a bit of help now and again and I started with my printmaking. I think if I were to go and do my Art education at this point in my life I'd do print. There is something so immediate and unexpected about the outcomes and with mono-printing it a far more painterly technique - which suits me down to the ground. I think at some point I would love to find out more about local artist Rebecca Vincent's technique as its very controlled, she uses many layers and a big printing press. I work on the dining table and I don't have a press!


I usually use oil-based block printing inks, which have a long working time but can also take several days to dry. I was drawn to trying a Gelli plate as I had read that you can get a really nice print from them just using acrylic paint, but they are not suitable for oil-based inks. So a couple of years ago I had a Gelli plate for Christmas and give it a try, unfortunately, I was rather disappointed with the results. I used a lot of paint and it dried so quickly it was almost unworkable - this was a real shock when I'm so used to the long working time you have with oil-based inks.


Last year, when on a course for work I was introduced to block printing medium and textile medium. The block printing medium is added to the paint in equal amounts and extends the working time and gives a better print consistency. I tried this out with traditional monoprint techniques and a small press and it worked very well. My mum bought me some of the block printing medium for last Christmas and today was the first time I've given it a go. It was the perfect day to print with this technique as it was warm enough that I didn't need the heating on, but cool enough so that the paint wouldn't dry out too quickly.


I had no plan for what type of prints I was going to make. It was purely an opportunity to experiment with techniques and materials.


I set up my work station with a range of different papers, collage materials, rollers, spatulas and cloths. I also set up the clothes airer to dry the prints on.


I found that it's quite easy to layer the prints - mainly as the paint dries quickly. I also quite like that the paint can layer on the plate and this can create some interesting effects. I used a few stencils and other items for masking out areas but found that they're not as effective as my normal method. What I did like was the painterly quality you can get with this type of printing. and I liked being able to draw into the ink with the spatulas and create different effects.


Overall I'm pleased with the results and I created over 30 prints. Most of these will form collage materials, which will be layered and cut to create other artworks. One or two of the pieces work well on their own and some of the others will need working back into with other art materials to make them into something I'm happy with.


I still think I like the oil-based inks best, but I can clean this lot up and have it all away by the end of the day - which is a bonus when there are 5 of us in the house and space is at a premium. Which of these do you like best?

Wednesday, 15 April 2020

Pattern Haul

Way way back, in the distant time that was before lockdown - Ok I mean February- I scored a whole lot of sewing patterns on Freecycle. I had a lovely chat to the lady I received these from, only to discover despite living up here in Northumberland, she was originally from a town local to where I grew up, some 180 miles away - it's a small world, isn't it?

Anyway - back to the haul. I was gifted a large plastic bag of patterns mostly from the '80s. But as we are seeing a resurgence of 80's music and fashion I'm pretty sure some of these will come back around very soon, if not already in there. I did give some of the easier patterns to a friend of mine who is just learning to sew. there are some magazine patterns too, mostly from Prima. Also included was the pattern sheet/ instructions from a 1984 edition of Burdastyle magazine.

I thought I'd review these here and ask you for your opinions about them. I may give some of these away as some are not in my size/ not my style. Anyway here goes...

First up - stuff I might actually make.

Vintage Simplicity 7687, circa 1968. I love the simple lines on this one, but its a single size and my waist/ hips don't match this size. I'm going to have a look at grading this to fit.


Vintage Maudella 5812  - 1970's, but not sure which year? (Maudella were the forerunners to New look patterns) I love this but I am gutted that there is a skirt piece missing. I'm sure I can draft one to match - again I need to check the size.


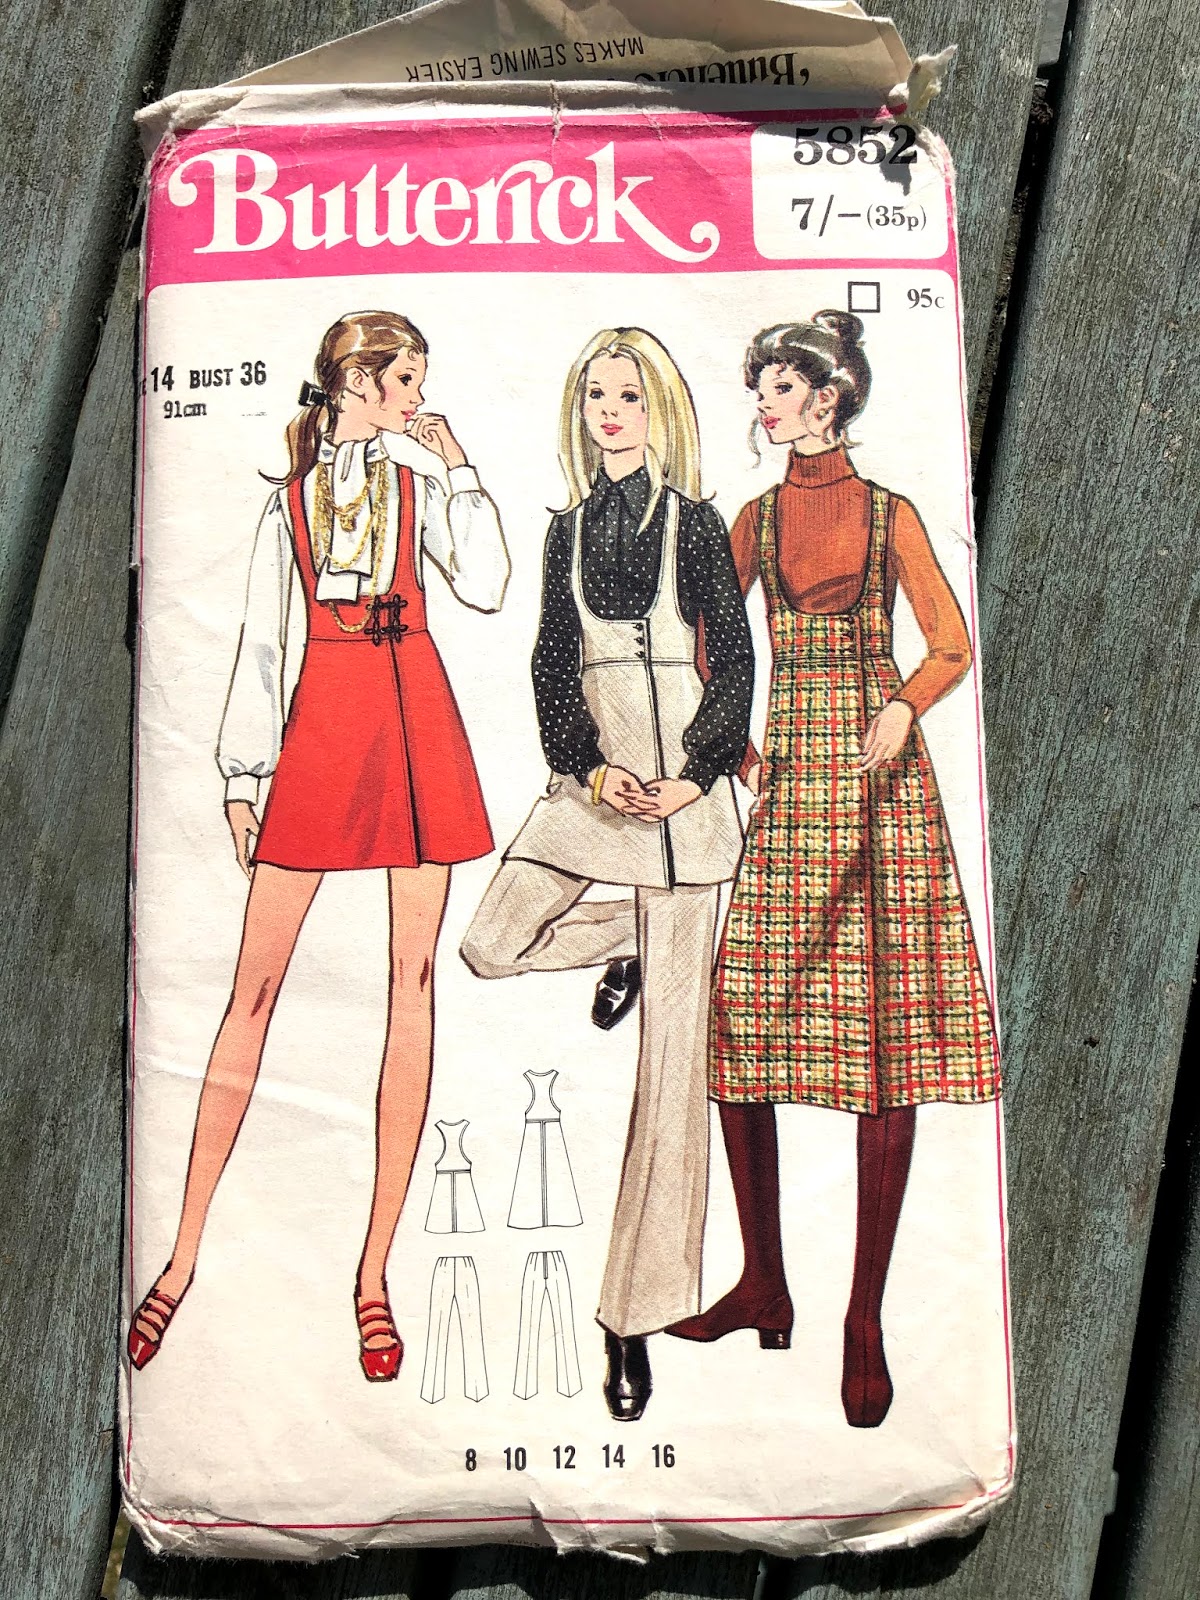
Vintage Butterick 5852, this one is 1972. I love the Jumper dress. Personally, I like the long version, but the short version could be cute too, maybe paired with wide trousers rather than flares. This one should fit.


Vintage Simplicity 7498, 1968. I love this wrap skirt and may have a go with some denim I have in my stash - again I'm going to have to grade up I think. I like the version with the buckles.


Next up are the patterns that I could be tempted into making at some point, but I have some concerns about.

McCalls 8926, 1984. There is definitely a Jumpsuit trend still going strong. I quite like this, but think that it could be a bit too wide across the shoulders. It also reminds me of a uniform I had to wear at work in 1989. 


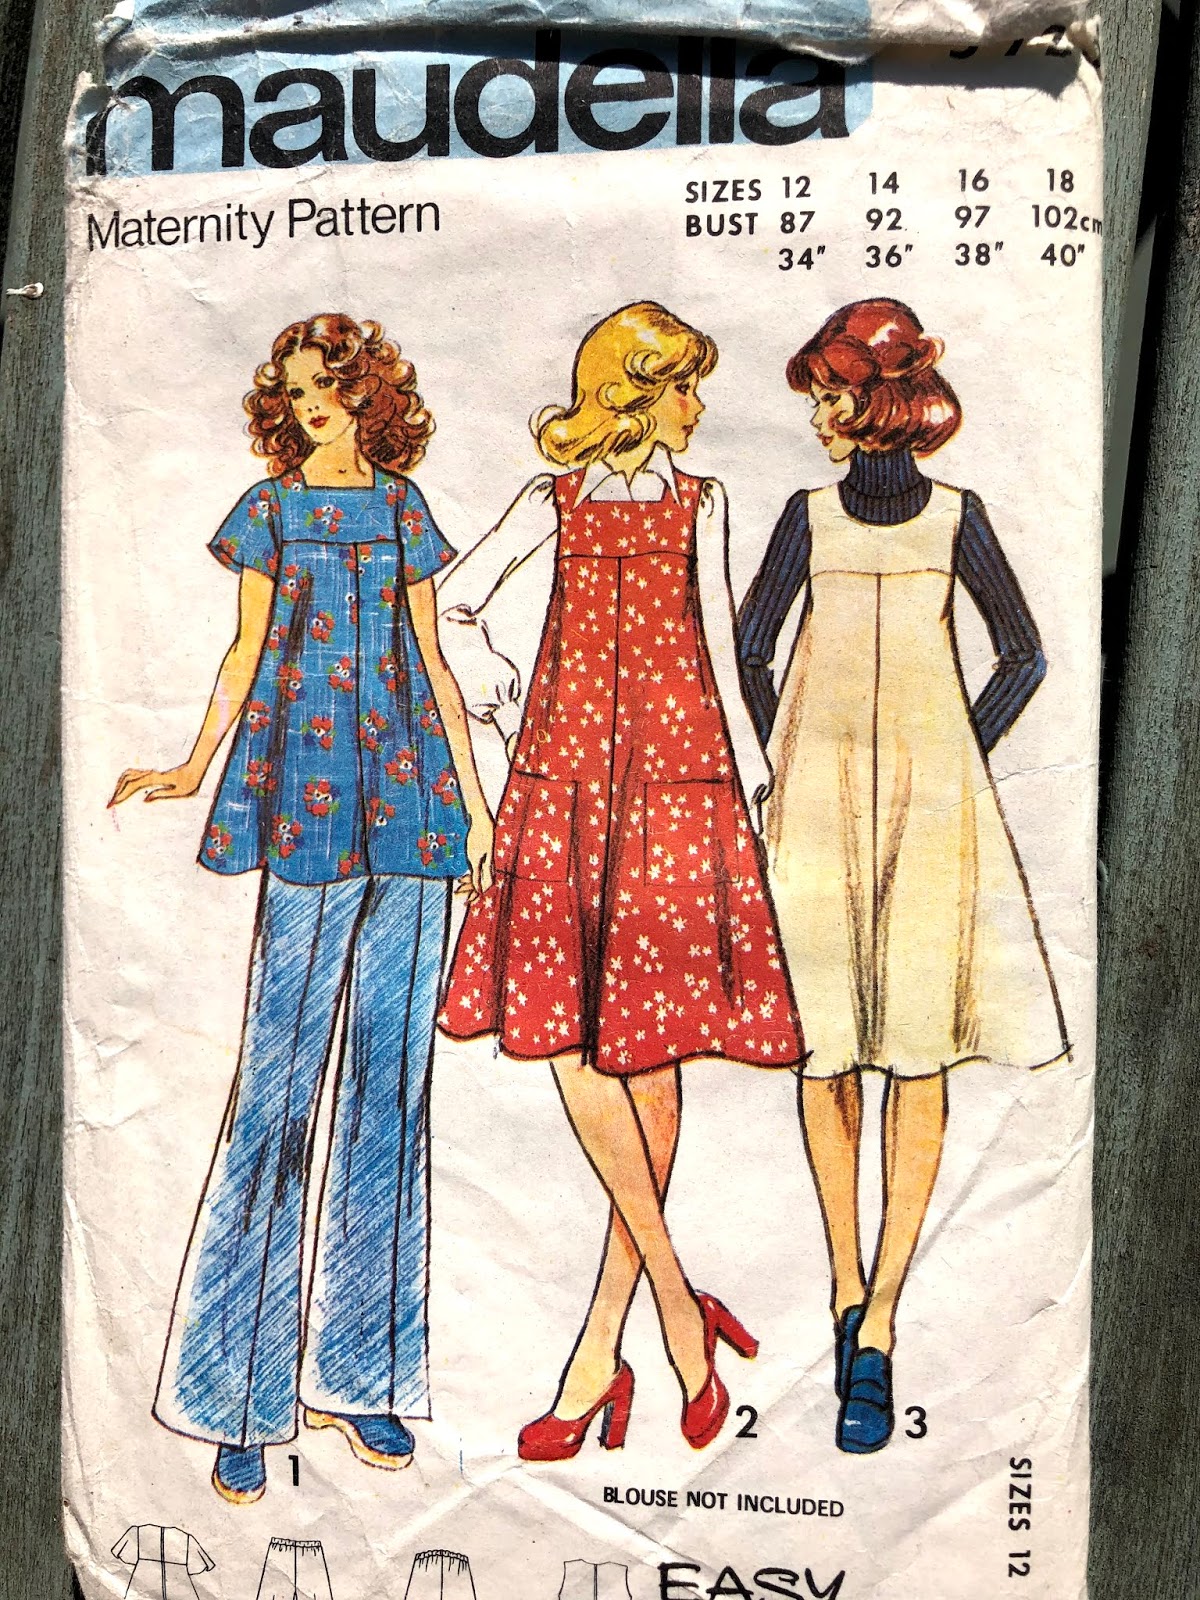
Maudella 5955, again the 1970's. I quite like empire line dresses, but am always concerned that they can make you look pregnant when you're not - could be a good maternity pattern in the right fabric. - not for me though.


New Look 6277, 1980's Simple shirt dress - nothing wrong with this, I've just got patterns I prefer.
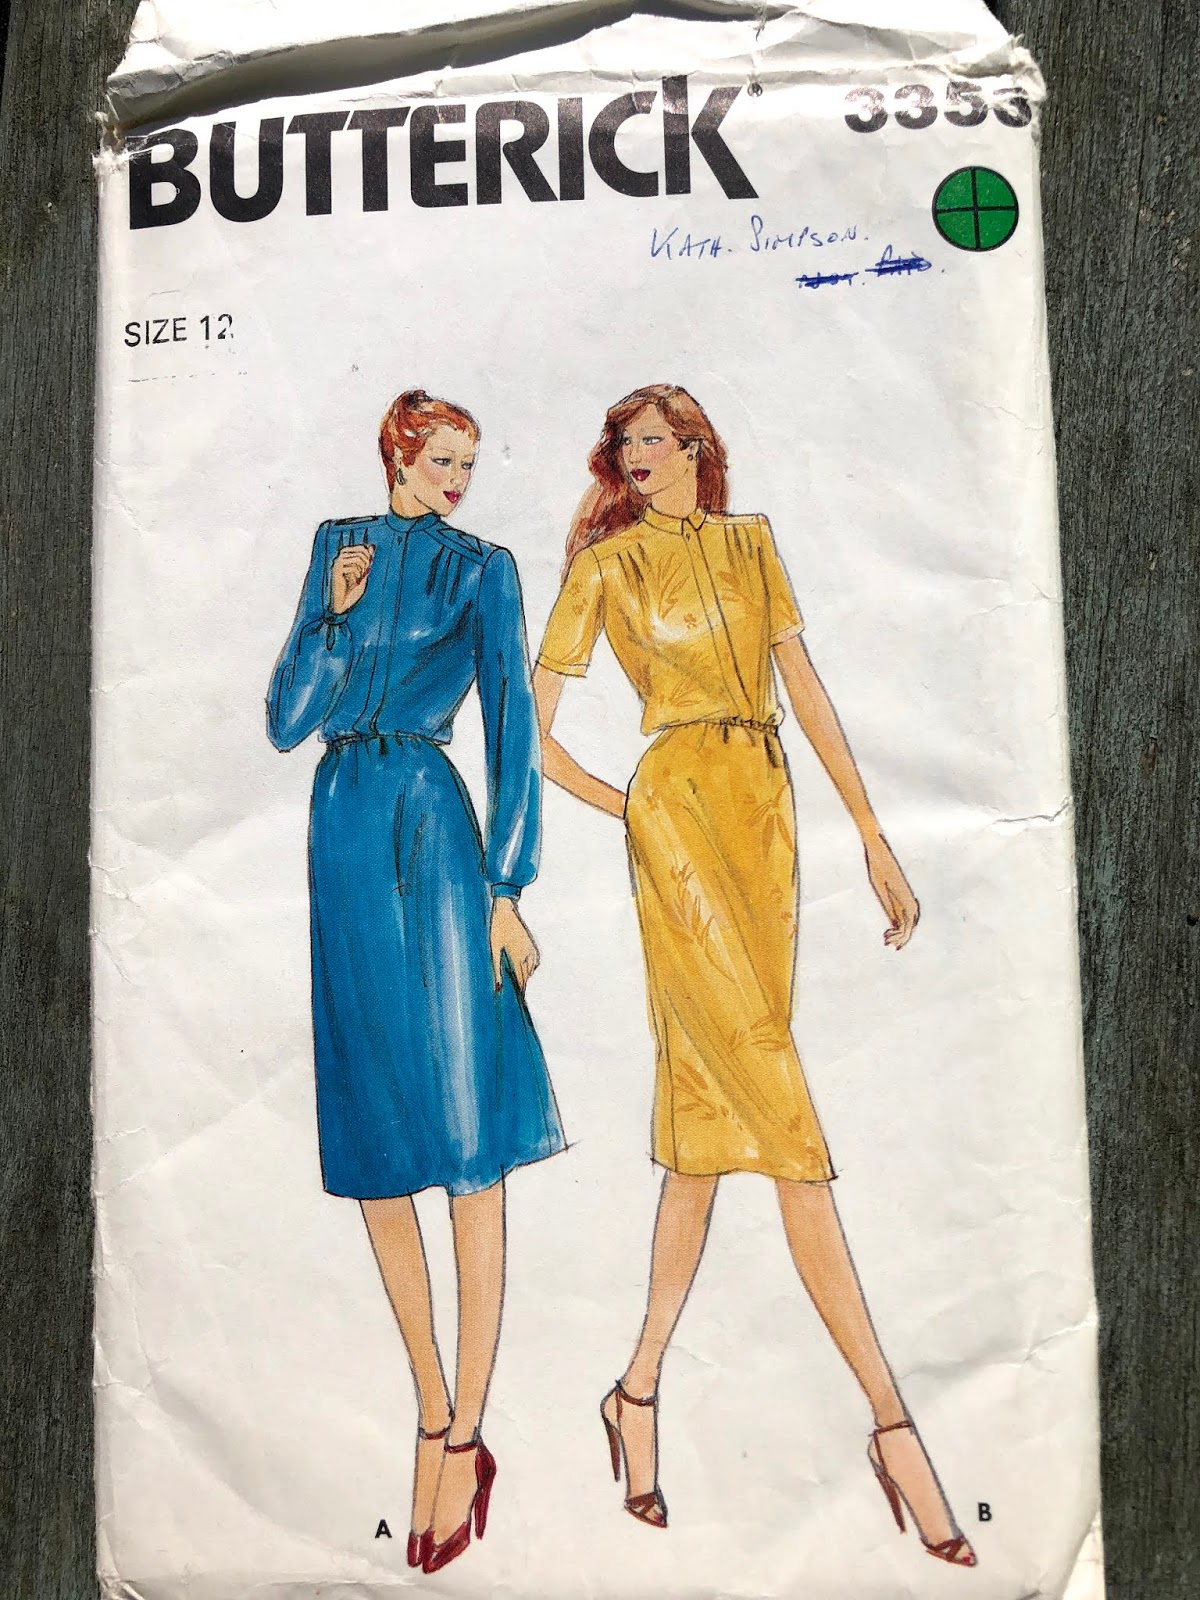
Butterick 3353. The 1980s - the same.


Simplicity 5161, 1981 - This is so on trend - think Wilder Gown. It looks quite nice in the light floaty fabric, but again, unless you want to look pregnant... or you are pregnant...


Simplicity 6395, 1980's Looks a lot like the In The folds jumpsuit from Peppermint magazine. Probably won't make this one.


Style 4092, again 1980's Simple boxy top - good for beginners I think -might make, or use it as a teaching pattern for my daughter. 
 

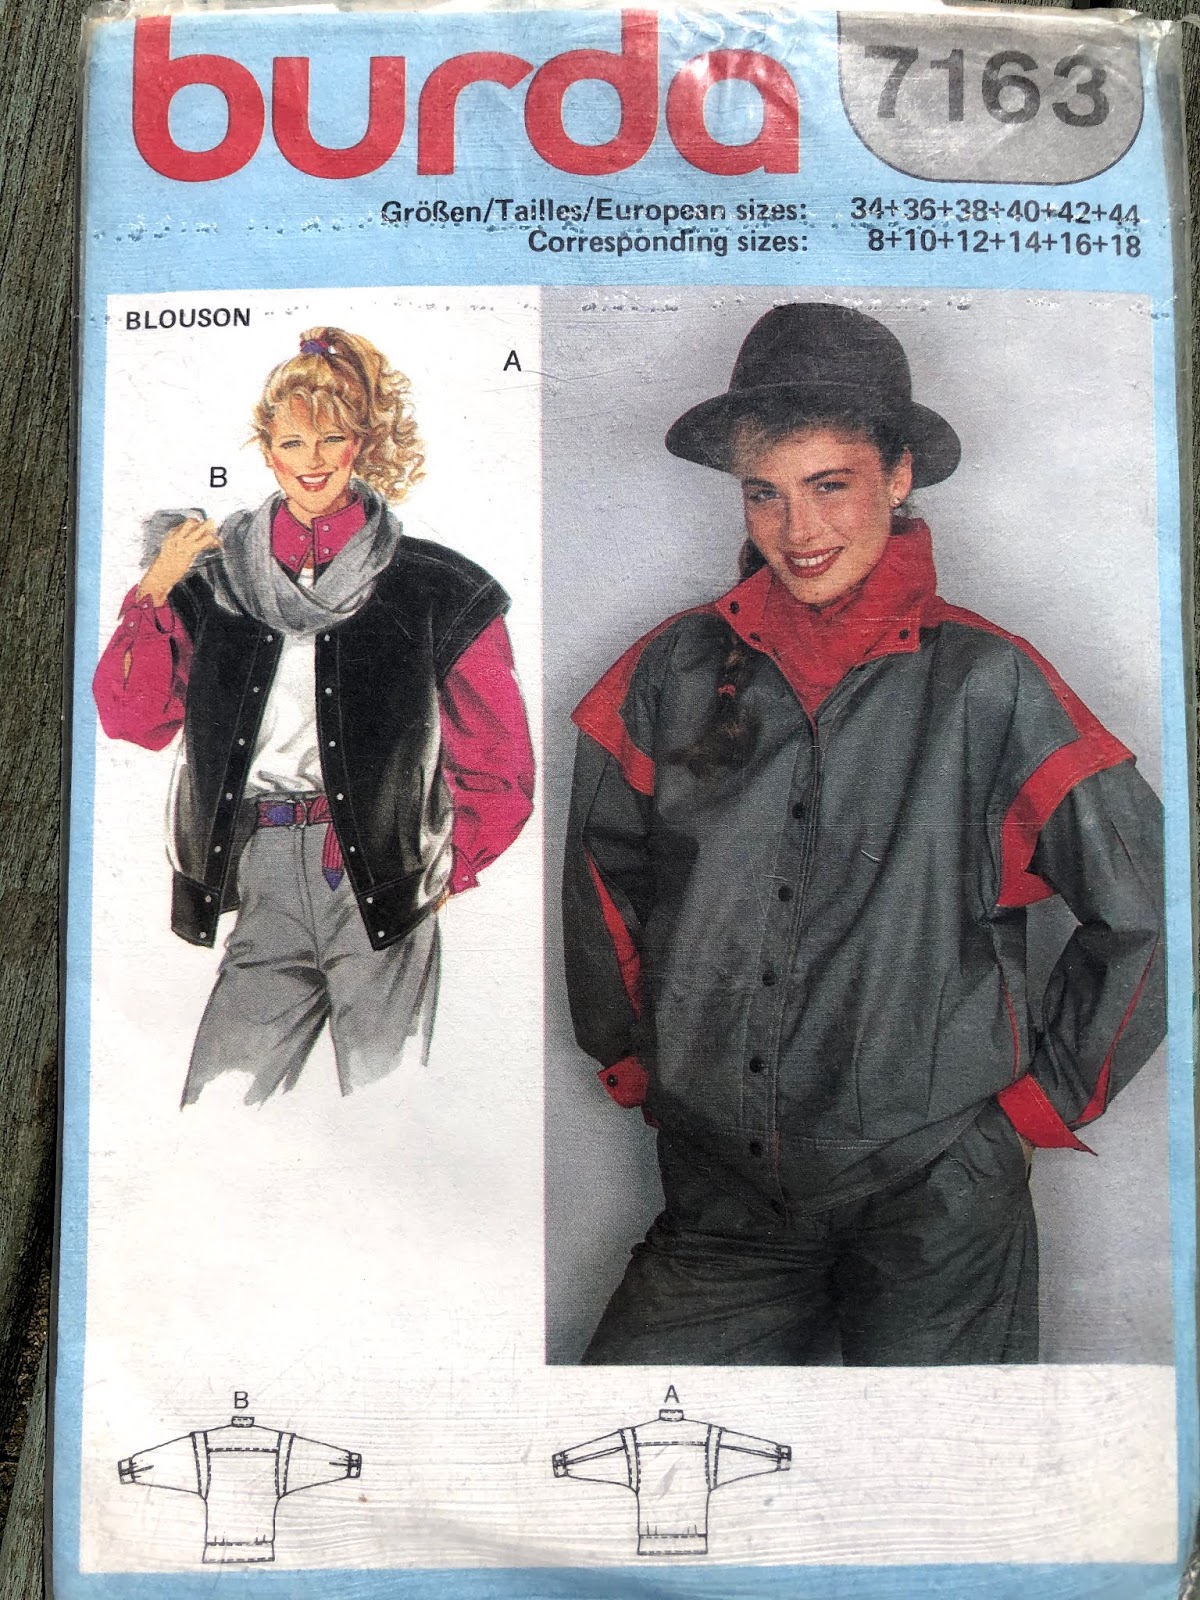
Burda 7163, 1980's - again on-trend, not sure it's my trend but my kids might like this one.


Finally, those that I really wonder why someone would ever make a sewing pattern for. There's a couple of maternity patterns in this lot - if you'd Like them, let me know and I can post them out - UK only.

Maternity Patterns - the Maudella one is ok, but the other one...


No shape patterns - although the cold shoulder is ok.


Shapeless and oversized - love it


Ruffles and gathers and a plunging neckline - no thanks


This is actually ok - but rather shapeless - good for someone new to sewing.
 

Quite like a trenchcoat - but this looks very oversized - I don't think I could cope with those shoulders.
 

 Inoffensive, bland.

So do you have a pattern stash? Any suggestions for what to do with some of these? I feel a trip to the charity shop might be in order once lockdown is over. Can't wait to try some of these though.

Saturday, 11 April 2020

Lockdown creativity


So this week I've only been at work one day and as it's the Easter holiday I've been spending some time being creative and making things and getting some fresh air on my daily exercise - luckily for my the view above is just a 5-minute walk from home. I've had a few things that just needed finishing off sewing wise.


I messed up a welt pocket and ended up having to re-cut pieces but the second attempt was much better. I had a lot of buttons and buttonholes that needed doing. I make buttonholes on my Janome, so I packed the Bernina away (put it on the floor for a bit) and set up the Janome for the one-step buttonhole function and got to work doing all the garments I needed to finish off. I only bodged one buttonhole, but it was on wool fabric and really did take some unpicking. Garments now need a final press and photographing - so expect to see them in the next few weeks up on the blog.

It was my daughter's 17th birthday and I channelled my inner Mary Berry and made her a gingerbread house "cake". I don't think I've ever made anything quite as well when it comes to decorating cakes.


I decided that I'd like to make some portraits and stretched some paper ready to get started. I sat outside in the sun, but it was a bit too bright to see my source images so I decamped inside. I used a very basic grid to get the scale right. I don't always do this, but it can be helpful to work out proportion.


I'm planning on doing a coloured pencil piece and a graphite pencil study. so fay I've sketched the structure in for both and blocked in the tone for the graphite study. Hopefully, I'll start to refine this piece this week.

I've also been helping my hubby with creating the online content for our Church Easter services - mostly keeping quiet, but also doing some reading and setting up some visuals. you can see our Good Friday Tenebrae reflection here.


I started an upcycling project. Our old coffee table had a really damaged top and needed an update. I've been planning to mosaic the top for a while and this week I finally got it gridded and started to stick down the tiles. Unfortunately, I ran out of tile adhesive and need to find some before I can complete this.


My other creative pursuits bring together my love of art and stitch and I've been tackling some hand-stitched art as part of Textile Artist's Community Stitch Challenge.
The first challenge was set by artist Sue Stone and began with experimenting with just one basic stitch.


The second was set by Cas Holmes and involved using applique and hand stitch to create a small piece. Follow on Instagram.


And this week I've been working on an eye study set by Emily Tull. Its an exercise in observation and Emily teaches how to create curved stitches and had us making a drawing using stitch. I used a yellow background for this one and started with the recommended black, white and grey machine thread (never used this for hand embroidery before), but then sent myself down a rabbit hole and started with colour!!!! You can follow Emily on Instagram.


This task struck a chord with me as I've set my students an eye-drawing task for after the holidays. I even attempted a video - Too much noise in my house meant that I used written instructions and music background.

I can't wait to see what next week's challenge is and I'll try to get the mosaic finished. My daughter also wants to do an art day, so it might be time to get out the mono-printing stuff this week too. What have you been doing to keep sane during these mad times?


Friday, 3 April 2020

Spotty Solina


So we're all fans of Breaking the Pattern by Named Clothing right? Me too. It seems like everything I make from this book is great. Yes, there are a few tweaks I'd make, but unless you have a pattern drafted exactly for you there will always be a few adjustments needed. However, as a rule, the patterns from this book fit me pretty much as drafted.


I've made the Sade blouse - great fit, but I'd make it a little longer for my personal taste, same with the Ruska T-shirt. I've made the Saraste shirtdress twice with no alterations and I cut the shirt version out last night.


But let's get back to the Solina dress. Another win from the Book. The whole idea of this book is that you change and adapt the patterns to suit your style and many of the pattern pieces are interchangeable. I was a little unsure about this pattern when I first saw it and it took some time for me to work out what I was concerned about. I came up with three things:- firstly I was worried about the split - it's not really me; secondly I don't like sleeve ties - I'm an art teacher - they just get in the way and thirdly I thought that the dress might have too little shape at the waist and the pleats would look odd on me. What I loved were the high neck and the midi length and long sleeves.


I decided I needed a transition dress that could go from winter into spring/ autumn to winter. Here in the North East UK it can still be quite chilly even in early May, so transition pieces are the way forward.


I did not make any alterations to the drafting of this dress and cut a straight size 3. I did cut the front on the fold, omitting the CF seam and the vent. I didn't cut the sleeve ties and left the sleeves straight.
Other than this I followed the instructions, they are easy to follow.


I made this dress in a spotty viscose from Minerva and it is the perfect weight for a transition piece. This was a very quick make and once I'd traced the pattern I'd made the dress up in a couple of evenings. and wore it to work the day after I finished it.


So what about my concerns? the vent was omitted so no worries there. The sleeves don't really need the ties, they are slim and have a nice shape anyway. The waist if the dress is actually quite fitted The back is shaped really well with darts and the ties are quite flattering, bringing the dress in just enough. Now I have a long torso and wide shoulders so I often struggle to get patterns to fit well in these areas. Not so this. the fit was spot on! Don't you just love it when that happens, and I'm so glad it did, especially when I didn't bother to make a toile.


Have you made this dress? What did you think?

LinkWithin

Related Posts Plugin for WordPress, Blogger...