Showing posts with label #UKteacherswhosew. Show all posts

Thursday, 19 November 2020

Classy Coat - Burdastyle 119 11/2012


Hold tight, this a photo heavy post! 

I've toyed with a bit of coat making this year and learnt a few skills along the way, but I really wanted to have a go at making a good wool winter coat with proper tailoring and everything!!!! So when Minerva offered me the chance to review this amazing Lady McElroy wool blend coating I jumped at the chance. I recieved the fabric in return for a review, which you can read here.

I don't make coats unless I need them. Last winter I had identified that my smart winter coat was well past it's best. The cuffs were fraying, the lining was worn in places and the faux leather piping had split. The colour had faded a lot too. I knew I needed a replacement, but I'm determined to use the fabric of the old coat in some way too.


I thought long and hard about the style of coat that I wanted to have. It needed to be at least knee length; have a proper fastening rather than a tie belt; be formal enough to wear for special occassions and also fine to wear casually, if I so wished, and to top it all off a classic style that is not going to date. After browsing my burdastyle magazines and paper patterns, I eventually settled on style 119 from 11/2012. I think I'd ear marked this when the magazine first came out, but never had cause to make it.
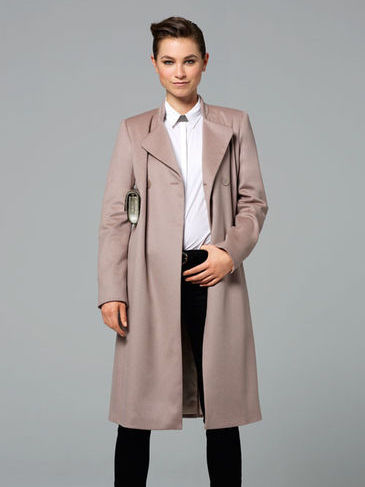
This coat is made using some more traditional tailoring techniques to support the fabric. I bought some traditional interfacing and shoulder pads from Minerva and purchased the lining from The Sewing Machine Guy, which is my local fabric store (If you are ever in South east Northumberland do go and check it out!!!). As Burdastyle Magazine instructions are very, very brief I used a range of other resources to help me understand the construction. In short I referred to Couture Sewing Techniques by Claire Schaffer, The coat sew along on Gertie's new blog for better sewing and Gerties's new book for better sewing.


First Up I prepped the fabric. Normally I'd wash my fabrics in the machine, but as this blend has a very high wool content, I used my iron to steam the fabric, just hovering the iron over the fabric to allow the steam to penetrate it. I then let this dry. The traditional interfacing was prepared by soaking in a cold bath for and hour, leaving to dry naturally and then gently pressing.

While I was waiting for the fabric to dry. I traced the pattern - In Burdastyle, I usually cut a size 38, but as this is an overcoat, I decided that I'd go up a size and cut the 40. I did a pin fitting of the tissue before cutting the fabric and decided it was fine. Now the coat is finished I think the 38 would have been a slightly better fit, but the 40 is actually ok. It's not overly big and I'll be able to wear my thick jumpers underneath it!!!!

Once the main pieces were cut out, I cut the interfacing. I completely interlined the front, side front and collars. The back was underlined with cotton and the interfacing was used as a back stay and added at the hem edge and the sleeve cuffs.


The interfacing was permanently hand basted to the wrong side of the fabric. Once the front pieces were interfaced, I added a second layer of the interfacing above the bust as a chest piece to increase the stability in this area. I taped the roll line and pad stitched the lapels. I used Gertie's instructions for this and had a watch of her youtube tutorials. I also made bound buttonholes, which I think I'm getting better at.

Once the bound buttonholes are made, I baste them closed during construction. I also make a matching window in the facing. To reduce bulk I used a small square of organza, which prevents the edges fraying and allows them to be neat. These are then hand stitched in place.

I basted the coat together, without the sleeves in, to check the fit. I ended up taking a little bit off the side back and centre back seams to create a little more shaping at the back as it's quite a straight design. The pockets are easy as they are inseam, so no fussy welt pockets to stress over!

Once I was happy with the fit, I use a catch stitch to secure the seam allowances and then constructed and inserted the sleeves. I don't have a sleeve board but find a suitable alternative is a rolling pin rolled in a towel.

The hems were pressed up and then the collar and facing were attached. Once this was done the hems were catch stitched in place and the shoulderpads and sleeve heads were stitched in. The lining was then constructed and added along the edge of the facing and the sleeves were bagged, which gives a neat finish.

I decided that I would hand stitch the hems so that I had greater control over the vent.


It was finished with 4 buttons (plus one on the inside) and a final steam press.

I really do love the classy lines of this coat. It will be easy to wear in many situations and I hope that it will last for many years to come. 


Friday, 4 September 2020

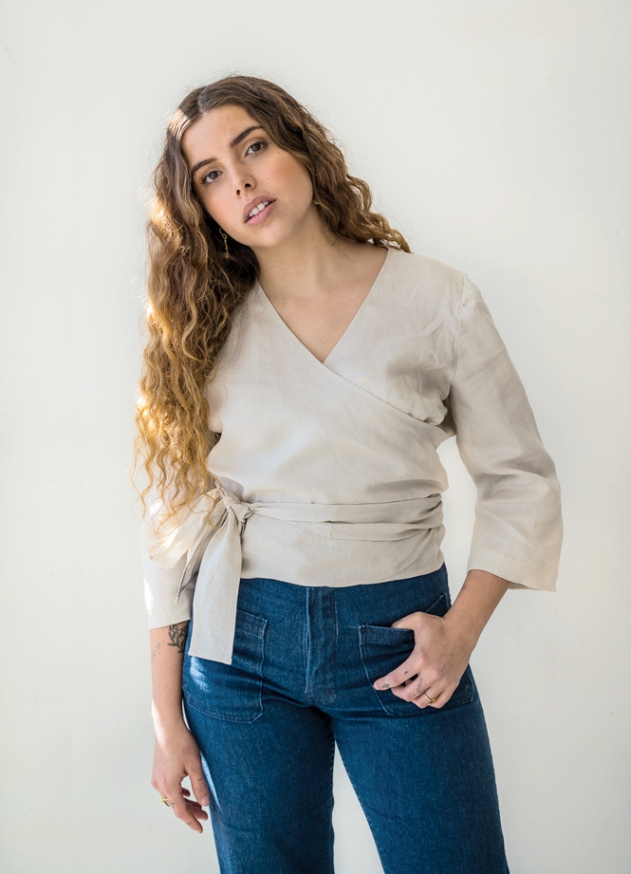
Peppermint Wrap top - Free Pattern Review


As soon as this pattern was released it went on my to make list. Downloaded straight away, but I've only just got around to making it up. I never look forward to taping together PDF patterns but this one wasn't too onerous. It's a free pattern as part of Peppermint Magazine's Sewing school - you can find the pattern here.

I love that this design has quite a high wrap. I have made a few wrap patterns that have needed some serious adapting to stop them gaping, I've used some additional techniques on this version to help secure a close fitting neckline. There's quite a bit of ease on the pattern and I fall between sizes so I went with the smaller one, which was a size C.
 

The fabric was given to me by Minerva crafts in an exchange for a review and you'll be able to read  it on their blog soon. It's a cotton stretch sateen - printed on one side, not too light, not too heavy. I initially planned to make a jumpsuit, but wanted a greater range of options, so I decided to make two separates that can give a faux Jumpsuit look, pairing this with the peppermint wide leg pants in the same fabric, that I wrote about here.

One of the things I really loved about the instructions, was the construction of the neckline edge and back facing. The front neckline is double folded to create a baby hem, and the clever application of the back facing ensures a smooth neckline and that the shoulder seams are neatly hidden away. I'll use this technique again.
 
 
As my fabric had quite a bit of stretch I did not want the front neckline to stretch out of shape or gape so I reinforced it. I sewed a strip of the stable selvedge edge onto the neckline edge before turning and hemming it. 

 
This does add a little bit of bulk but it's a great way to stabilise edges if you don't have any stay tape/ twill tape to hand. I've also done something similar with thin strips of interfacing or very narrow ribbon. It really does prevent fabric cut on the bias from stretching out.
 
 
The pattern instructions have you construct the top using french seams, which give a beautiful finish on fine fabrics. This fabric had a bit too much body for this type of seam allowance, so I just used my overlocker. 

 
The fabric is printed, which means that one side is plain - and white - it means that if you can see the reverse side, it's not such a great look. I had considered that I'd be able to see the reverse of the fabic on the ties and should I cut two extra and create a facing? I didn't, I went with the instructions, cut a single layer, hemmed the ties, tied the top and EUGH! it looked awful. I cut the ties off, Recut the tie pieces (x4) and assembled them inside out, attached to the bocice front, before turning and securing the opening with top stitching - it looks much better.
 
 
Initially I planned to wear these two pieces together, but found it a bit overwhelming and decided that they look much better as separates. 


I  thought  the top might be a little too short, but it's ok, I would consider adding just a little bit of length next time. It's great with a high waisted skirt/ trousers, but not so good with a lower cut waistline.
 
The coverage of this top is great. It doesnt gape, stays put, is comfy and I like it more than I expected to. win-win.

Friday, 28 August 2020

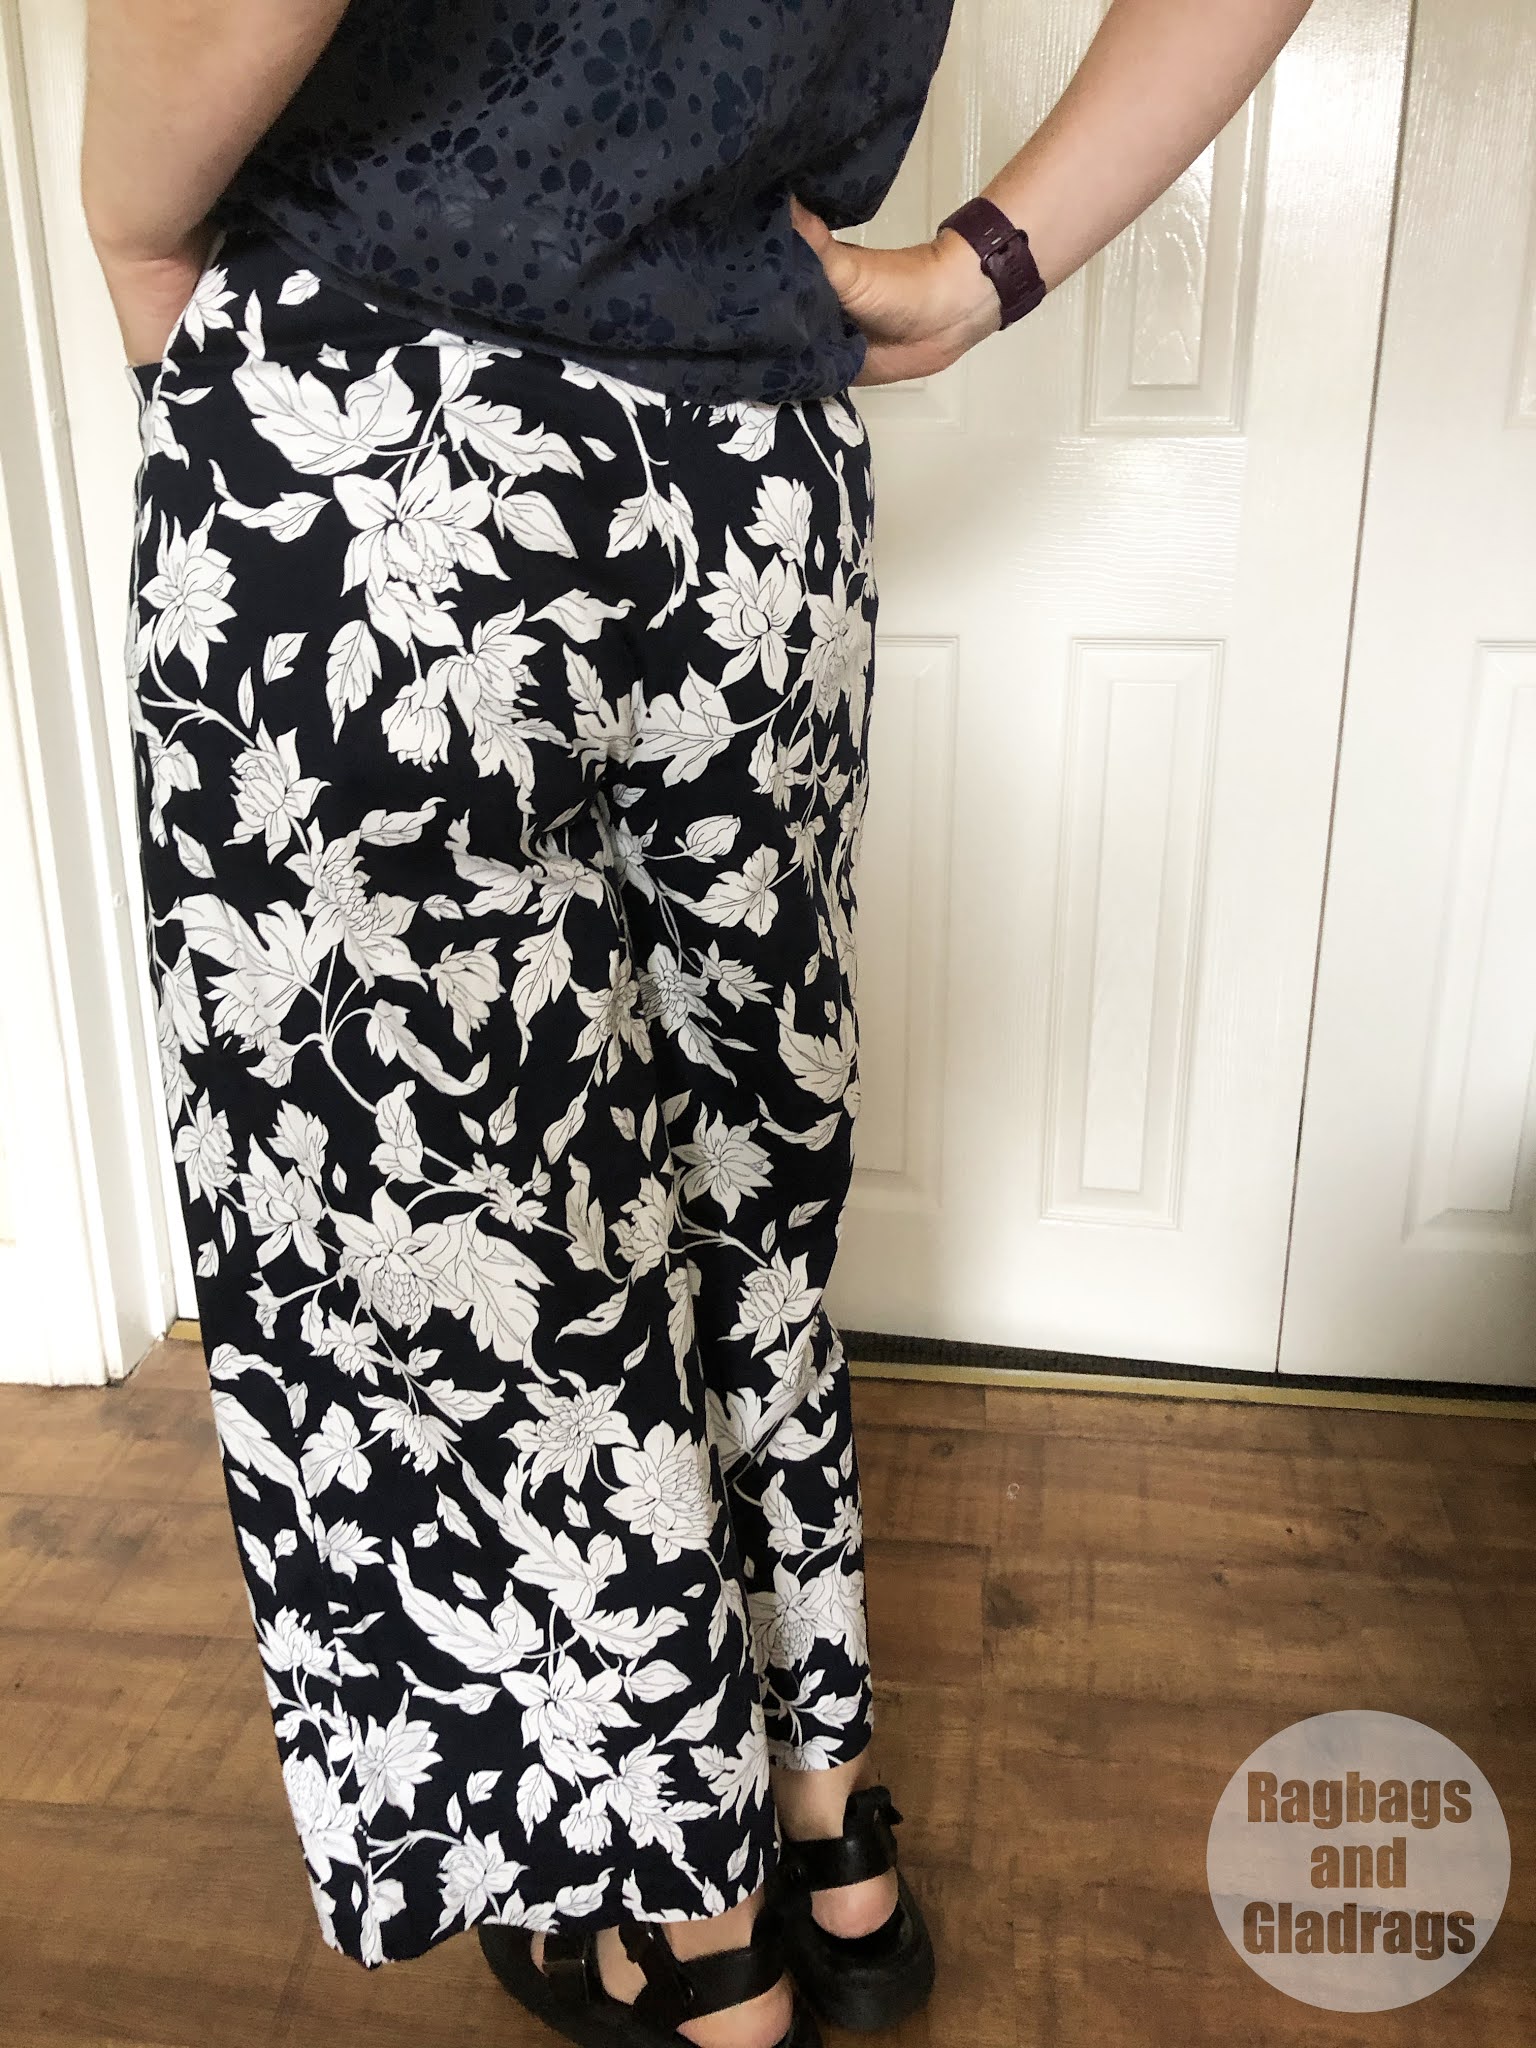
Peppermint Wide legged Trousers - Free Pattern Review

 
I really did want to create a sew-a-long for these as a few of my friends have started sewing and I know they like a bit of advice as they go, but my phone completely died and I ended up just getting on with it and the instructions are pretty good anyway.
 
 
So this is the Peppermint Magazine sewing school pattern in collaboration with In The Folds. You can download this pattern here.

The pattern comes in a wide range of sizes and what is great is that the PDF has layers so that you can select just the sizes that you need, which makes cutting out so much easier. The instructions are thorough and clear with good quality images.
 
 
This pattern is designed for a stable woven fabric without stretch. True to form, I decided to use a stretch fabric. I had recieved this beautiful stretch cotton sateen from Minerva - in exchange for a review, which you will be able to read on their blog soon. I didn't make any alterations to the pattern to accomodate this, but made sure I interfaced all the areas which would potentially stretch out and stay stitched all the waistline edges to prevent stretching.
 
 
The pattern calls for 2m of fabric for this garment. I had about 1.7m, but with some creative pattern placement and on a single layer of fabric I managed to squeeze in all the pattern pieces, I did shorten the legs by 2 cm though!
 
 
Based on my measurements I cut a size D and graded to a C at the waist. This fit really well and I only pinched out a little extra on the back darts, again, mainly because this is a stretch fabric - If it had been a stable fabric I don't think I'd have needed to do this.
 
 
This pattern is superbly drafted, everything matches perfectly, but I did have a couple of issues. First up - the fly shield pattern piece indicates that you only need to cut one, but you actually need two. In addition I prefer to sew a zipper fly where the fly extensions are part of the main front pattern - like the ginger Jeans from Closet Core Patterns. It's an easy alteration to make to a pattern - unless you're playing pattern tetris. I had no way to do this as I was struggling to fit my pattern pieces on the fabric.
 

Most of the instructions are superb, but the fly construction section is awful! It's so fiddly - so my advice to you would be to add the fly extension and follow the tutorial from Closet Core patterns which you can find here.
 
 
I have had these on my to make list for a long, long, long time and I'm so glad I've finally made them. I think there will be more of these now I've finally printed and assembled the pattern and made my first version. I can see a pair in corduroy or a heavier weight wool/blend for the winter.
 
 
I made these to wear with my peppermint wrap top in the same fabric as a faux jumpsuit, which I'll post details of soon, but love that I can wear both pieces separately.

Sunday, 23 August 2020

Puzzling Pattern


I've followed the Studio Faro Well Suited Blog for a while and love the pattern puzzles. It's a great way to get you thinking and create something a little different to most patterns that you see out there.

A few years ago I made the a dress inspired by the Vivienne Drape dress - it's been one of my favourite dresses to wear to work. It was easy to draft and to construct.


Anyway, last week I decided I wanted a bit of a challenge and decided to have a go at the layered shirt. Anita gives some instructions for turning a block into the design for the shirt. Rather than starting with a block I used the Saraste shirt from Breaking the pattern as it already had the collar drafted and had the yoke and back sections at a good starting point - It also fits me well.

I marked the seam allowances on the front pieces, so I could omit them for drafting and lined up the princess seams from the bust point to the shoulder, this created the flare needed at the hem. I then traced this and mirrored it on the CF line to create a full front bodice piece. 


I drew the design lines for the folds on, then traced the front again to incorporate the folds of the design. I trued the bottom edge to give a nice curve.


I moved the shoulder seam forward by 1.5cm. I was thinking of doing this anyway with the Saraste shirt and after doing it on this pattern I think I will. It makes a much better line.

The back consists of the yoke and shirt back with an overlay that has a pleat to create a bit more fullness, the overlay extends onto the front to create the RHS (as you look at it) front overlay. I created a hidden placket and the drafting was done. In keeping with the Saraste pattern I kept all seams at 1cm.

Then I had to start thinking about the construction. I realised I needed to sew the placket before creating the folds on the front, but that I'd also need to have part of the shirt constructed which meant the hems were the first thing to be done. I did baby hems as the fabric was quite fine and also used french seams. I sewed the side seams together on the same side as the overlay that goes from front to back (RHS from the viewers perspective). I made a mistake here and forgot to include the top bodice front. I ended up hemming the seam line and top stitching it down - most of it is hidden anyway.

Next, I constructed the placket. With all the bodice front layers pinned in place, I marked the placket on the top layer and stitched along the edges of the placket. Then I stitched the plackets pieces in place before flipping them to the inside and finishing the edges with overlock stitch. It's not the neatest and It is the first time I've ever done this type of placket, so I'm not worried about it. There are a few wrinkles, but they are hidden by the drape, so it's fine.

The top overlay was then folded into place and basted along the neckline. I also secured it to a lower layer at the end of the placket.

I sewed the yoke in place, using the burrito method and it came out super well. It is top stitched to keep it neat. Then I added the collar, which I did with my ususal collar application and again top stitched it.

The buttonholes were sewn on my new Pfaff. I like the control that the 4 step buttonhole gives. The ones I've made on this machine have all been better than the one-step ones I did on the Janome I used to have. 

To finish off,  I used a bias facing on the armholes, which I hand stitched to the inside, so that the stitches don't show on the top layer. I picked up some buttons from my local shop, but they feel a bit thin. I think I might replace them at some point.

The fabric is a cotton lawn, It's very cool and smooth to wear, but creases like mad. I often use this fabric to line summer dresses and the leftovers get used for lining bra cradles.  I had enough left to create this shirt. I thought this would use way more fabric than it did.  I think It would look stunning in layers of different colours or in a super sheer fabric and ideally something that doesn't crease quite as much, although it would look fab in linen.

I really quite like a challenge that involves a bit of drafting and this one turned out really well. not too tricky, but enough to get the brain cells working.

Saturday, 11 July 2020

A blue Watson Bra - Pattern Review


You will see from my last blog post that I’ve been delving into the world of underwear making. I never thought I would actually make underwear successfully, after years of struggling to find bras to fit I have become disheartened by RTW and was prompted by the desire to find a bra that fits without a boatload of padding and is super comfy. So far I’ve tried the Watson Bra and Simplicity 8436. I’ll review the Simplicity pattern at a later date, but today I wanted to focus on the Watson.


The Watson Bra and knickers is a pattern by Cloth Habit. It’s a soft cup bra with no underwires, can be made in lace/ jersey/ scuba - in fact, lots of fabrics with a bit of stretch are ideal for this pattern. I have now made 4 versions of this pattern and it’s fast becoming my favourite bra to wear.


The pattern comes in a range of sizes and is easy to adapt. It has a vertically seamed cup, which makes alterations super easy


The instructions that come with the pattern are great for beginners as they take you step by step through the whole process - even which type of stitch to use and how wide/ long your zigzag stitches should be. If you need even more hand-holding with this pattern there are multiple sew-a-longs on the web, including a video tutorial by Liz Sews.


As with any sewing pattern, getting the fit right is what makes a project work or not. The first Watson I made was too big in the band and too small in the cup. I did a bit of research on Bra sizing and decided to make a completely different size to the recommended size on the charts provided. If you are making this Bra for the first time I would definitely start with the chart, but be aware that you might need to make some changes to the pattern.


For my second version, I made a 30E. Initially, I thought it wasn’t going to fit, but I can honestly say it’s the best fitting bra I have ever worn. It feels slightly snug when I first put it on, but it is super comfy. For this version, I had used elastics and fabric from another unworn me made bra as it was to be a wearable toile.


Once I was happy with the fit I decided to make another version. This time I used some scraps of Rico jersey with a super cool print. I decided to use two layers which was a mistake. This fabric is quite thick and the extra bulk on the vertical seam caused some puckering - I should have trimmed the seams really close to get a smooth finish. This fabric also has a tendency to stretch out and doesn’t really have a great recovery, so while it’s a great print it’s a fail as a bra. One thing that did work on this one was the one alteration that I made. The vertical seam line was just a smidge too wide set and I altered it to bring it nearer to the centre of my chest.


Watson take 4 - powder blue jersey. This fabric was sent to me by a friend who had made a t-shirt and had some leftovers. It’s a beautiful quality cotton jersey with some widthwise stretch and very little lengthwise stretch. I decided to line this one with stretch mesh to reduce bulk and stable cotton for the band. The Powernet and elastics are all white.


I've seen several ways to construct the cups to achieve a neat finish and as I was lining these with mesh I sandwiched the cup seam, so that it was enclosed once turned the right way around and then top-stitched it in place.


I also managed to enclose the side seams so that they have a neat finish


However, where the cups meet the cradle I left raw. If I had some seam tape in my stash I would apply it here, but It's been trimmed and top stitched and I'm happy with it.

I’m really pleased with the finish on this one. The only thing I don’t like is where the straps join - I find it really bulky to thread through a ring and it looks wrong - so I added a small elastic loop. If you have a great solution to this please let me know. Failing that I’ll attach the elastics straight to the cup and put the rings and sliders on the back next time. I did notice while taking the photos That I'd twisted one of the straps. I sorted that - it only took 5 minutes.


I made a matching pair of undies - these are made with a pattern taken from an old pair of shorts style knickers that I had years ago. The band at the top is covered regular elastic - it took me ages to remember how I attached this and it's still a bit of a mess. My zigzag stitches are great in some places, but as soon as I miss the elastic or get to a thicker area they skip and are irregular. Not helped by the fact that I used white thread as I'd run out of the matching blue, so now my skipped stitches are super obvious. Oh well you live and learn.


The legs are just turned and hemmed. One thing I really need to do is get out my Janome sewing machine and use the triple zigzag stitch. I have been using my vintage Bernina, but even with the correct needles it still skips some stitches and doesn’t have the triple zigzag option.


Overall, I love the look of this set, and that it is pretty much made of scrap fabric. I am certain this will get plenty of wear and I’m sure as I become more confident in lingerie making there will be many more. I might even try some pattern hacks. I would like to try some other knicker patterns, let me know which are your favourites?


LinkWithin

Related Posts Plugin for WordPress, Blogger...