Showing posts with label sewcialists. Show all posts

Thursday, 19 November 2020

Classy Coat - Burdastyle 119 11/2012


Hold tight, this a photo heavy post! 

I've toyed with a bit of coat making this year and learnt a few skills along the way, but I really wanted to have a go at making a good wool winter coat with proper tailoring and everything!!!! So when Minerva offered me the chance to review this amazing Lady McElroy wool blend coating I jumped at the chance. I recieved the fabric in return for a review, which you can read here.

I don't make coats unless I need them. Last winter I had identified that my smart winter coat was well past it's best. The cuffs were fraying, the lining was worn in places and the faux leather piping had split. The colour had faded a lot too. I knew I needed a replacement, but I'm determined to use the fabric of the old coat in some way too.


I thought long and hard about the style of coat that I wanted to have. It needed to be at least knee length; have a proper fastening rather than a tie belt; be formal enough to wear for special occassions and also fine to wear casually, if I so wished, and to top it all off a classic style that is not going to date. After browsing my burdastyle magazines and paper patterns, I eventually settled on style 119 from 11/2012. I think I'd ear marked this when the magazine first came out, but never had cause to make it.
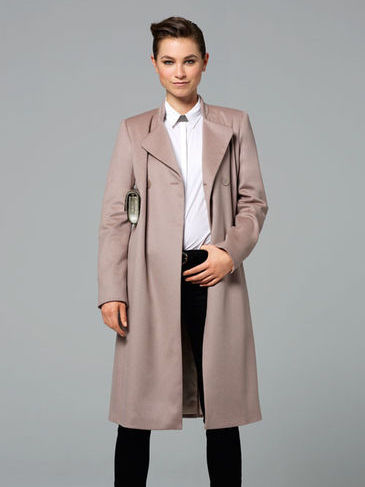
This coat is made using some more traditional tailoring techniques to support the fabric. I bought some traditional interfacing and shoulder pads from Minerva and purchased the lining from The Sewing Machine Guy, which is my local fabric store (If you are ever in South east Northumberland do go and check it out!!!). As Burdastyle Magazine instructions are very, very brief I used a range of other resources to help me understand the construction. In short I referred to Couture Sewing Techniques by Claire Schaffer, The coat sew along on Gertie's new blog for better sewing and Gerties's new book for better sewing.


First Up I prepped the fabric. Normally I'd wash my fabrics in the machine, but as this blend has a very high wool content, I used my iron to steam the fabric, just hovering the iron over the fabric to allow the steam to penetrate it. I then let this dry. The traditional interfacing was prepared by soaking in a cold bath for and hour, leaving to dry naturally and then gently pressing.

While I was waiting for the fabric to dry. I traced the pattern - In Burdastyle, I usually cut a size 38, but as this is an overcoat, I decided that I'd go up a size and cut the 40. I did a pin fitting of the tissue before cutting the fabric and decided it was fine. Now the coat is finished I think the 38 would have been a slightly better fit, but the 40 is actually ok. It's not overly big and I'll be able to wear my thick jumpers underneath it!!!!

Once the main pieces were cut out, I cut the interfacing. I completely interlined the front, side front and collars. The back was underlined with cotton and the interfacing was used as a back stay and added at the hem edge and the sleeve cuffs.


The interfacing was permanently hand basted to the wrong side of the fabric. Once the front pieces were interfaced, I added a second layer of the interfacing above the bust as a chest piece to increase the stability in this area. I taped the roll line and pad stitched the lapels. I used Gertie's instructions for this and had a watch of her youtube tutorials. I also made bound buttonholes, which I think I'm getting better at.

Once the bound buttonholes are made, I baste them closed during construction. I also make a matching window in the facing. To reduce bulk I used a small square of organza, which prevents the edges fraying and allows them to be neat. These are then hand stitched in place.

I basted the coat together, without the sleeves in, to check the fit. I ended up taking a little bit off the side back and centre back seams to create a little more shaping at the back as it's quite a straight design. The pockets are easy as they are inseam, so no fussy welt pockets to stress over!

Once I was happy with the fit, I use a catch stitch to secure the seam allowances and then constructed and inserted the sleeves. I don't have a sleeve board but find a suitable alternative is a rolling pin rolled in a towel.

The hems were pressed up and then the collar and facing were attached. Once this was done the hems were catch stitched in place and the shoulderpads and sleeve heads were stitched in. The lining was then constructed and added along the edge of the facing and the sleeves were bagged, which gives a neat finish.

I decided that I would hand stitch the hems so that I had greater control over the vent.


It was finished with 4 buttons (plus one on the inside) and a final steam press.

I really do love the classy lines of this coat. It will be easy to wear in many situations and I hope that it will last for many years to come. 


Friday, 28 August 2020

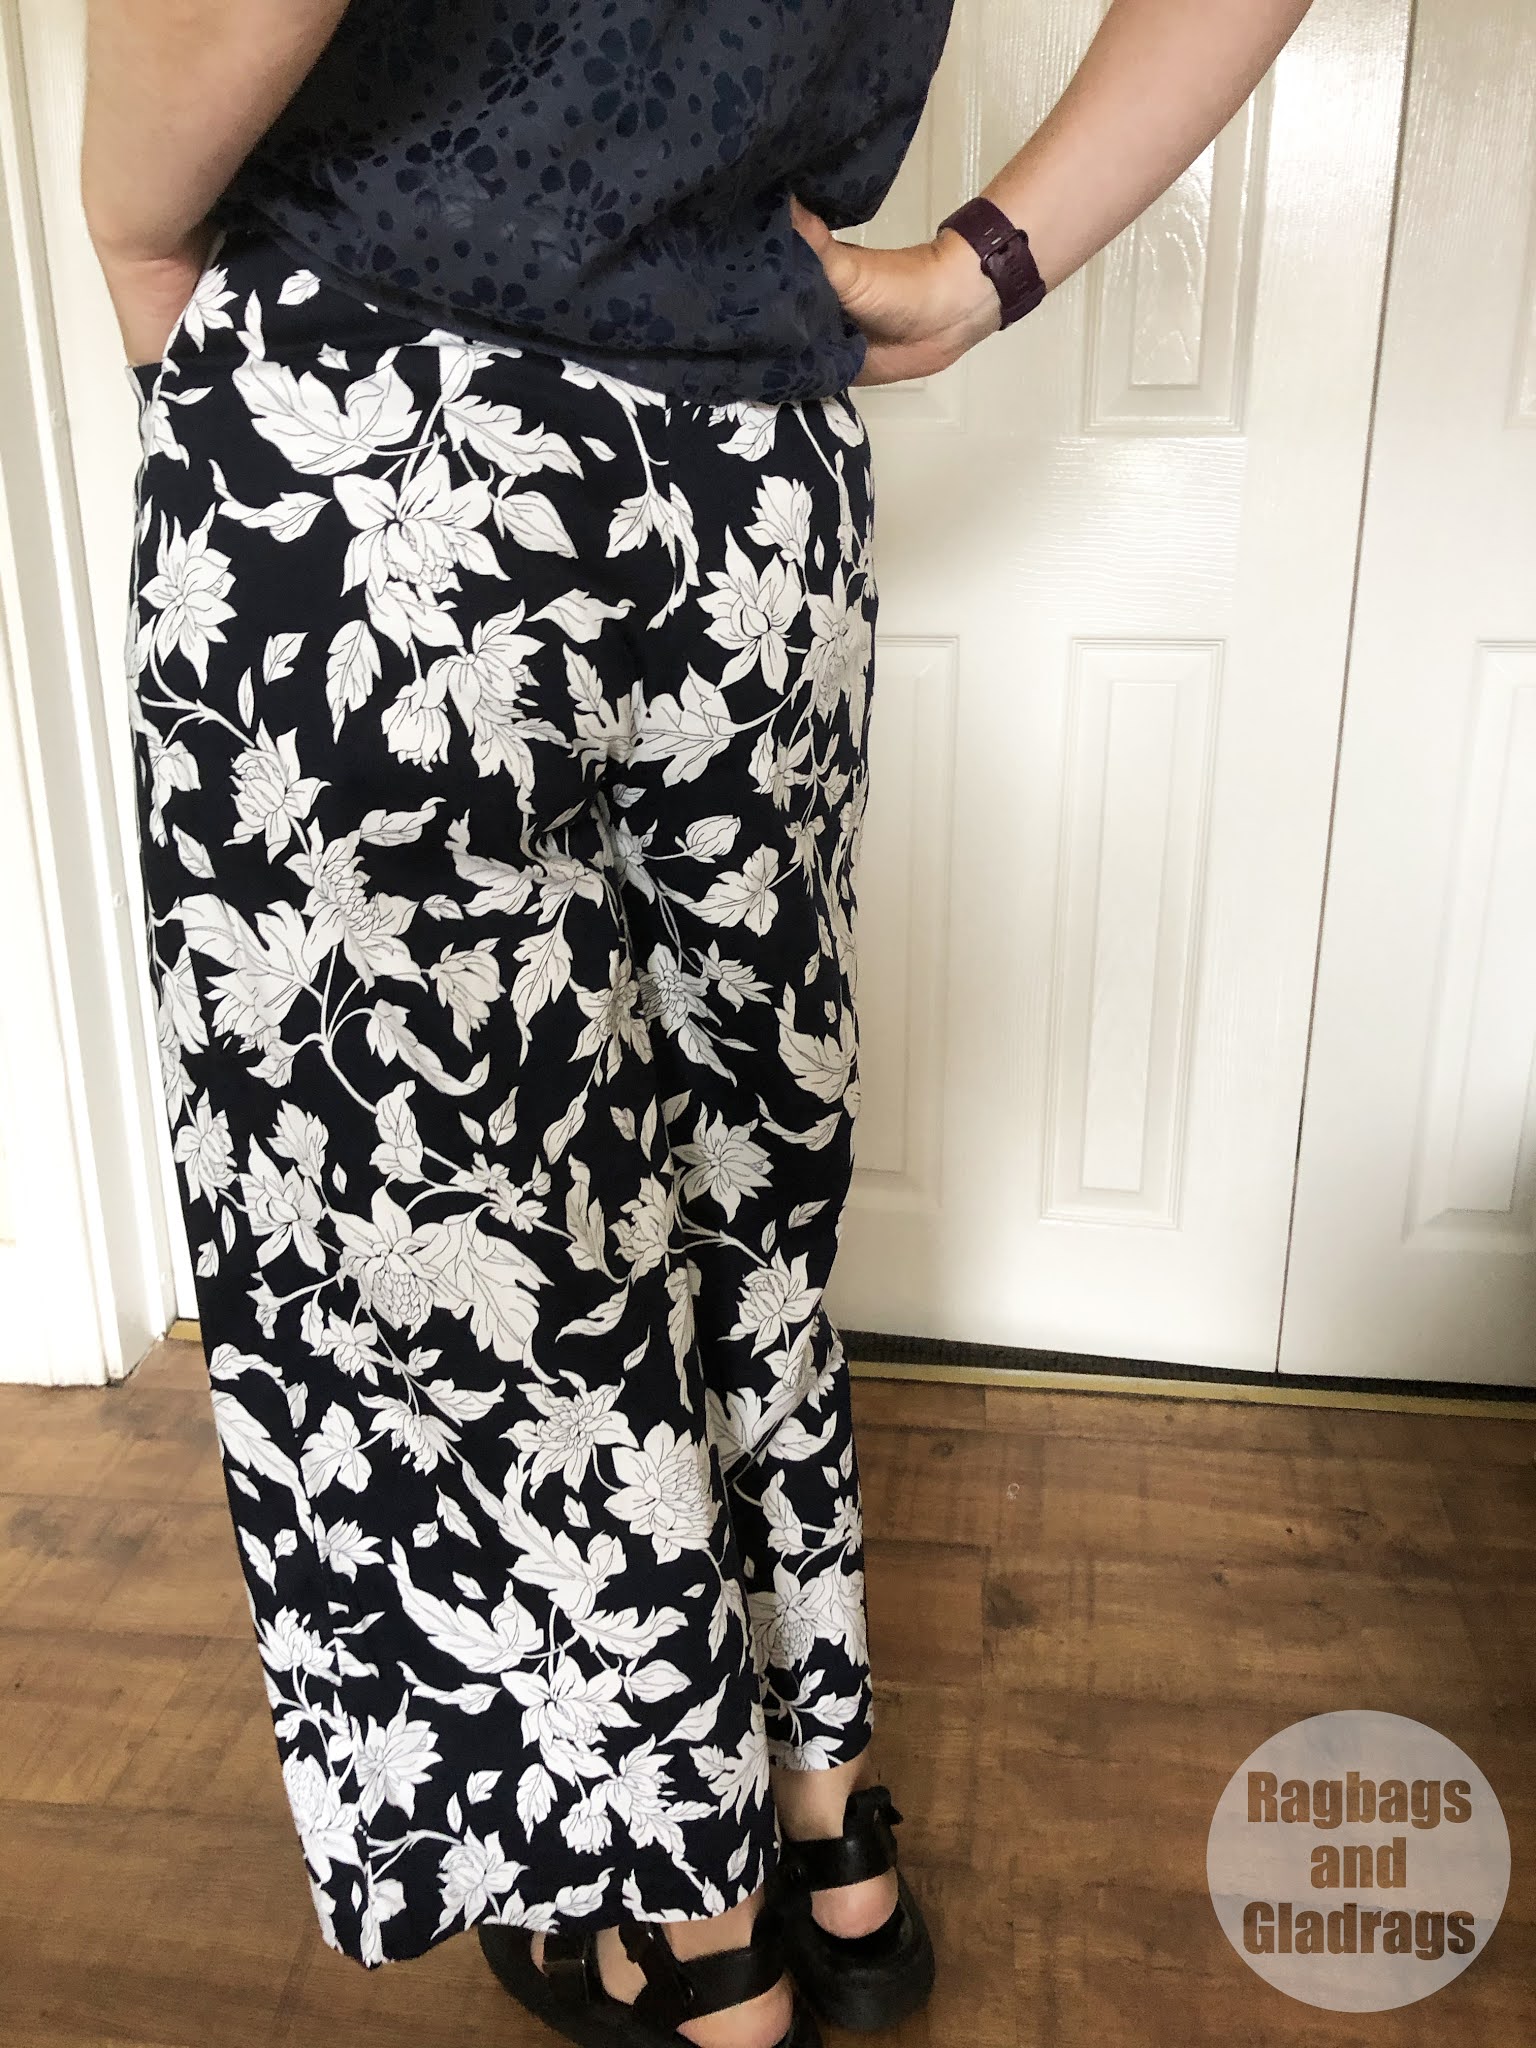
Peppermint Wide legged Trousers - Free Pattern Review

 
I really did want to create a sew-a-long for these as a few of my friends have started sewing and I know they like a bit of advice as they go, but my phone completely died and I ended up just getting on with it and the instructions are pretty good anyway.
 
 
So this is the Peppermint Magazine sewing school pattern in collaboration with In The Folds. You can download this pattern here.
The pattern comes in a wide range of sizes and what is great is that the PDF has layers so that you can select just the sizes that you need, which makes cutting out so much easier. The instructions are thorough and clear with good quality images.
 
 
This pattern is designed for a stable woven fabric without stretch. True to form, I decided to use a stretch fabric. I had recieved this beautiful stretch cotton sateen from Minerva - in exchange for a review, which you will be able to read on their blog soon. I didn't make any alterations to the pattern to accomodate this, but made sure I interfaced all the areas which would potentially stretch out and stay stitched all the waistline edges to prevent stretching.
 
 
The pattern calls for 2m of fabric for this garment. I had about 1.7m, but with some creative pattern placement and on a single layer of fabric I managed to squeeze in all the pattern pieces, I did shorten the legs by 2 cm though!
 
 
Based on my measurements I cut a size D and graded to a C at the waist. This fit really well and I only pinched out a little extra on the back darts, again, mainly because this is a stretch fabric - If it had been a stable fabric I don't think I'd have needed to do this.
 
 
This pattern is superbly drafted, everything matches perfectly, but I did have a couple of issues. First up - the fly shield pattern piece indicates that you only need to cut one, but you actually need two. In addition I prefer to sew a zipper fly where the fly extensions are part of the main front pattern - like the ginger Jeans from Closet Core Patterns. It's an easy alteration to make to a pattern - unless you're playing pattern tetris. I had no way to do this as I was struggling to fit my pattern pieces on the fabric.
 

Most of the instructions are superb, but the fly construction section is awful! It's so fiddly - so my advice to you would be to add the fly extension and follow the tutorial from Closet Core patterns which you can find here.
 
 
I have had these on my to make list for a long, long, long time and I'm so glad I've finally made them. I think there will be more of these now I've finally printed and assembled the pattern and made my first version. I can see a pair in corduroy or a heavier weight wool/blend for the winter.
 
 
I made these to wear with my peppermint wrap top in the same fabric as a faux jumpsuit, which I'll post details of soon, but love that I can wear both pieces separately.

Sunday, 23 August 2020

Puzzling Pattern


I've followed the Studio Faro Well Suited Blog for a while and love the pattern puzzles. It's a great way to get you thinking and create something a little different to most patterns that you see out there.

A few years ago I made the a dress inspired by the Vivienne Drape dress - it's been one of my favourite dresses to wear to work. It was easy to draft and to construct.


Anyway, last week I decided I wanted a bit of a challenge and decided to have a go at the layered shirt. Anita gives some instructions for turning a block into the design for the shirt. Rather than starting with a block I used the Saraste shirt from Breaking the pattern as it already had the collar drafted and had the yoke and back sections at a good starting point - It also fits me well.

I marked the seam allowances on the front pieces, so I could omit them for drafting and lined up the princess seams from the bust point to the shoulder, this created the flare needed at the hem. I then traced this and mirrored it on the CF line to create a full front bodice piece. 


I drew the design lines for the folds on, then traced the front again to incorporate the folds of the design. I trued the bottom edge to give a nice curve.


I moved the shoulder seam forward by 1.5cm. I was thinking of doing this anyway with the Saraste shirt and after doing it on this pattern I think I will. It makes a much better line.

The back consists of the yoke and shirt back with an overlay that has a pleat to create a bit more fullness, the overlay extends onto the front to create the RHS (as you look at it) front overlay. I created a hidden placket and the drafting was done. In keeping with the Saraste pattern I kept all seams at 1cm.

Then I had to start thinking about the construction. I realised I needed to sew the placket before creating the folds on the front, but that I'd also need to have part of the shirt constructed which meant the hems were the first thing to be done. I did baby hems as the fabric was quite fine and also used french seams. I sewed the side seams together on the same side as the overlay that goes from front to back (RHS from the viewers perspective). I made a mistake here and forgot to include the top bodice front. I ended up hemming the seam line and top stitching it down - most of it is hidden anyway.

Next, I constructed the placket. With all the bodice front layers pinned in place, I marked the placket on the top layer and stitched along the edges of the placket. Then I stitched the plackets pieces in place before flipping them to the inside and finishing the edges with overlock stitch. It's not the neatest and It is the first time I've ever done this type of placket, so I'm not worried about it. There are a few wrinkles, but they are hidden by the drape, so it's fine.

The top overlay was then folded into place and basted along the neckline. I also secured it to a lower layer at the end of the placket.

I sewed the yoke in place, using the burrito method and it came out super well. It is top stitched to keep it neat. Then I added the collar, which I did with my ususal collar application and again top stitched it.

The buttonholes were sewn on my new Pfaff. I like the control that the 4 step buttonhole gives. The ones I've made on this machine have all been better than the one-step ones I did on the Janome I used to have. 

To finish off,  I used a bias facing on the armholes, which I hand stitched to the inside, so that the stitches don't show on the top layer. I picked up some buttons from my local shop, but they feel a bit thin. I think I might replace them at some point.

The fabric is a cotton lawn, It's very cool and smooth to wear, but creases like mad. I often use this fabric to line summer dresses and the leftovers get used for lining bra cradles.  I had enough left to create this shirt. I thought this would use way more fabric than it did.  I think It would look stunning in layers of different colours or in a super sheer fabric and ideally something that doesn't crease quite as much, although it would look fab in linen.

I really quite like a challenge that involves a bit of drafting and this one turned out really well. not too tricky, but enough to get the brain cells working.

Sunday, 29 December 2019

Sewing top 5 of 2019 and plans


This year I have made 23 items. Quite a few have been reviews for Mineva crafts but there are some that I've made for others and many that I haven't blogged yet.

So here are my top 5 makes, the fails and my plans for 2020 (also includes a bit of crochet).

Top 5
1. Saraste shirt dress  - red floral cotton.
I had Breaking the Pattern from my mum last Christmas and the fabric was from my sister-in-law. Despite not being a floral sort of person I loved this print. I managed to squeeze a slightly shortened Saraste dress from the fabric and Imore have worn this one more than any other dress in my wardrobe.


2. Sugar Skull Saraste 
Same pattern, but this is the full-length version - no sleeves. The fabric is from Minerva. the buttons were from a local haberdashery.


3. Ginger Jeans - Closet Case Patterns
Again - fabric from Minerva, a lovely slub stretch denim. I wasn't too convinced when I first made these, but they have had more wear than any other trousers over the year.


4. Pink Lace Dress
This was a labour of love and time consuming to cut and make, despite being quite a simple design. I'd made this pattern years ago when I first started sewing - It was a free pattern on the old Burdastyle website and I'd adapted it to suit my style. The simple lines made it the perfect option for this heavy cotton lace. I was surprised how much I've worn this - I didn't expect to wear it as much as I have - but it looks fab and is easy to throw on - doesn't really look creased either!


5. Burdastyle Men's shirt
Over 2019 my hubby had lost some weight, which meant that for the first time I could use a standard pattern. I chose one from the Burdastyle Magazine - can't remember which one and initially I made him a short sleeve shirt from some light cotton lawn, but it was very light. So on his request, I made him a long sleeve version from cotton from The Sewing Machine Guy in Ashington. This shirt has had a lot of wear and I now need to make him some more.


5 Fails
Most of these aren't truly fails but don't get quite as much wear as they should. I don't like waste and will not throw stuff out unless it's a disaster - some things need alterations, some just need to be worn more.

1. Skull Top
I quite like this, but it has some issues. It's the Sade Blouse from Breaking the pattern. It's an easy top to make in regular fabric, but in the chiffon, it was challenging. The issues with this are - wrist ties - difficult to do up and get in the way - I need to replace them with elastic; the sleeve gapes - needs a catch stitch to fix and it's a bit short!


2. Faux stretch leather pinafore.
This was all kinds of wrong. the fabric was very light and very stretchy. Not suitable for the pattern at all. It was supposed to be dungarees but it just didn't work. One of the buttonholes went wrong and was too big for the button. My daughter still wears it, but I'm not impressed. Choose the right fabric for the pattern next time!


3. Assembly Line Hoodie Dress - summer version
I love this pattern. My cord version of this gets plenty of wear, but my summer version - not so much. I omitted the hood and the elastic hem. cut the sleeves short. The style is fine, the fabric is fine, but in this light chambray, it just feels a bit too much like a set of scrubs! It still gets worn though.


4. Tencel Shirtdress.
Nothing wrong with this that a bit of length wouldn't fix. The pattern is a hacked Burdastyle magazine pattern.


5. Sequin top.
I thought I would love this and get loads of wear over the holiday period. Nothing wrong with the top, apart from it being too short. I just felt uncomfortable. I haven't worn the skirt or trousers much either. The top was given away.


So What's next? I don't really do Make 9, but I do have a list of things I would like to make. Coming up are...

1. Burnside Bibs - almost done.


2. SOI pussy-bow blouse - cut out in some dragonfly fabric before I try it in my silk bamboo from Raystitch.


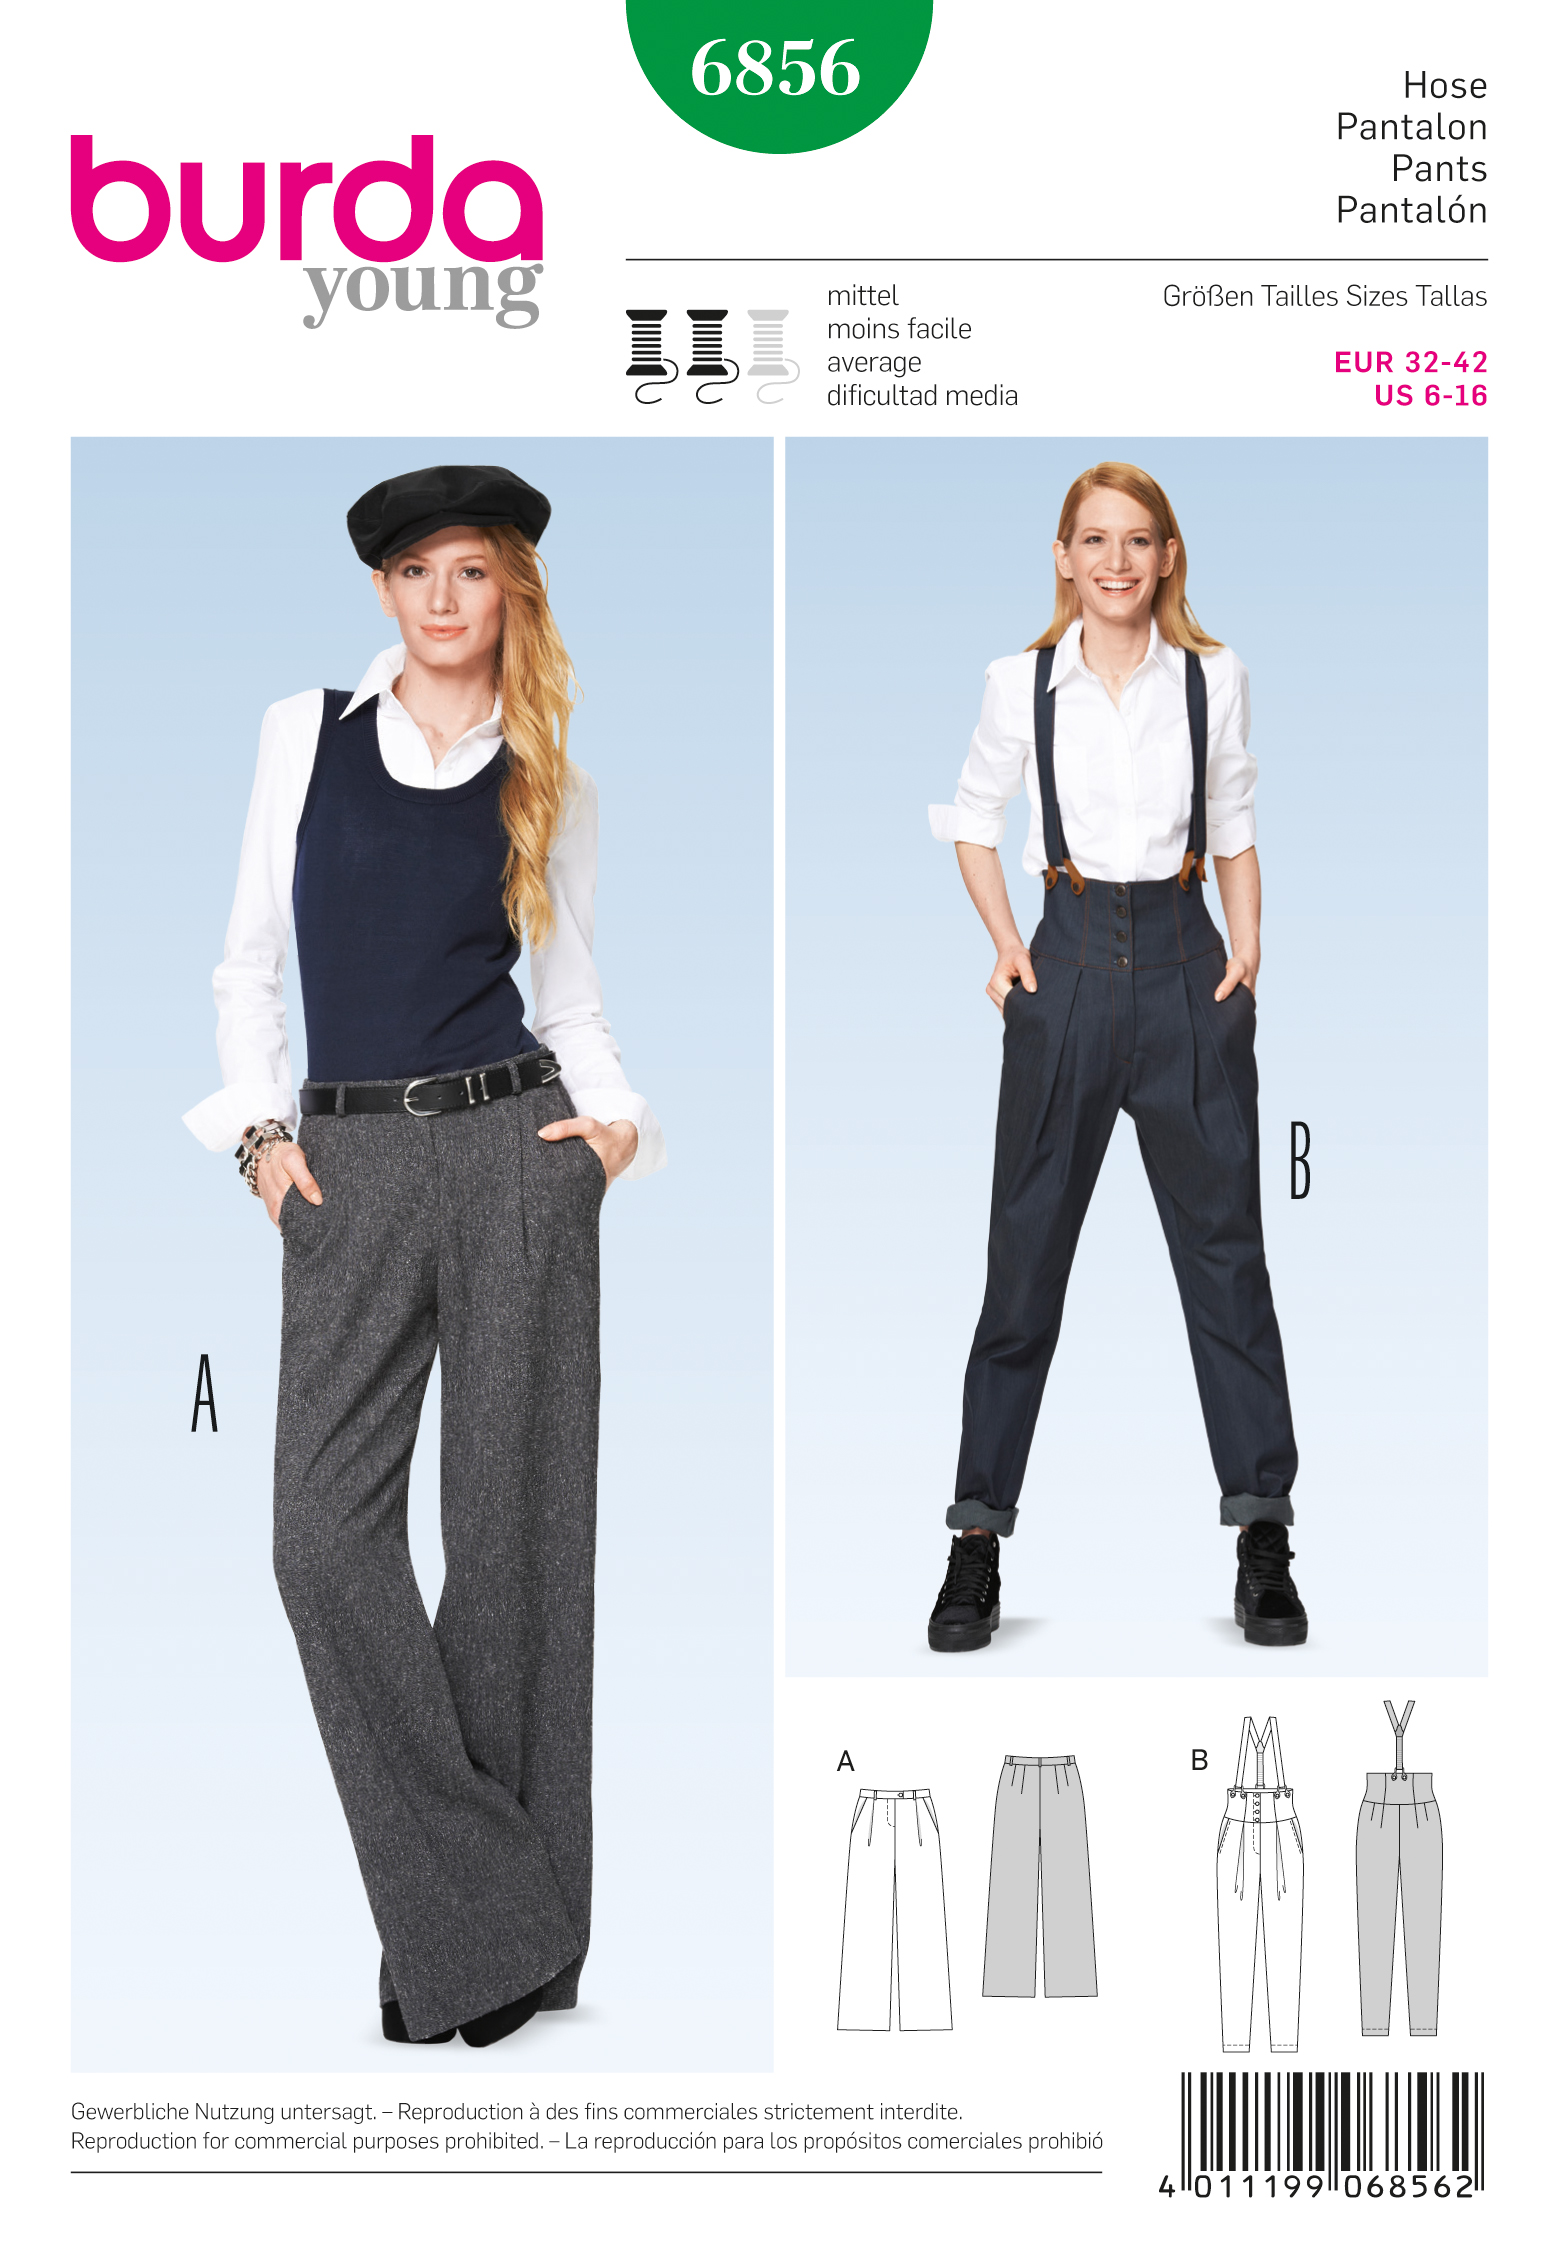
3. Burda 6856 Trousers. I was planning on making the pegged version but after a muslin, I realised that they were a bit too poofy for the fabric I had, so the wide-legged version it is. I might try the other version later.


4. Wedding Dress for Fliss - almost done - no pics yet.

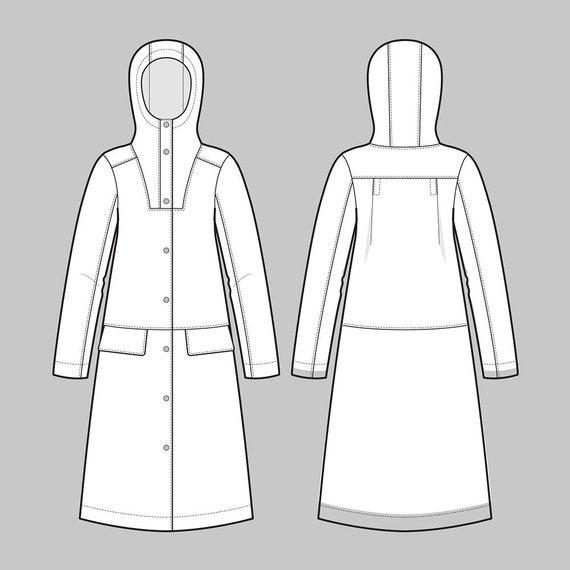
5. The Assembly Line - Hoodie Coat
I had the pattern for Christmas, but might make a slightly shorter version and line it too.


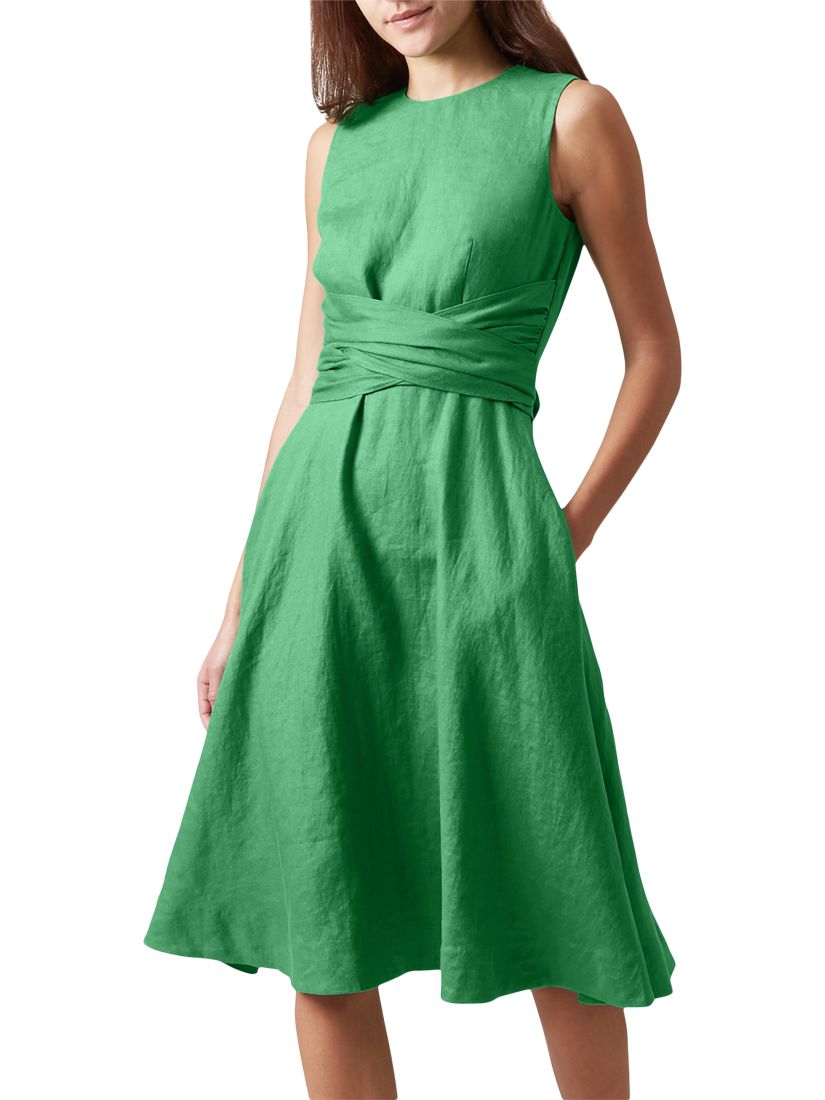
6. A royal blue shirt dress - Hobbs style - something like this, but with a mandarin collar:-


7. Wool coat/ Jacket/ poncho - Fabric I had last year, still not decided on a pattern.

8. Upcycling - using up my scraps - probably some bag making and some reroll fashion in the style of ZWD.

9. Mending my Pink seamed dress - I managed to tear it at the CF hem, I also want to alter the neckline shape which I have bought some bias binding for as I don't have any fabric the correct colour in the stash.


LinkWithin

Related Posts Plugin for WordPress, Blogger...