

I have had a few projects in mind that required drill fabric. When
Minerva offered me the chance to review this cotton drill, I made those
projects a reality. First up was a utility kilt for my husband.
Last
year he bought a bright blue one last year, thinking it was a little
darker than it was. Of course, when it arrived I studied the
construction and announced that I could make him one, and make it better
- TBH it was very crudely made!

I asked him what he liked about it and what he didn’t. He announced that although he liked the pockets, the loosely attached one was annoying. So I went for a welt pocket on the back and D rings added to the belt loops so an additional pocket/ bag could be added if required. He also asked for a slightly longer length.

The purchased one had all the pleats stitched down in order to prevent them from falling out and this is wise in this type of fabric. I used the basic measurement of the original one to guide my making of the green drill one. This fabric is a little lighter than the original and needed some interfacing in the waistband.
I started
with the centre back of the skirt. Each half was measured and the fabric
was cut to length following the grain. I halved the fabric on the cross
grain and used about 3m of length. This was less than I thought (look
out for my next make!). The pieces were joined to make a long 6m by 70cm
strip.

The hem was created first, using a double fold to encase raw edges. This was then pinned into pleats, pressed down and stitched in the front and reverse of the fabric. The original had some grading in towards the waist, but as my hubby has narrower hips than the waist I kept the skirt straight. The top 15cm of each pleat was stitched down to create a yoke effect.
I then added a single welt pocket on the
back. Making this nice and deep as he has a habit of losing things from
them falling out of pockets! The apron pieces at the front were temporarily pinned to approximately the correct width while the waistband was made.

The waistband included buckle straps at each end, Belt loops anchored in the seam and a couple of button holes to thread the inner strap through to allow it to be fastened on the outside. Once the length was checked the inner waistband was added and it was top stitched in place. The belt loops were secured and an additional strap was added to the top of the skirt to enable the hip to be adjusted.

The belt loops were added at the correct place and I used 5mm eyelets in the holes.
The
fabric is perfect for a lighter-weight utility kilt for the warmer
months. It was a joy to sew with as it pressed really well and kept its
shape - perfect for pleats. It also didn’t stretch out too much when
sewing and was beautifully stable.

I just need to add the removable pocket bag, but I’m still waiting for the hardware to arrive. My hubby is loving rocking this and it will also go well with the waistcoat I made him last year as part of his punk suit.

The second make from the bottle green cotton drill is a pair of cargo trousers. I have been loving the cargo pants trend, but I was struggling to find a pattern that suited my needs so I drafted my own.
I had just less than 2m of the fabric left after making the utility kilt. Perfect for a pair of trousers!

Most of the patterns I had seen for cargo trousers were fitted waistbands and wide legs. While I love that aesthetic I wanted something more casual. My aim was to create a relaxed fit with a slight balloon shape and be ankle grazing. I wanted pockets and an elastic waist with a drawcord.
When the cotton drill first arrived I thought it might be a little too stiff, but once it was washed it softened up really well, while still keeping a crisp pressed edge, which made these a dream to sew.
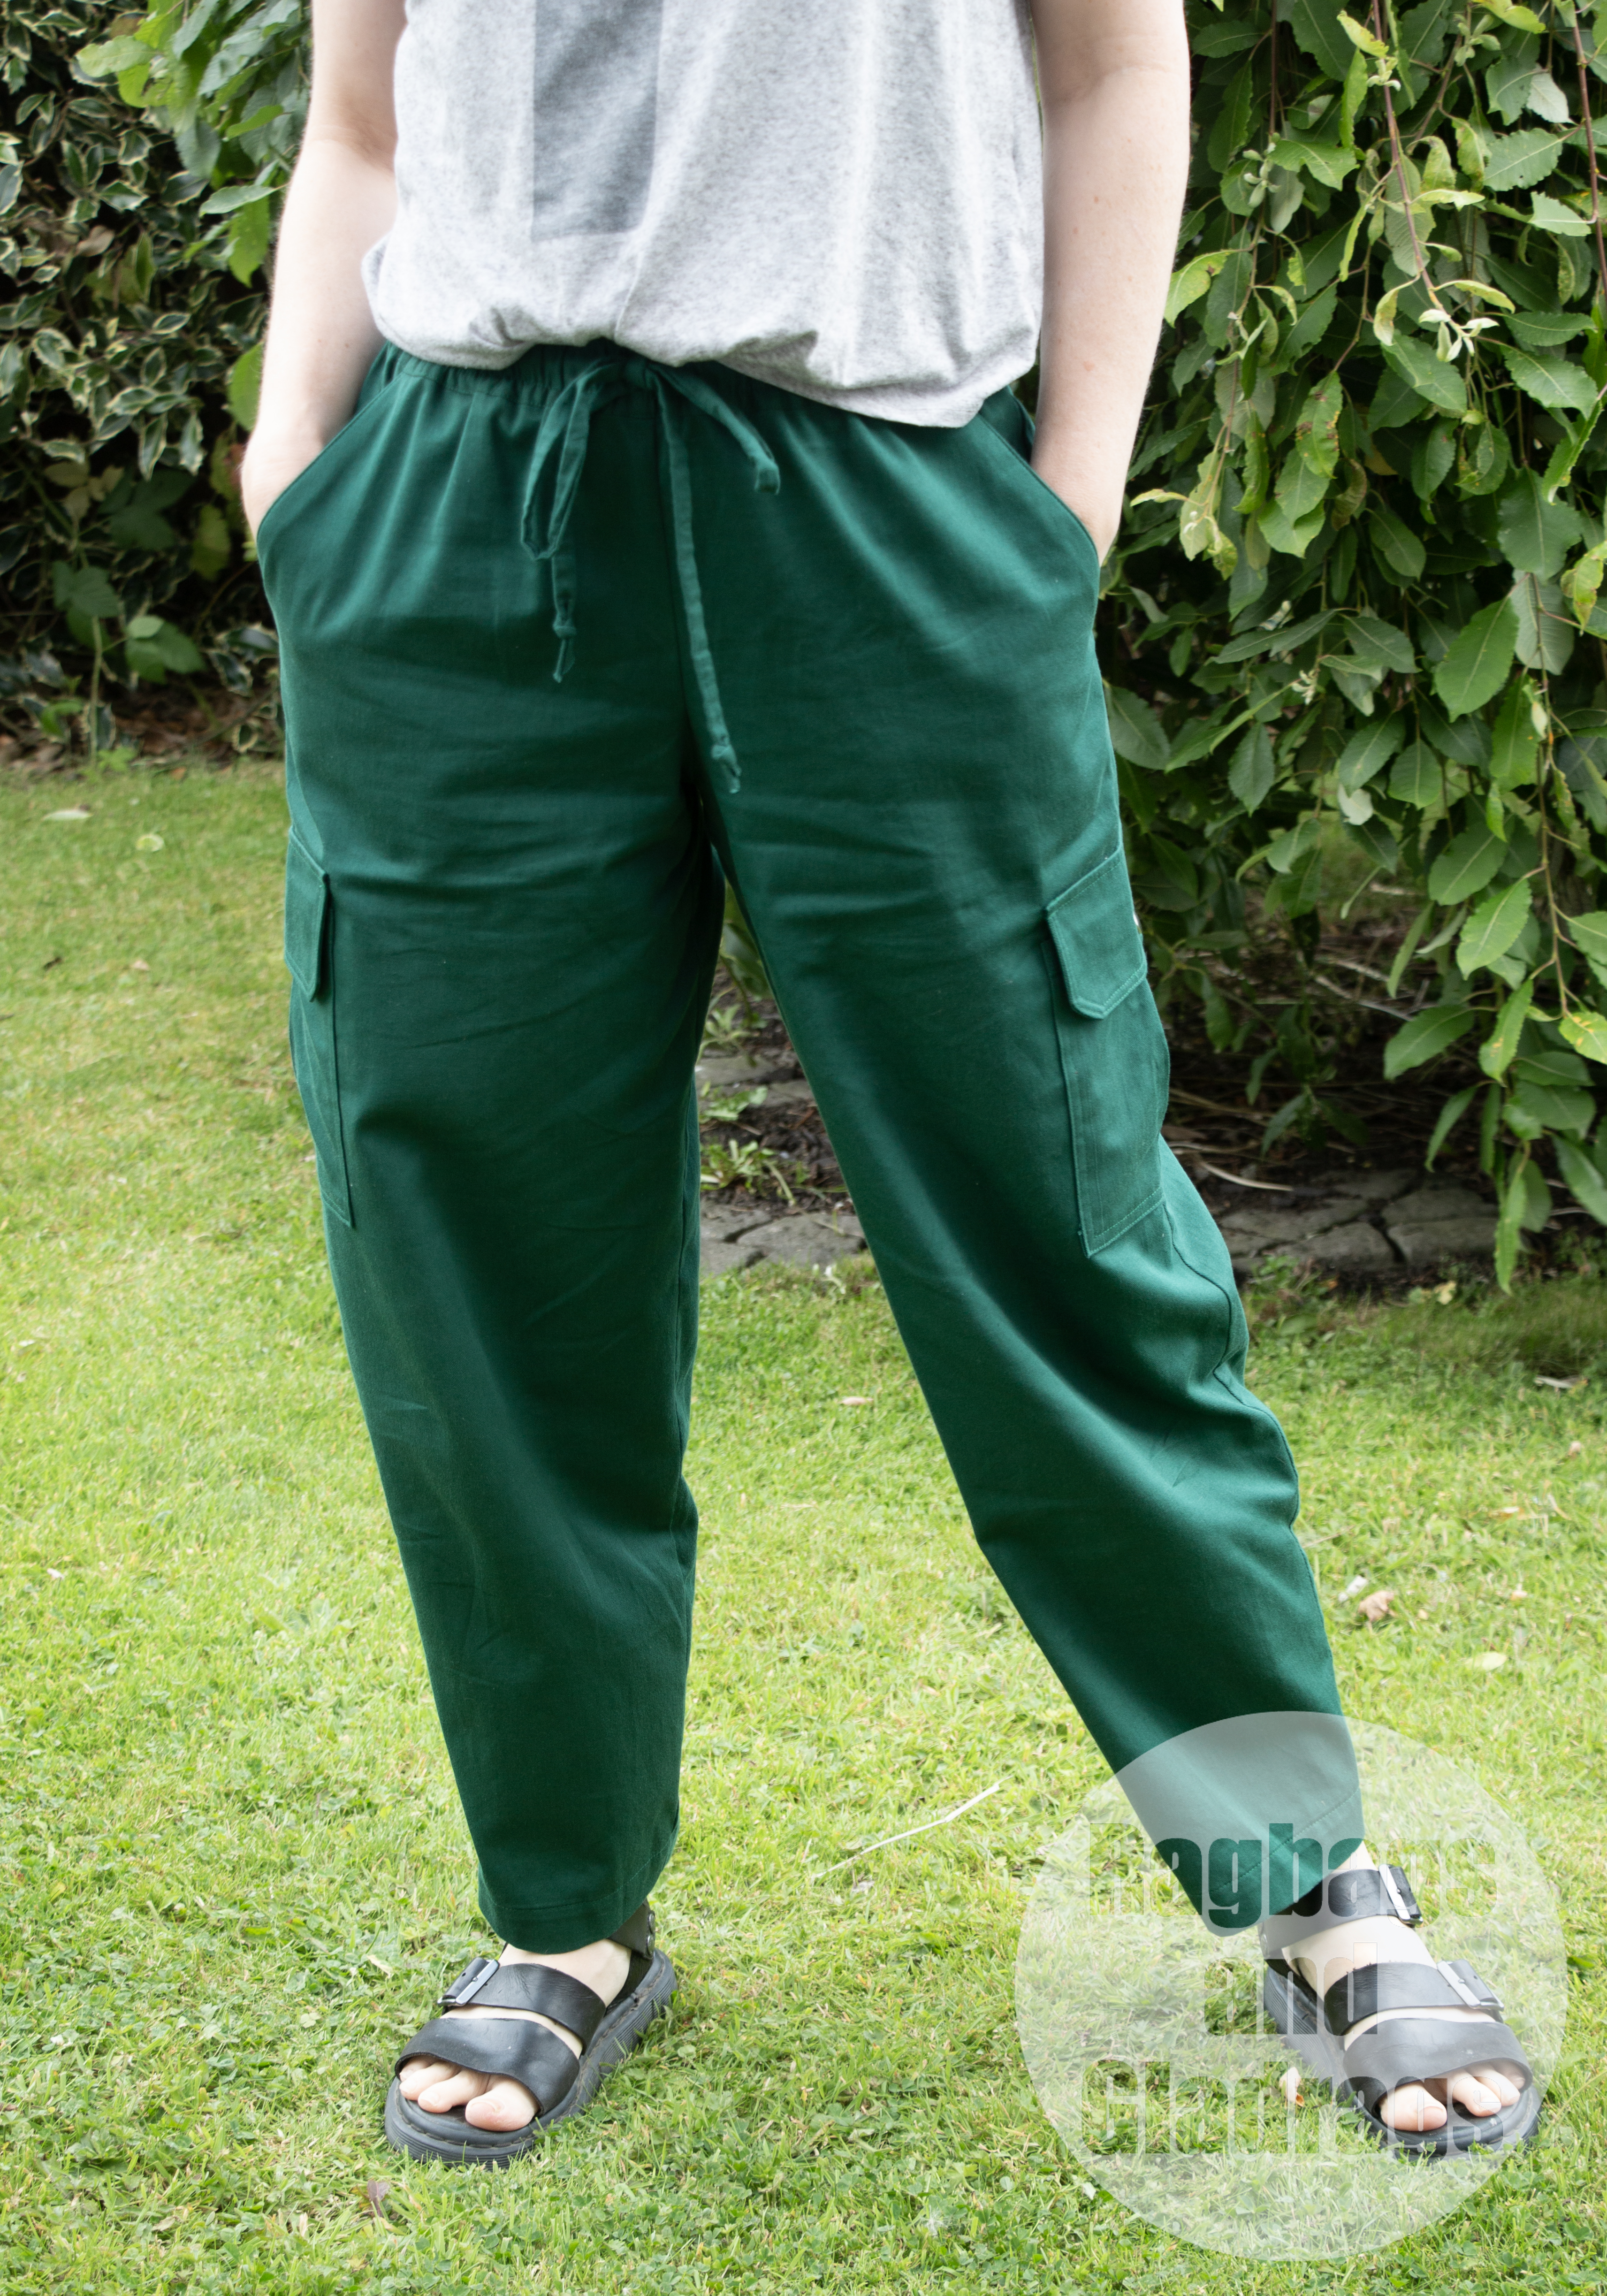
I had never drafted and sewn up a pattern without
checking it and doing at least 3 toiles. However, I was confident that
my drafting was good I decided to take a risk and go for it!

I used Metric Pattern Cutting for Womenswear by Winifred Aldrich. I drafted the easy-fitting trousers and used my measurements, rather than relying on the standard sizes. These are trousers designed to be made into baggy pants or dungarees.

Once I had the draft I traced the
block, lowering the waist by 4cm and shortening the length to be at the
high ankle. I added a slight balloon length to the side seams and
tapered the ankle by a couple of centimetres. I then measured the waist
seam before cutting a waistband. Here I nearly made an error. As I’m not
a standard size - my hips are much bigger than my waist - I realised
that the waist was not quite big enough for my hips. Not an issue if you
are adding a zip but a big issue if the trousers are pulled on. I
widened the waist seam by 1cm both front and back with equated to a 4cm
increase, which was enough to get these over my butt.

I walked
the seams and trued all the measurements, constructed slanted hip
pockets and drafted a back patch pocket and an inverted pleat pocket and
flap.

I interfaced the pocket flap and buttonholes with some
lightweight interfacing. The fabric didn’t need anything in the waist
due to it being elasticated. The wide elastic was stitched in place to
stop it twisting in the casing and a cord threaded through the
buttonholes.

I was actually pleasantly surprised with these. I expected there to be several issues that would need to be sorted, but they are pretty much as I intended. I haven't drafted anything in ages. I think I might try it again soon. Meanwhile, I have a cool pair of cargo trousers that has taken me through cooler summer days and into the autumn.


