Showing posts with label the assembly line. Show all posts

Sunday, 25 April 2021

Review: The Assembly Line Apron Dress


*** I had this post ready as a draft, weeks ago. I've only just managed to get my backside in gear and get some photos taken, so it's a little late ***

I first became aware of The Assembly Line patterns when I was on holiday on the south coast a few years ago. Their patterns weren't widely available in the UK then. I bought a single sized copy of the Hoodie Dress from a little shop not far from Lyme Regis (I can't remember the name of the store), they stocked some lovely sustainably sourced fabrics and a few of the TAL patterns. I very nearly bought the Apron dress then, but I didn't and it made it's way on to my ' want to make' list.

My mum bought me the pattern for Christmas and as I had also recieved some gift vouchers for Minerva, I splashed out on some nice weight indigo denim with a touch of stretch. I bought some top-stitching thread locally from The Sewing Machine Guy. It was lockdown, so I called by phone ordered what I needed and Ian, who owns the shop, very kindly dropped the supplies through my door on his way home - now that is customer service.

Anyway, on with the pattern. After checking the measurements I decided to make a size small. My measurements put me at the top of a small, but having made both the Hoodie Dress and Hoodie Parka in the small size I was confident that it would fit fine. It's not a tight fitting garment anyway.

I cut all the pieces from the denim. I thought a double layer for the facing might be a bit too thick, but it was fine. I had a few snap fasteners in my stash and they were perfect for the fastening and wen't through the multiple layers of denim really well.

I did all the construction and topstitching on my Pfaff Select 3.2 and the multiple needle positions make getting even rows of top stitching very easy. It also managed all the layers of denim very well. It struggled on one area, but mainly beacuse of the difference in thickness. As soon as I used a small wedge of card behind the foot to make it even it was fine. Note to self - get a jean-a-ma-jig!

As with other TAL patterns I have used, the instructions are clear and well written and very easy to follow so this pattern is suitable for beginners as there is nothing tricky about it.

The dress came together quickly and and sewed it up mostly in one afternoon. In retrospect I would have chosen a stable fabric as the waistband did stretch out a little at the back while I was top stitching.

I love the shape, length and style-lines of this garment. It is easy to wear and comfortable. I think it will be multi-season too. worn with tights and boots in the the autum and winter and with a much lighter blouse or vest top in warmer weather.

I do have a few issues with this pattern though. Nothing that couldn't be solved very easily.

It's the inside finish that I don't like. It's fairly neat and tidy, but I think it could be better. Personally, I would fully line the bib section and enclose the straps between the lining/ facing and shell. This would give a much much neater finish and would not be difficult to achieve.

Despite this, I actually love this pinafore. just like many of the TAL patterns it's simple, but with contemprary design lines that will become classic pieces. I can see me wearing this for a long time to come!


Wednesday, 24 June 2020

Summer Linen T shirt - Hoodie Dress Hack and refashion


Who doesn't love a light linen top when it hot, hot, hot? I had been wondering about making a Linen top for some time, but couldn't get my hands on fabric that I liked - I need to feel the hand of fabrics like linen to check they are the right weight - I had all but given up on the idea when I devoded to clear out my wardrobe. Lurking at the back were a pair of white linen trousers I bought several years ago from Asda. They were a size too big and initislly went into the charity shop pile as I just don't wear them enough to keep them. However I remembered my desire for a linen top and decided to try and refashion the trousers into a top.


First up I needed a woven t shirt pattern. I knew I loved The Assembly Line Hoodie Dress and I'd made two hooded versions which you can read about here and here, and a short sleeve hood-less version that I made last year.


I used the bodice pieces, the neck facing and the short sleeve that I drafted last year. The trousers were prepared by removing the waistband and cutting up the inseam and crotch seams, leaving the outer leg seams intact.


This allowed me to cut the bodice fronts from the upper part of the leg. Then the sleeves from the lower part. The facing was cut in sections, where I could find enough fabric. There was enough fabric left at the bottom of the legs to add onto the bottom of the t shirt (just over 10cm). I was glad about that as it would have been VERY cropped without it.


You can see the side seams of the legs have ended up just off centre, but I kind of like it - I deliberately mis-matched these with seams on the bottom extension.


This top certain fits the Refashioners 2020 theme of #usewhatyouhave. I was so glad to wear this today as it was super cool to wear at work. I really needed it - It was hot and sticky! I certainly think this will ge far more wear as a top than it ever got as trousers.


In fact my whole outfit is refashioned. The necklace is one I made a few weeks ago with some repurposed buttons and My culottes were made 2 years ago from an Ikea curtain - burdastyle pattern. I love it when I can give something a new lease of life, don't you?

Friday, 27 March 2020

Hoodie Parka - my style of coat


I'm not one to follow fads. I rarely buy patterns when they are first released. I always have a look through my stash to see if I have anything similar I can hack or adapt, or I just draft things myself.


However. I. love. this. pattern. I have loved it since I first saw it on The Assembly Line website well over a year ago. I didn't buy it. When putting my Christmas list together at the back end of last year - on it went and my lovely hubby bought it for me.


I have a long coat, it's one I bought from Next before I started sewing, the piping on it is cracked and it's so old the colour has faded. It's still warm, but I need something a bit more me and this pattern is it. It's completely gift funded - well almost. I had Minerva Crafts vouchers from my sister in law for Christmas and bought some black drill fabric - just enough. She had also given me the fabric I used for the lining for Christmas 2018, which I think she got from the stitching show. There wasn't quite enough for a full lining, so I bought regular black lining for the sleeves. not quite as cool, but much easier to get on and off than lining sleeves with cotton.


A word on fabric requirements; many patterns are generous with their requirements and you can get away with far less. Not so TAL patterns. they are carefully planned and leave you with very little scrap fabric. If it says you need 2.4m then you really do need 2.4m - pay attention!!!!


The pattern is for an unlined coat. It just has a hood and yoke lining but I decided that adding a lining would make it much more effective as a wearable coat and go to planning how I would cut the lining pieces of the coat to make it work. essential I treated the bodice and skirt sections as full-length pieces and cut them less the amount that was folded in for the facing. I did have to think carefully about the order of construction and do things a little differently from the instructions in order to fit the lining in. I constructed the hood lining separately and fully bagged the rest. I also used the lining fabric for the pockets and the underside of the pocket flaps. I also made sleeve heads from some spare fleece fabric, to keep the shape at the top of the sleeves.


The pattern is excellently drafted and is multi-size, which some of the earlier versions of TAL patterns weren't. I made a size small (which is where my measurements put me and the same size I used for the hoodie dress, which is a good fit) and the coat fits, but I think I'd struggle to wear anything thick underneath it. That's ok as I planned this to be a lightweight spring/ summer coat and it's already had a bit of wear. If I was going to make a warmer version I would definitely size up to the medium.


I used Prym snaps for the fastening, but already I've popped one and lost it - thankfully they come in a pack of 10 and I didn't use all of them when first applying them to the coat. It took me quite a while to work out the placement of the snaps as I felt the directions would be unbalanced, so I worked out my own distances between each snap - I think it was about 11cm.


This has to be the coolest coat and now I want to make more. but I have a list of things to make and it will be a while until I finally do that.


Friday, 23 August 2019

The Assembly Line Hoodie Dress - Summer version


Well August Bank Holiday weekend is upon us and for once the weather forecast is good and warm and this dress is the perfect iteration for warm weather.


When I first made the Hoodie dress almost a year ago I realised it's potential for pattern hacking. I still haven't done all I want to with this pattern yet but this version is my first hack of this pattern.


It wasn't difficult. First of all, there's no hood; then there are short sleeves and the length is shorter. I think this is the perfect cover-up dress for the beach or walking around town. The fabric is a light Chambray from Minerva and you can read my full review of the fabric and what I did over on their blog.

In other news, we have been creative this week. And it's not sewing related!


Yesterday we headed to MBC Ceramics to attend a Soap making workshop - It was the simple melt and pour type and is very easy to do. MBC Ceramics host a whole range of creative courses and I advise you to take a look if you live in NE England and are in travelling distance to Sunderland.


This Morning John made the most epic loaf of bread ever. it looked amazing and tasted delicious with fresh butter.


We've also made our own Greek yoghurt. Surprisingly easy and delicious.


We even dusted off the 6 demi-johns of country wine that have been sitting in the garage for I don't know how many years, fully expecting them to be awful. However, Only 2 demi-johns were not great and we now have 10 bottles of Elderflower wine and 10 of Rhubarb wine.

Right - I'll be back soon, I'm off to eat more of that delicious bread!

Saturday, 9 February 2019

The Assembly Line Hoodie Dress


I had my eye on this pattern since last August and my hubby bought it for me in September. I just needed to find the right fabric to make it up in. Minerva Crafts sent me 2m of this denim to review and I made the Hoodie dress with it.

I really do love this pattern and it works brilliantly in Denim. I've made two of these dresses. This was my first and it gets plenty of wear. Currently planning a summer version!


Pop over to the Minerva blog to read the full review.

*Disclaimer* The fabric for this project was provided free of charge in exchange for my review. All opinions are my own.

Monday, 31 December 2018

Makers Review 2018 - The Good, the Bad and the Ugly

 Lots of good, not much bad and ugly.


So what did I make in 2018?
I made 33 different items

Crochet
The Eastern Jewels Blanket - just finished


Art, Felt and other crafts
Several needle felted brooches
Lots of printmaking
A self-portrait and 70+ pieces for my exhibition


Sewing -
1 1/2 quilts - haven't finished the 2nd one.
11 Dresses
11 Tops
3 jackets/ waistcoats
1 skirt
3 jeans/ trousers
2 pairs of undies

That's quite a lot of stuff, of these things about 10 were made for others.

First up, the bad and ugly. These were the fails of my year.


I made a Gingham cami top from a Burda style magazine pattern. Nothing really wrong with it. I just didn't feel comfy in it. It's not really me - Never worn.


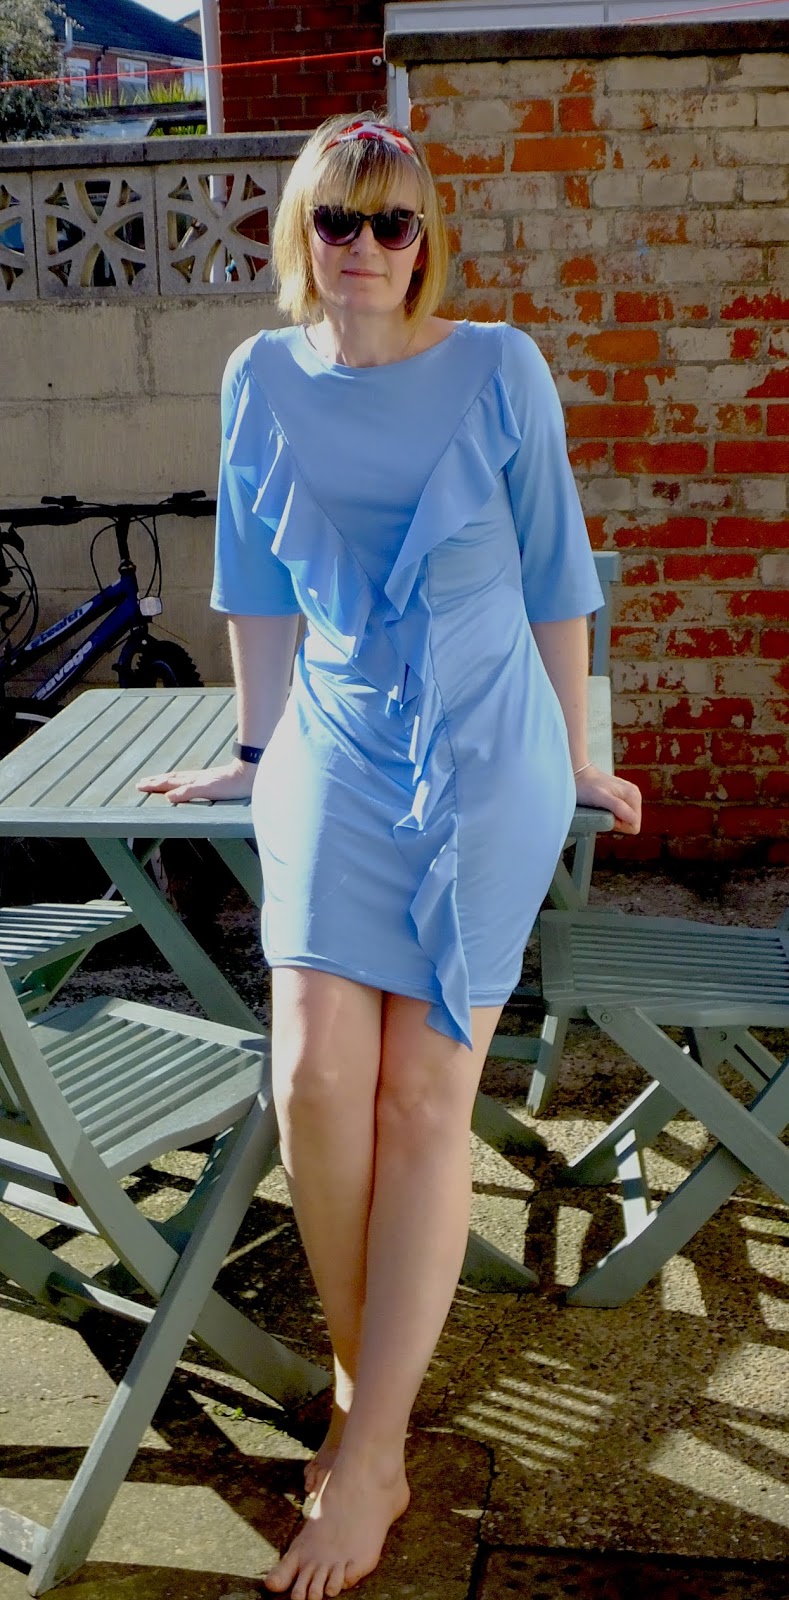
Secondly was the ruffle dress I made. I really liked the pattern and the fit was fine. I think I chose the wrong fabric for this make. I used a polyester slinky jersey for the dress and it looked fine, but I decided that the colour was not quite me and I really don't do well in polyester. I'd love to make this again, but in a darker fabric and not a synthetic, something I can team with boots and tights. - gifted to a friend


The third was a brown cropped Jacket that I embroidered. I didn't make this. It had been sat in my wardrobe for a couple of years and I just hadn't worn it. I thought if I embroidered it I'd actually wear it, but it just didn't seem to look right with any of my other clothes so despite loving this I gifted it.

What about the Good?

These were the successful makes of the year. Some I've worn a lot, others not so much, but I do love them.

Most worn: Pigs Might Fly dress. My hubby bought me the fabric for Christmas last year and I made the dress in January. I've worn it all year.


Surprisingly successful make, Ikea Fabric Culottes.  A friend gave me a boatload of fabric including a panel of Ikea fabric. so I made the culottes and wore them all summer. Going to make more.


Love but not worn much: The Sew Over It Eve dress in Royal Blue and my Franken pattern shift dress. I love both of these and need to wear them more.


Successful Refashions: First up was my wedding dress, which I refashioned for our 25th Anniversary. I've worn it a couple of times since and I think it will get some wear over the summer.


Secondly: Refashioned Cambie. I made the Cambie a couple of years ago from some Ikea fabric and found the bodice just didn't suit me, so I made a new front bodice with some spare fabric and used the existing back of the dress. I wear this a lot for work.


Best pattern: The Assembly Line Hoodie Dress - I've made two and I wear them a lot - so comfy, I'm planning a summer version without the hood.


Finally, I made Ginger jeans. the fit is pretty good for a first pair, but the fabric is not the best quality. However, they get plenty of wear. I'm wearing them right now.


So what have I learnt about sewing? I want to make more for others. I'll be making a prom dress, wedding dress and another shirt for my hubby this year, and more besides. I also realised I hate ditsy florals - fine for lining, but really not into it. Big bold abstract flowers are fine, but chintzy style stuff is not me. I do love spots, I love big prints and unusual designs. I love plain fabrics. I love the feel of natural fibres on my skin and I wear cardigans with everything so I really should learn to knit.

Friday, 2 November 2018

Hibernation Dress


AKA The hoodie dress from The Assembly Line.

This is my second version of this dress and I doubt it will be my last. I'm not one to buy patterns on a whim and as I have a large stash of Burdastyle magazines I often can find what I want within their many patterns. However, whilst on holiday in Devon in August I popped into The Natural Fabric Store at Rousdon. They had a beautiful selection of linens, cottons and denims and I bought a couple of metres of a batik cotton lawn, which I'm currently sewing up. I also noticed their selection of patterns and in particular, The Assembly Line patterns, which I'd not seen before and the hoodie dress caught my eye. As I'm an arch procrastinator I didn't buy the pattern there and then. I like to mull over whether or not a pattern is going to be of real use to me. After arriving home I just couldn't get the pattern out of my mind and bought a copy online from The Draper's Daughter.

Hoodie Dress by The Assembly Line.

Minerva Crafts had sent me some Denim, which I used for my first version, but I also decided I needed something a little softer for version number two. So while at #sewupnorth at the end of September I was on the lookout for some cotton sweat-shirting. I didn't find quite what I wanted but ended up buying some cotton baby cord from B&M fabrics. This fabric is soft and has the snuggle factor that I was after without being too heavy.


Once I'd finished my denim version (which you can read about on their blog soon) I started on my cord version. This pattern is very well drafted and the lay plans for fabric are precise. For many independent pattern companies I know I can get away with way less fabric than the pattern states. No so with the Hoodie Dress. It said 2.3m and that is exactly what you need. there is not much wastage at all - even more reason to use this pattern.


The Dress is essentially an A-line dress, brought into a cocoon shape by and encased wide elastic band at the hem. The same type of band is used at the cuffs too. I wasn't really sure about this part of the design and although I sewed the hem band I ended up not using it and adding a different finish there. Instead, I folded a narrow 1cm hem and topstitched it. I used two eyelets at the centre front and threaded an elastic cord through and used a toggle and beads to be able to adjust the length of the elastic. This gives the same shape to the dress as the original, but I think it's a more satisfactory finish. I much prefer it.


I also omitted the elastic cuffs and just sewed a band onto the sleeve, pleating the sleeve fabric to fit. Apart from these two changes I did not alter anything else about the pattern.


The pattern comes in a single size. I was worried about the fit before I sewed this up. I'd ordered a small based on my measurements and thought it might be too narrow across the shoulders. I didn't need to worry as the fit is perfect. The only changes made were those mentioned above.


I honestly think this pattern is a real keeper. with just a few tweaks and hacks it could be really versatile. I already have plans to make a summer version in linen, without the hood and with short sleeves. The bodice section alone would make a fab cropped hoodie in a cosy sweat-shirting and I think it would work as a tunic length too. Loads of options here.


However, as we approach the winter here in my little corner of Northumberland I think both this cosy cord version and its denim sister will be getting quite a few outings.

LinkWithin

Related Posts Plugin for WordPress, Blogger...